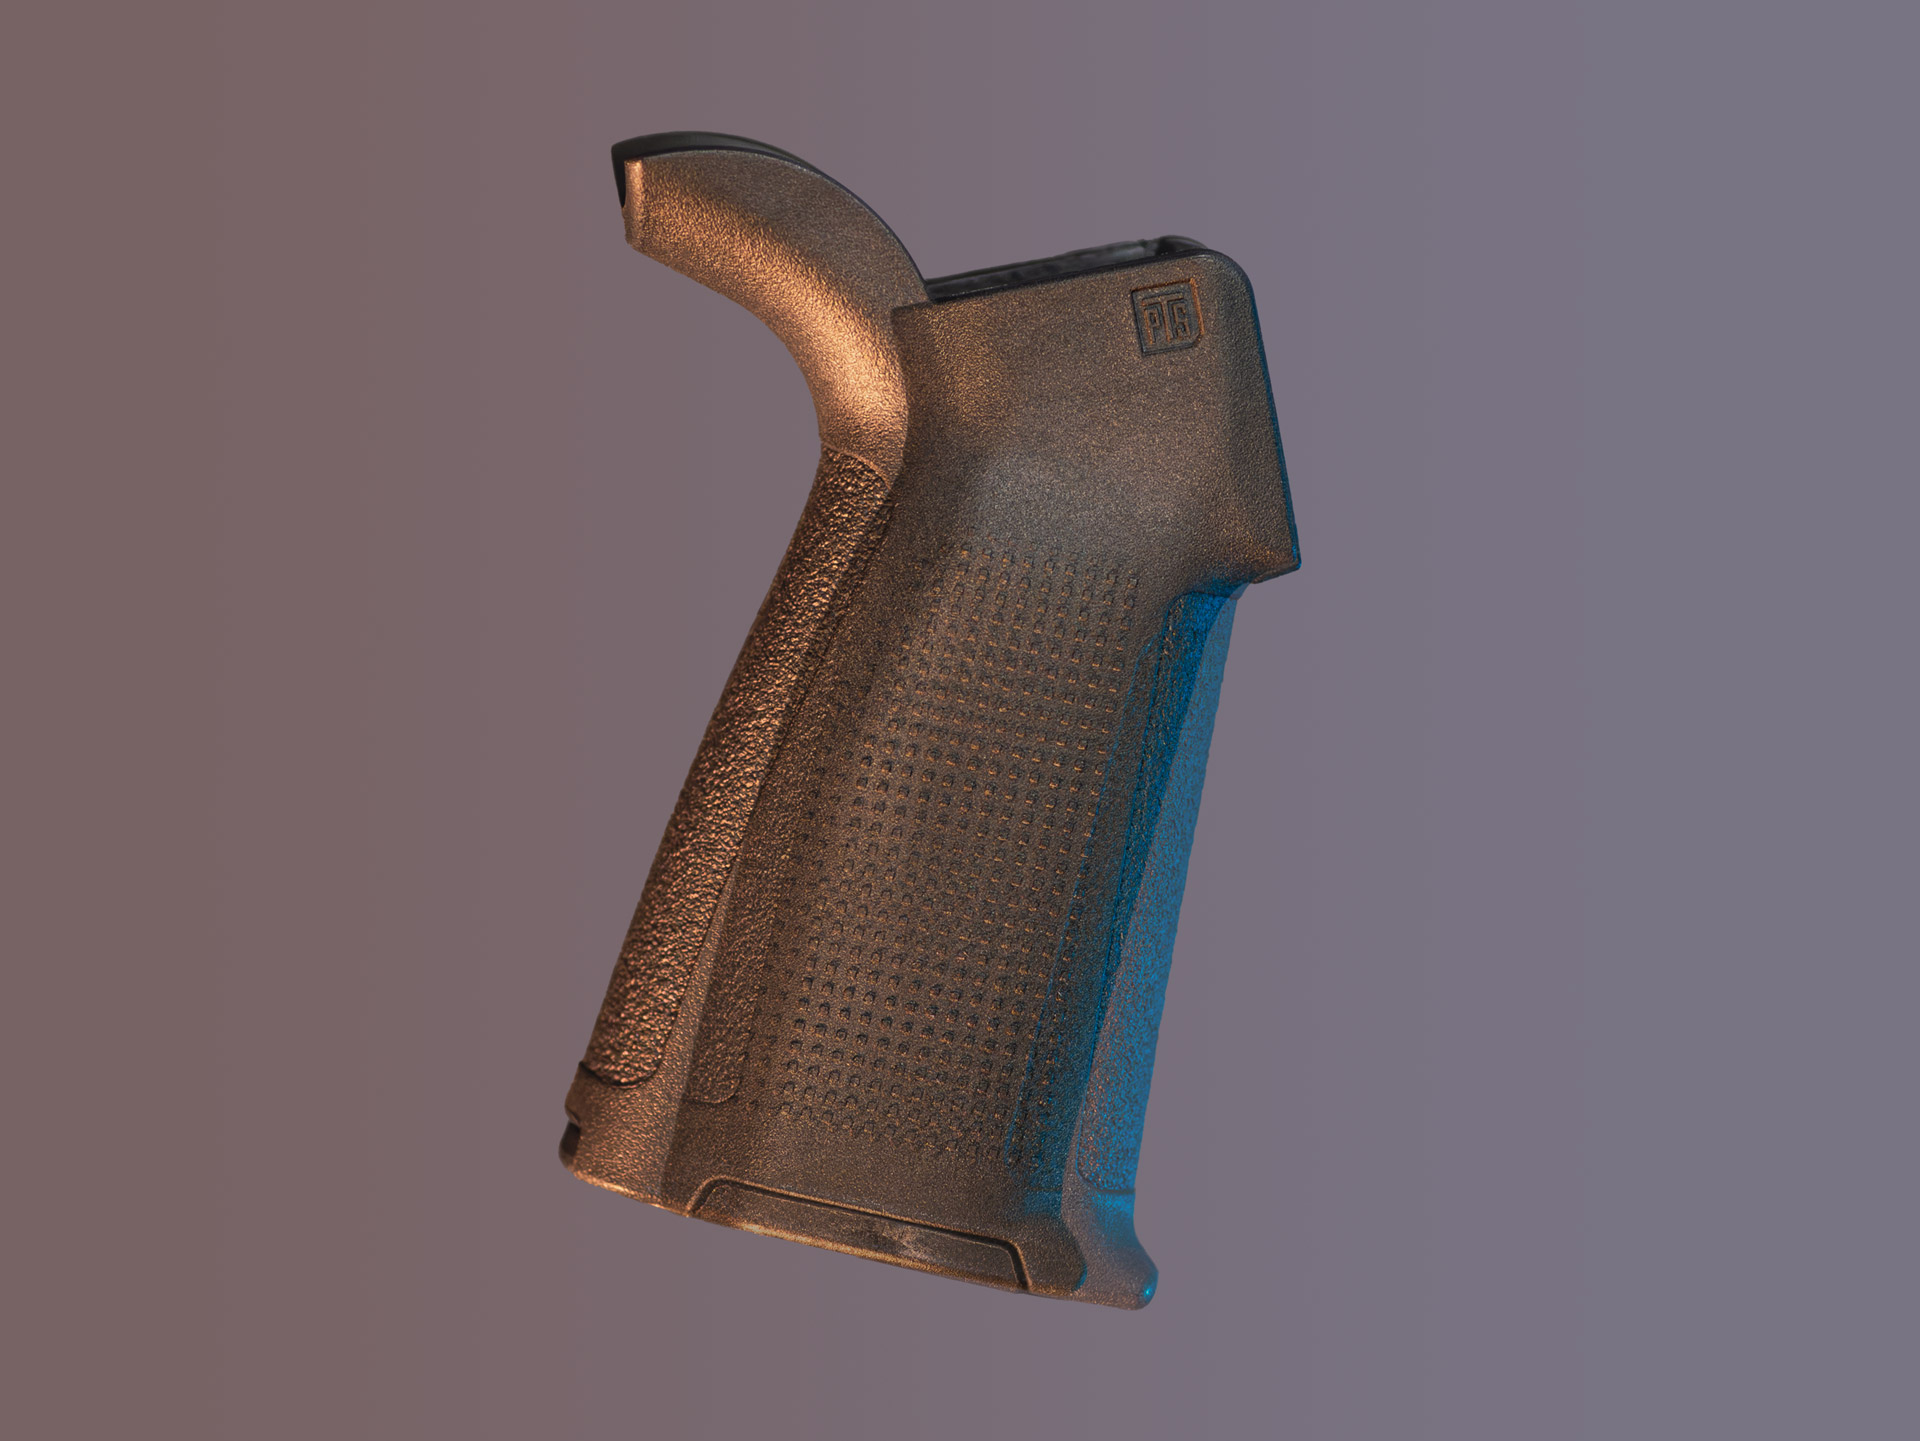
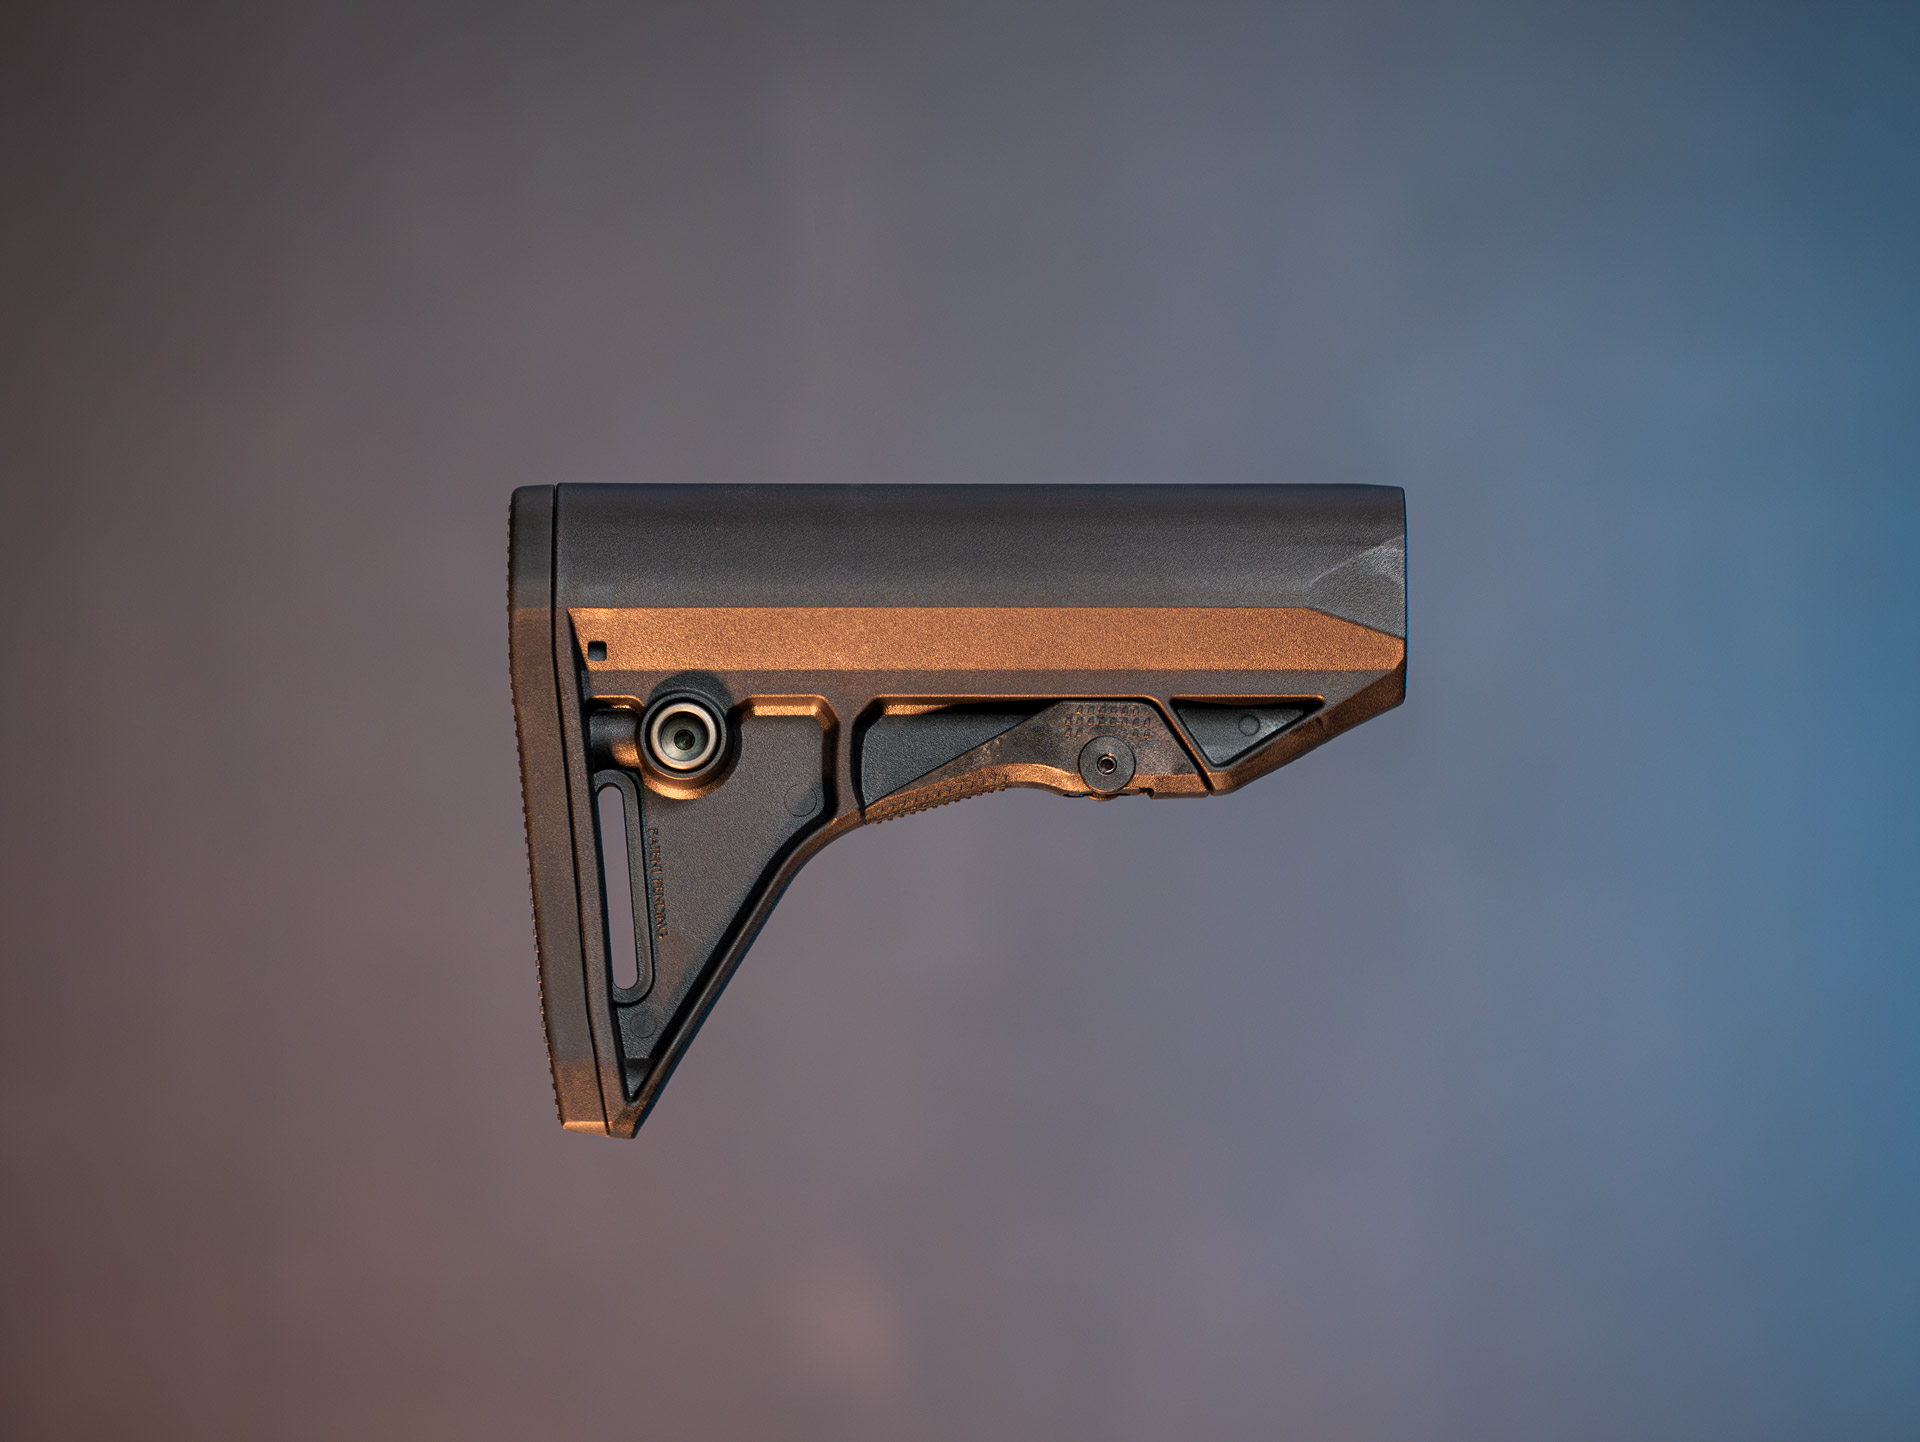
Over the past two years, I’ve repeatedly come across parts and accessories from PTS Syndicate that have excited me ever since. Starting with the most useful part of all: The PTS EPG, or “enhanced polymer grip”.
This grip is for me the spearhead of high-quality attachments. Ergonomically designed for my hands, high quality polymer and especially in combination with SandGrips just grippy and chic! But before we start to go directly too deep into the subject, as so often a few disclaimers:
Disclaimer 1: The add-ons in this post were provided to me free of charge by PTS Syndicate. I only had to pay for handling fees and customs. I didn’t know what parts would be sent to me, so I had a big “mystery box” on my desk just in time for my birthday last week. Thanks at this point to PTS! 🙂 It was a great surprise!
Disclaimer 2: Some links on this page are affiliate links. This means that the respective store pays me a small percentage of their profit as a commission for referring their sites. Of course you don’t pay a cent more if you order something through links on this page.
But the commissions from these programs help me to make posts on the blog possible, which require a lot of time, dedication and often even on my side the purchase of products.
I only recommend stores which served me wll in the past and that I myself have already had good experiences with. In most cases I also maintain a very good relationsship with the owners. In this case it is Julius from Umbrella Armory, who offers the PTS items at fair prices in the Umbrella Armory EU Shop.
The basis for this project is the Arcturus Sword MOD1 8″ SBR “Begadi Upgrade Version”. More info about the model can be found at Begadi itself or in this post.
I chose this model because it is lightweight and technically very solid. The first game in the Cloudmaker with this model has absolutely met and confirmed my desire for a compact and handy CQB weapon. Especially during longer periods of play, you notice that the light weight and compact dimensions help you stay focused and motivated for longer.
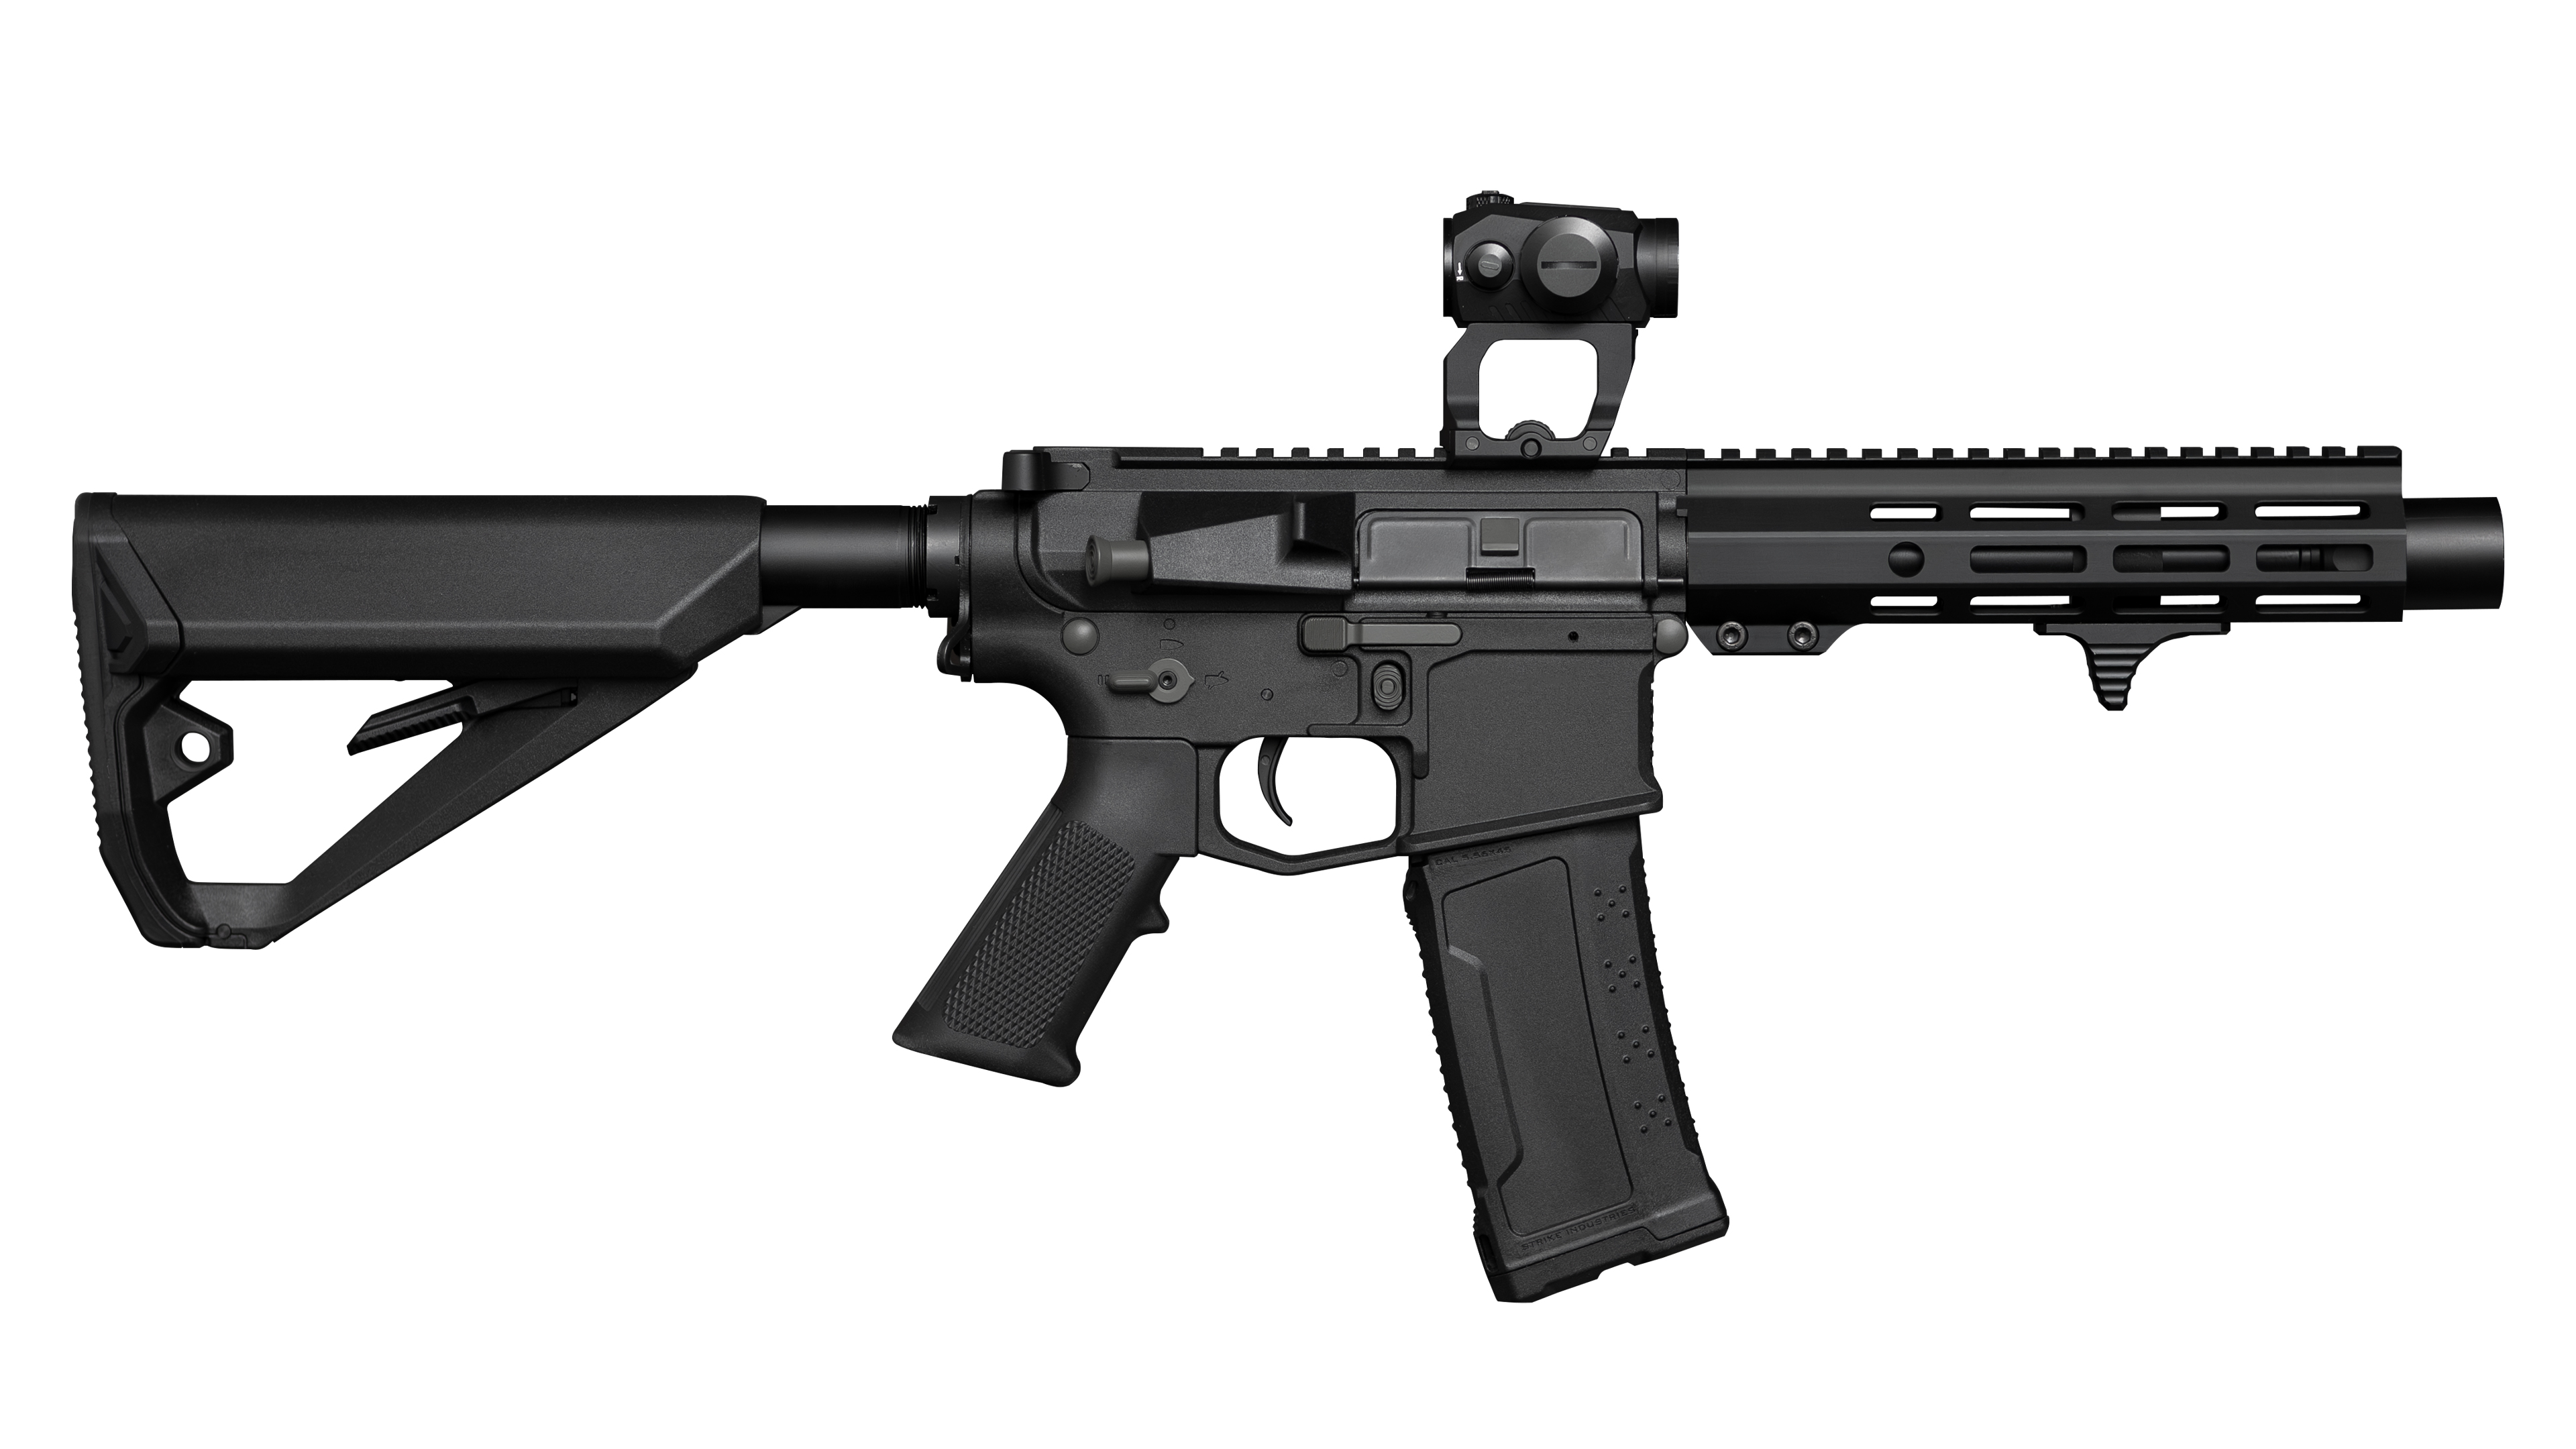
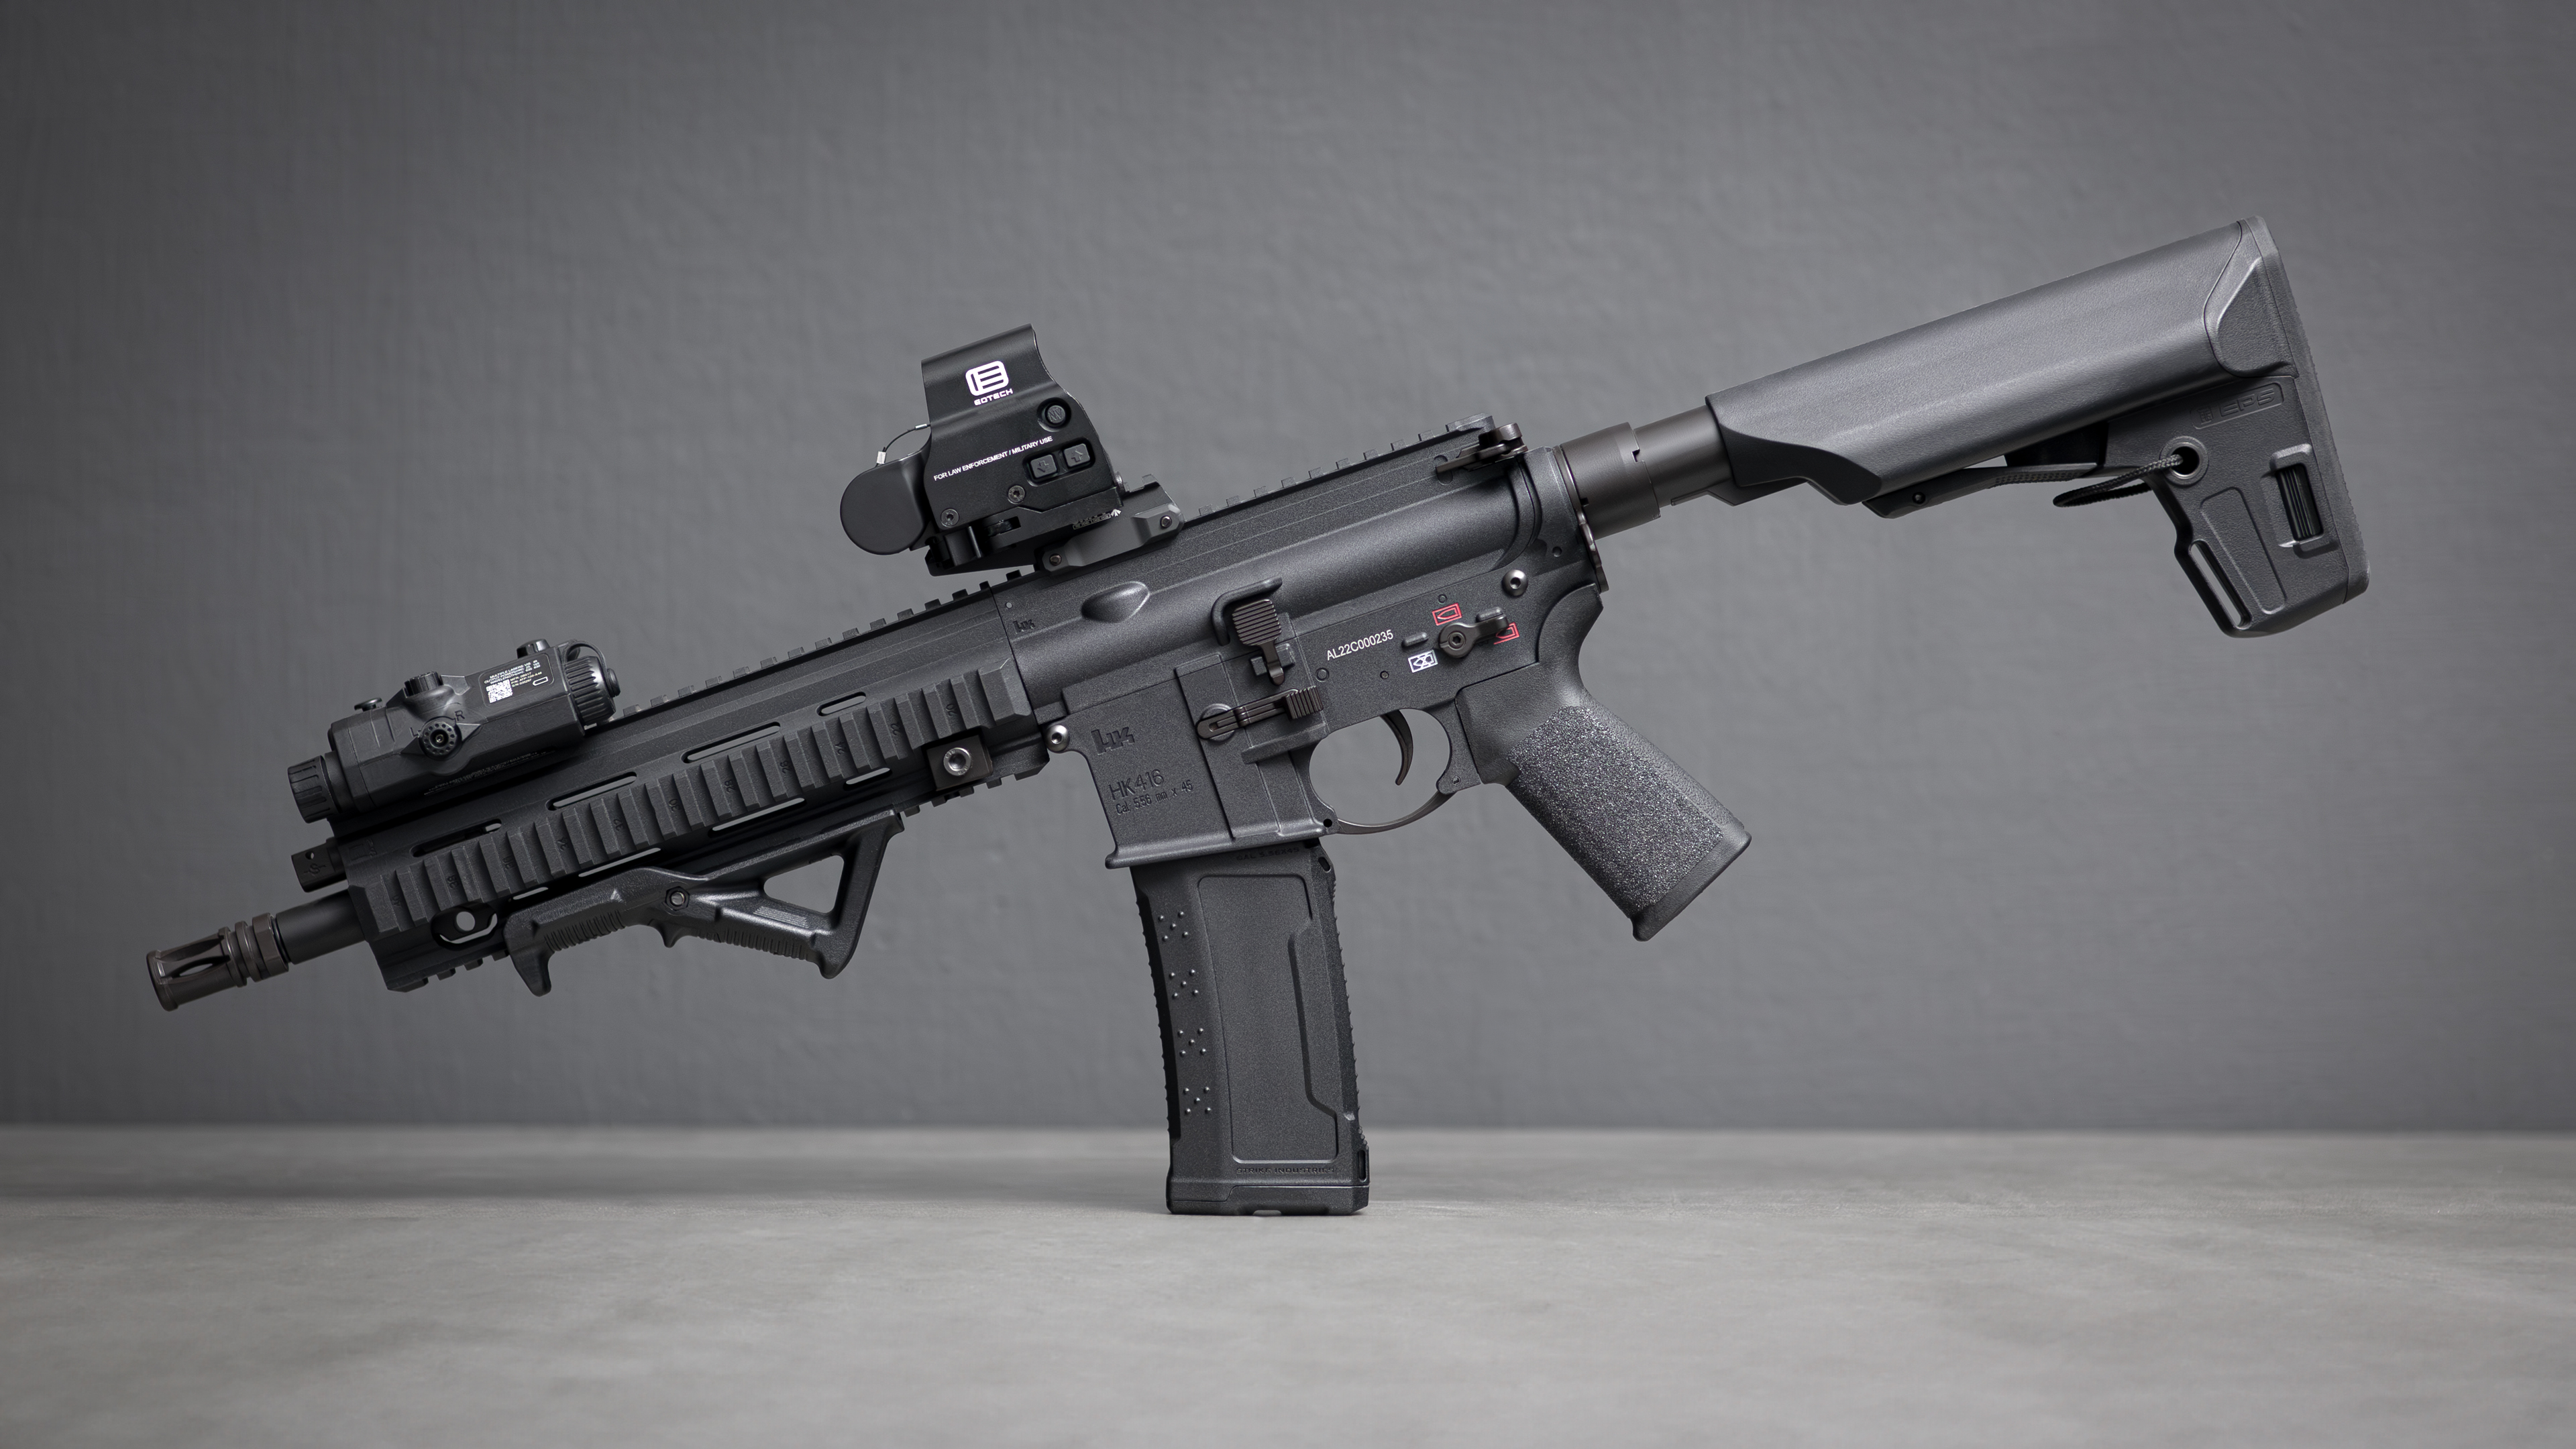
So that we all have a common starting point, here is a picture of the Arcturus before the conversion with PTS attachments:
The Arcturus 8″ SBR without modifications as a 4K wallpaper
The primary connection to your weapon: The grip! PTS EPG and PTS EPG-C
Let’s start directly with the component you hold in your hand every time you come in contact with your weapon: The grip.
To be quite frank, I almost didn’t buy the Arcturus because I didn’t like the standard M4 grip it came with. The little protrusion in front somehow never really fits my finger posture and always feels slightly distracting. In addition, the standard grip lacks a beaver tail. More on this in a moment!
In search of a suitable alternative, I first stumbled across another Arcturus grip, but then came back to PTS.
In fact, that’s how this article got started in the first place, as I wanted to order a PTS grip, but no German retailer I trust had any in stock for a reasonable prices.
After a conversation with PTS we then discussed that I would like to write a article about the grip and here we are.
That as a side note on how posts like this basically come up organically, without starting out directly with the goal of starting a big collaboration. Actually, I just wanted to write about a topic that is close to my own heart.
Back to the actual topic, the grips from PTS.
Here, the manufacturer offers two variants, whose differences I would like to break down for you. Because in addition to the different looks, there is an important point to consider when choosing one or the other: the ergonomics.
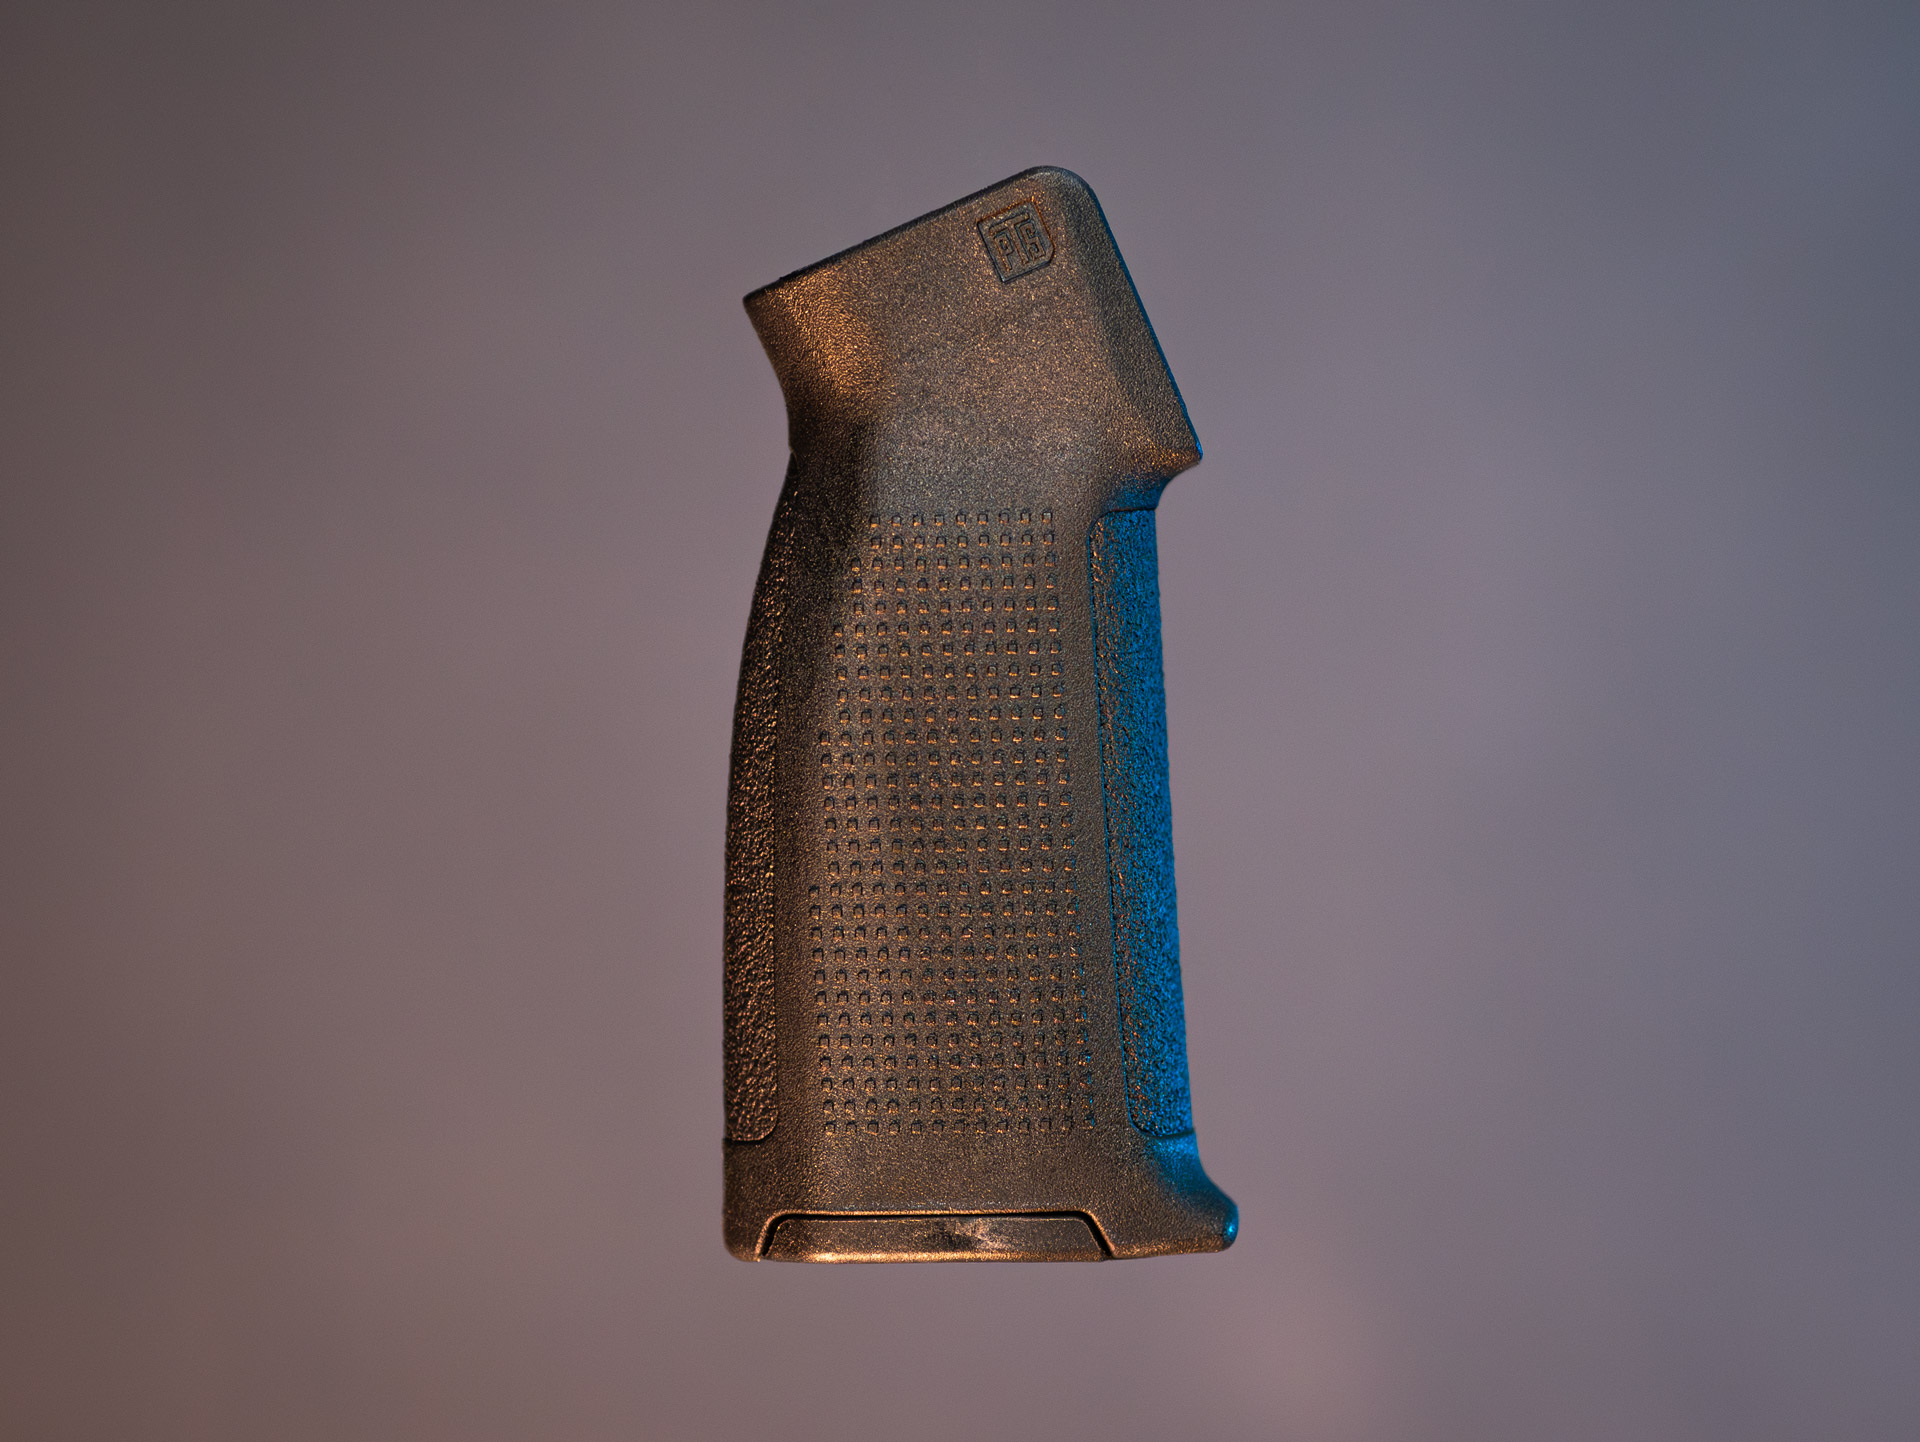
This is the PTS EPG-C, which is equipped without a beaver tail:
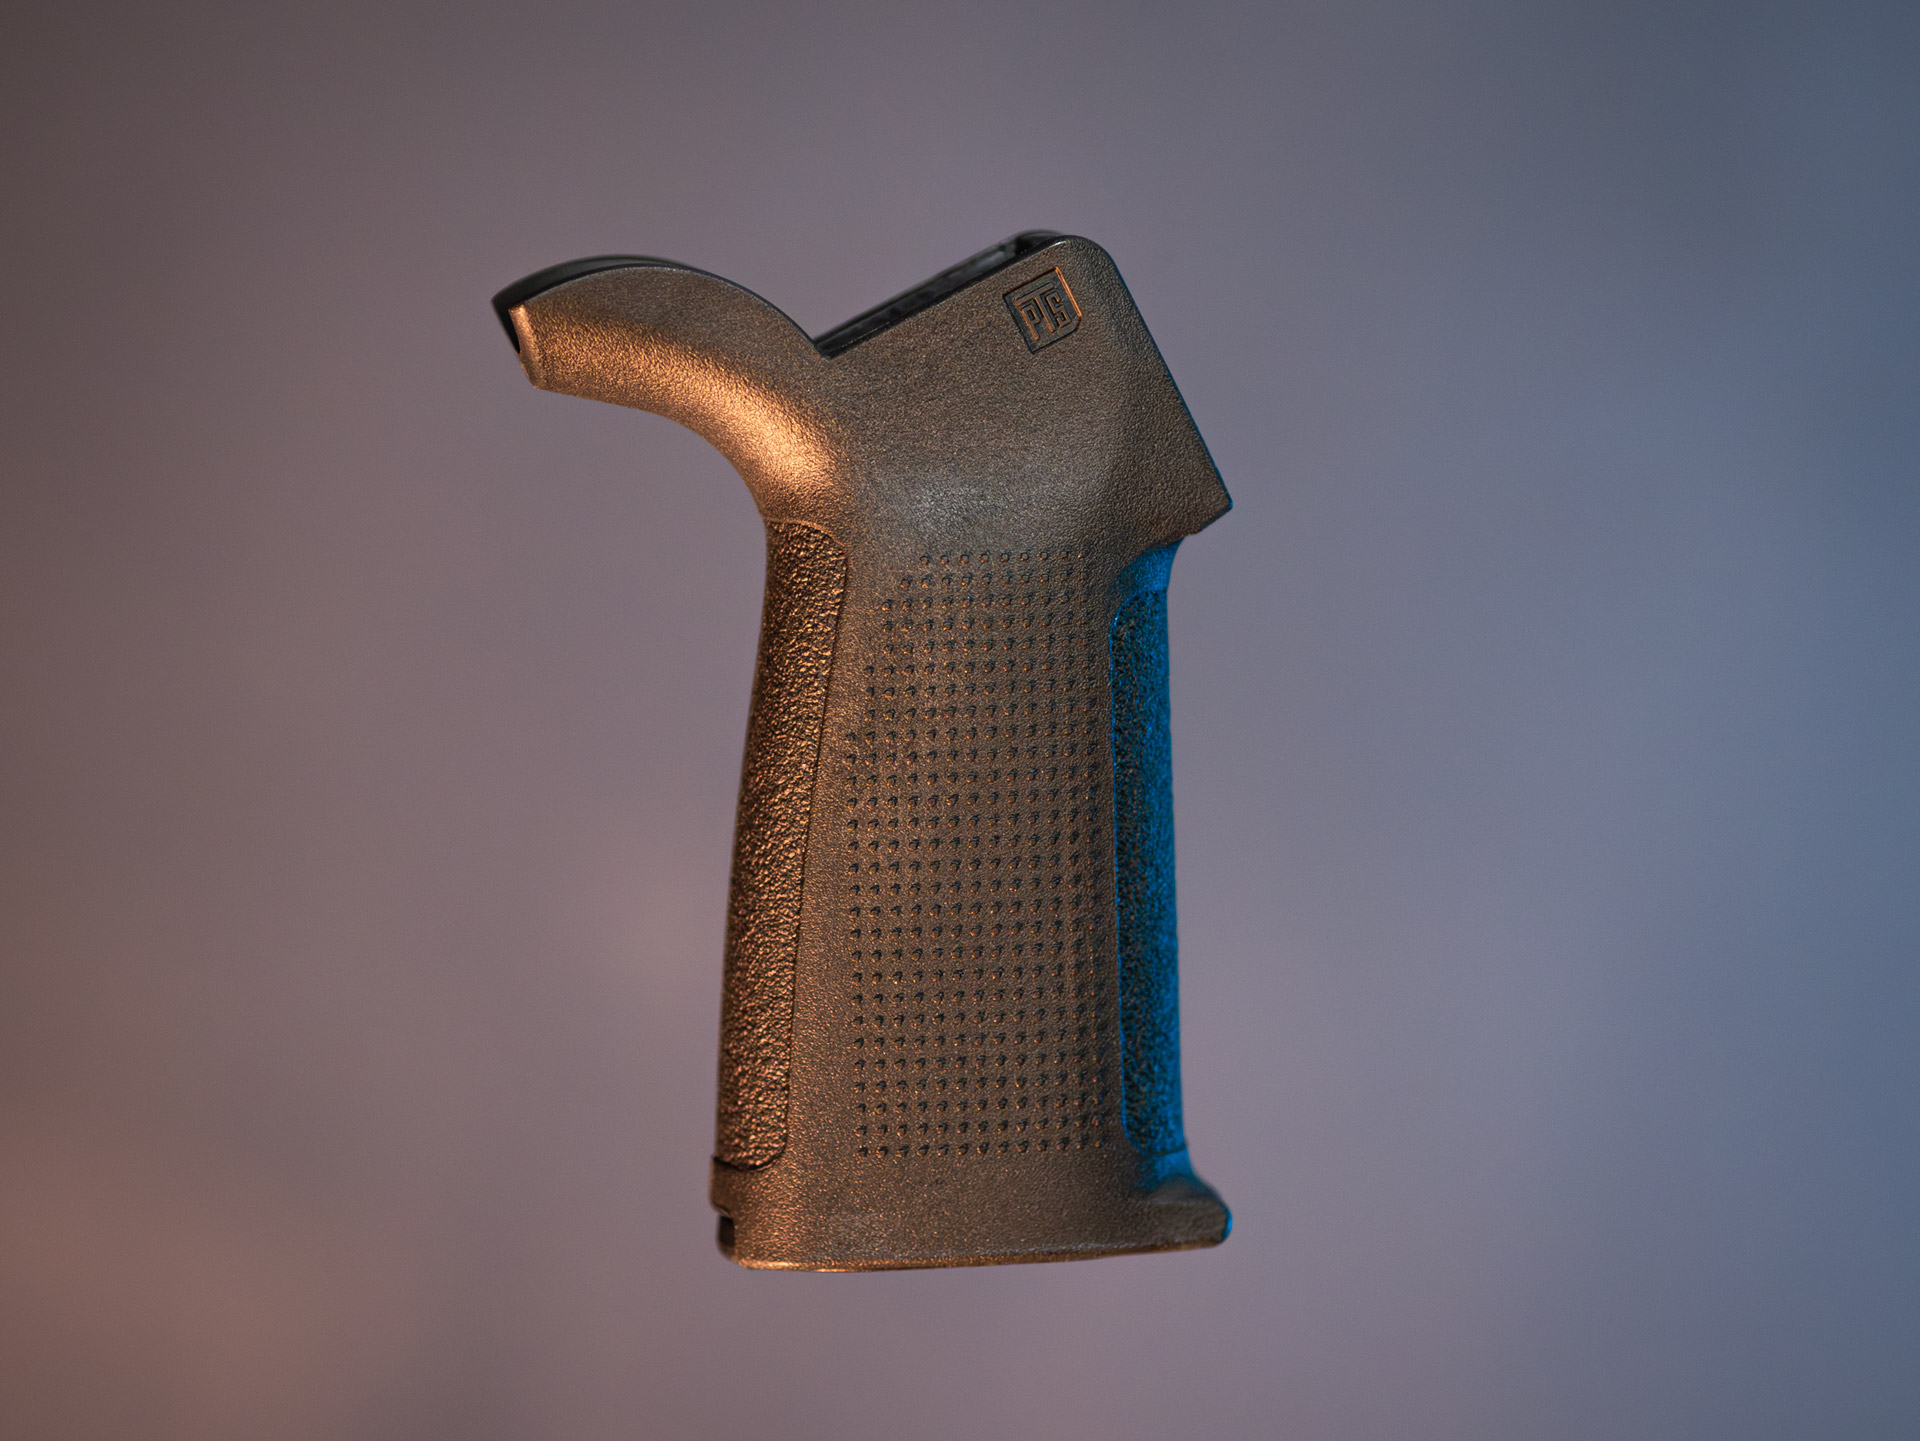
The second variant is the PTS EPG, which has a beaver tail and thus builds up a bit more voluminous to the rear:
For comparison, I’ve superimposed both handles in Photoshop so you can see the difference more clearly:
The angle of the EPG-C is somewhat steeper and the EPG builds significantly deeper. Especially the 15% longer build has a big advantage for shooters with larger hands: The position of the palm moves further back, so that the index finger reaches the trigger in a more relaxed way without being bent so much. With the EPG-C, I had the problem that my index finger arrived at the trigger on the second limb. Thus, the larger PTS EPG is the better choice for me.
In addition to that, at least from my point of view, this grip just looks better on this gun.
With the EPG-C, if you want to use one because it fits either optically or ergonomically better to your preferences, make sure to lay out the cables sensibly. It is usually advisable to run both cables along the front.
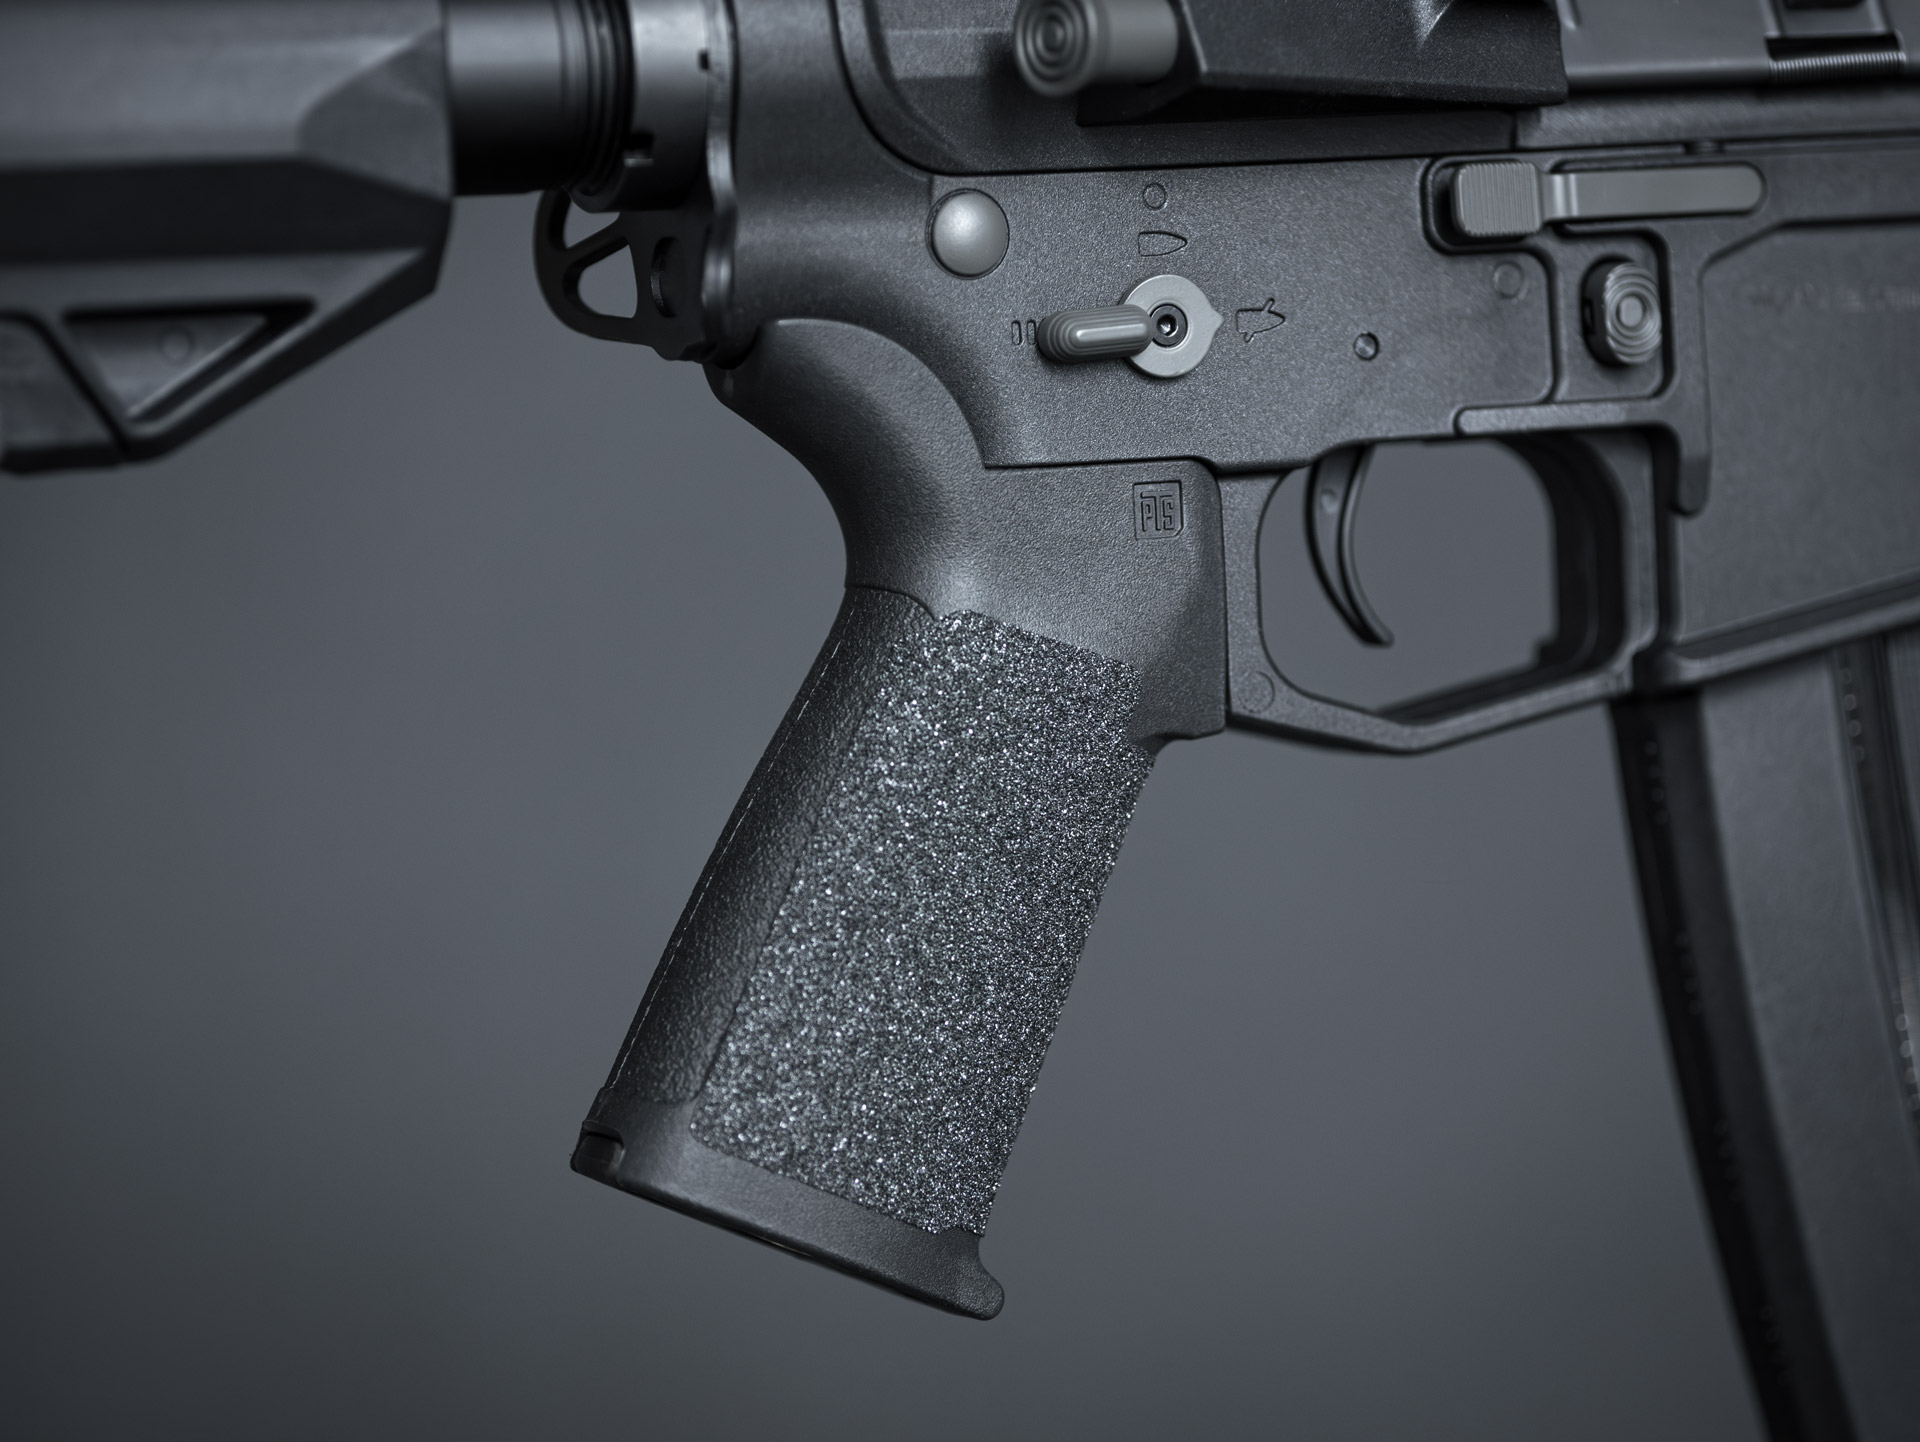
With this, the most important point is already comprehensively clarified, I think. One thing I can´t run my guns without of course, are SandGrips, so that I have the perfect grip both with and without gloves.
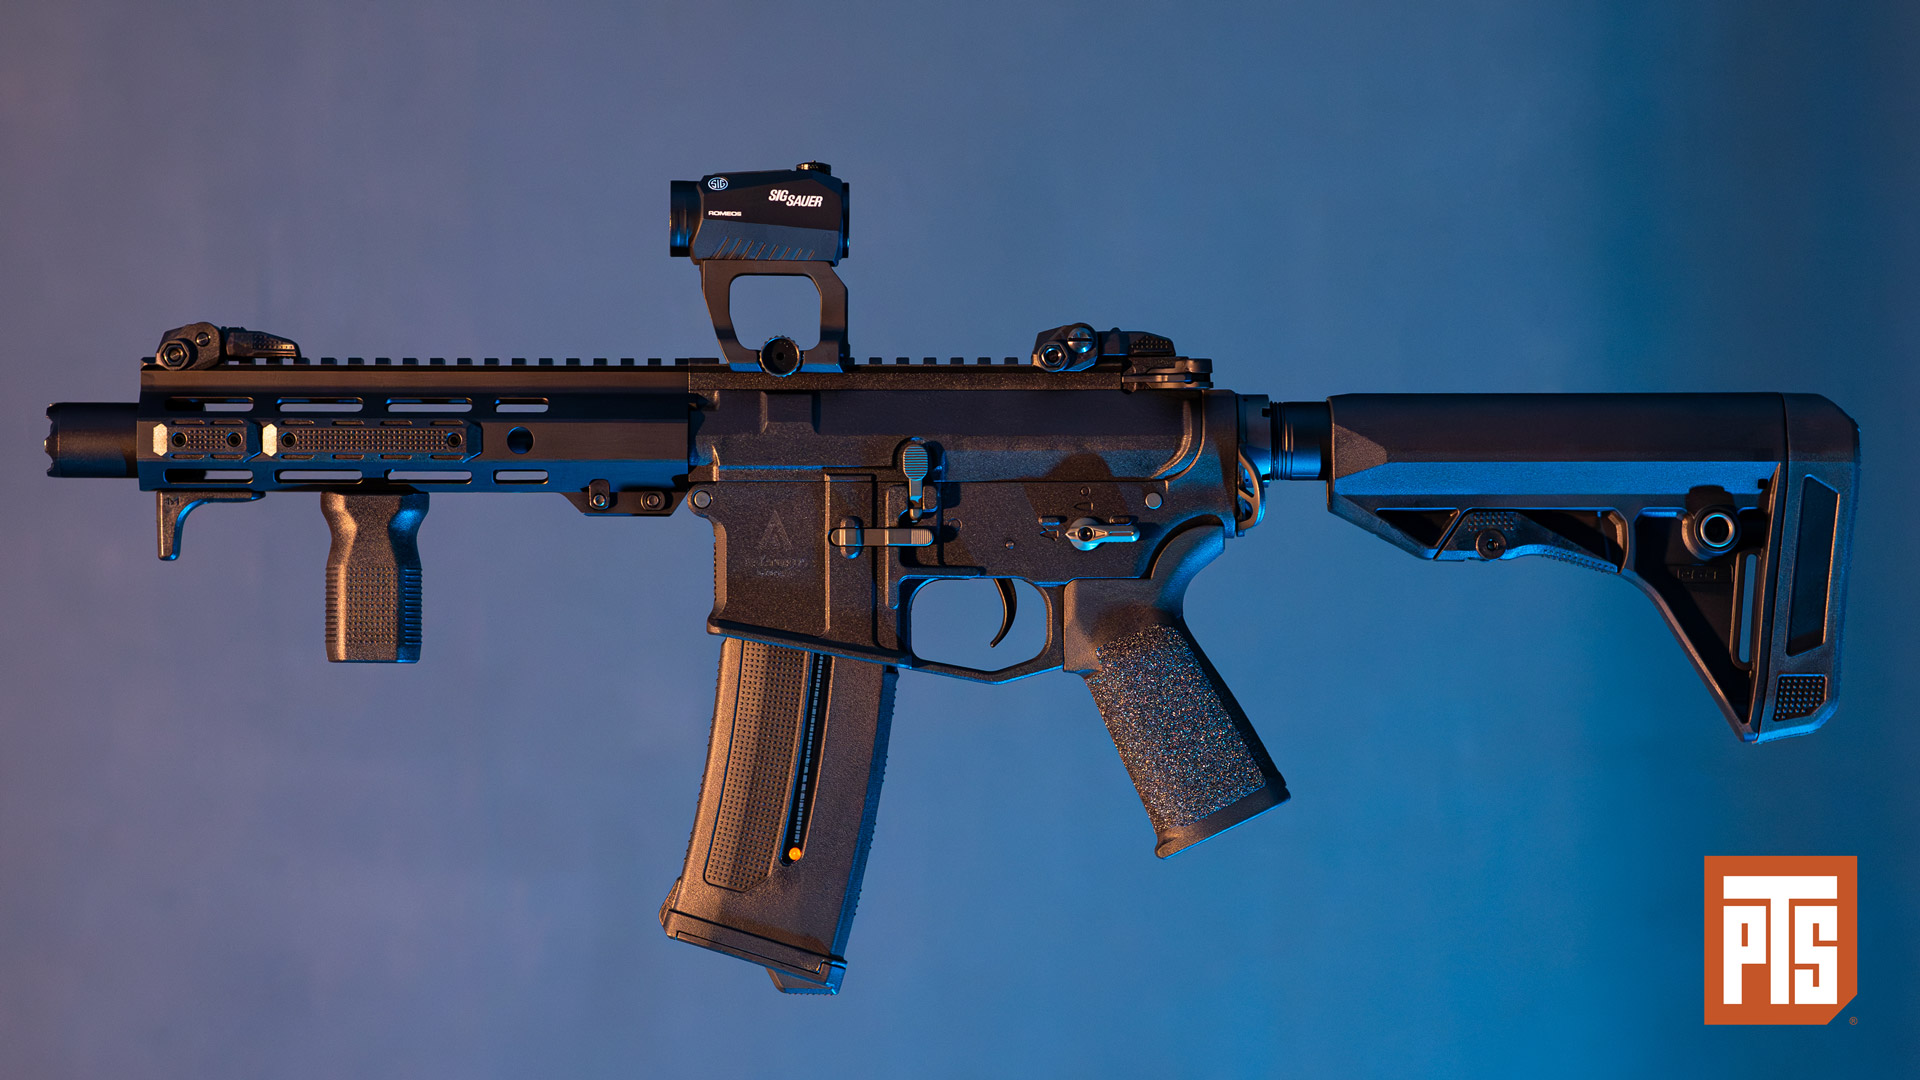
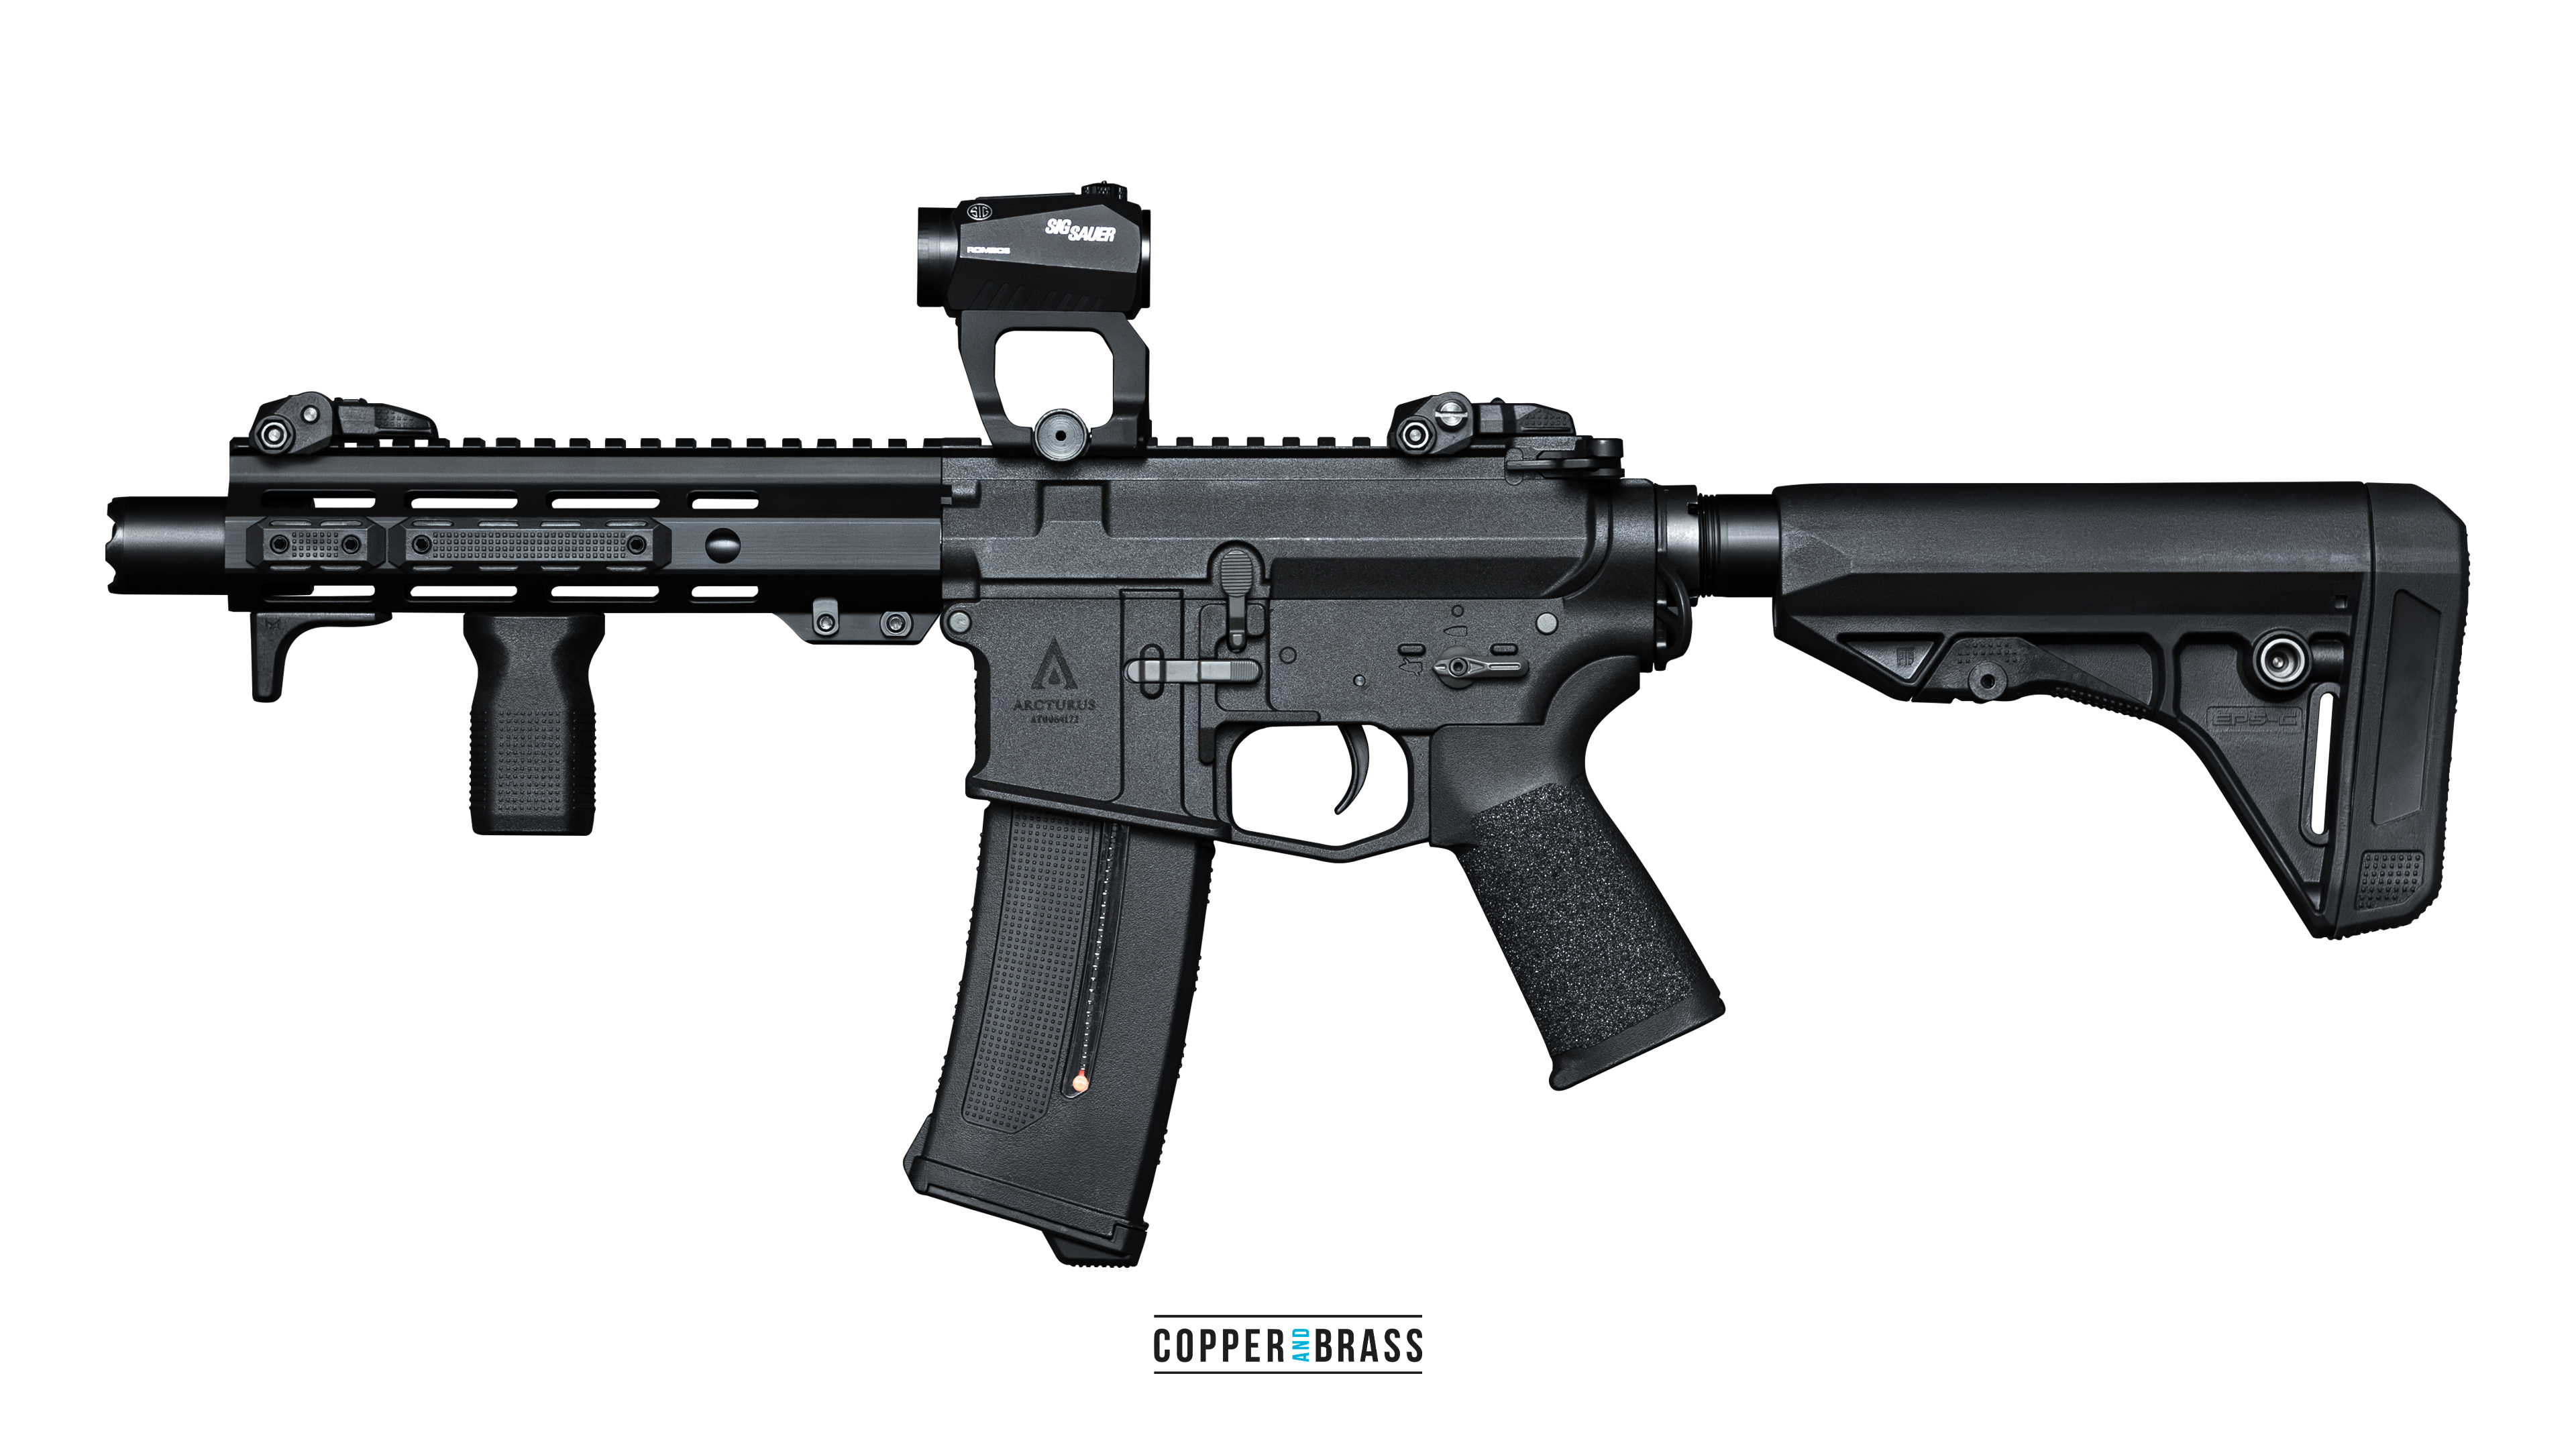
When installed on the Arcturus, the PTS EPG grip looks like this:
The PTS EPG fits quite tightly on the gearbox mount. In this respect, make sure that you push the handle onto the gearbox as far as it will go. The small gap that was still present on this model disappears as soon as you tighten the two screws that connect the grip to the receiver.
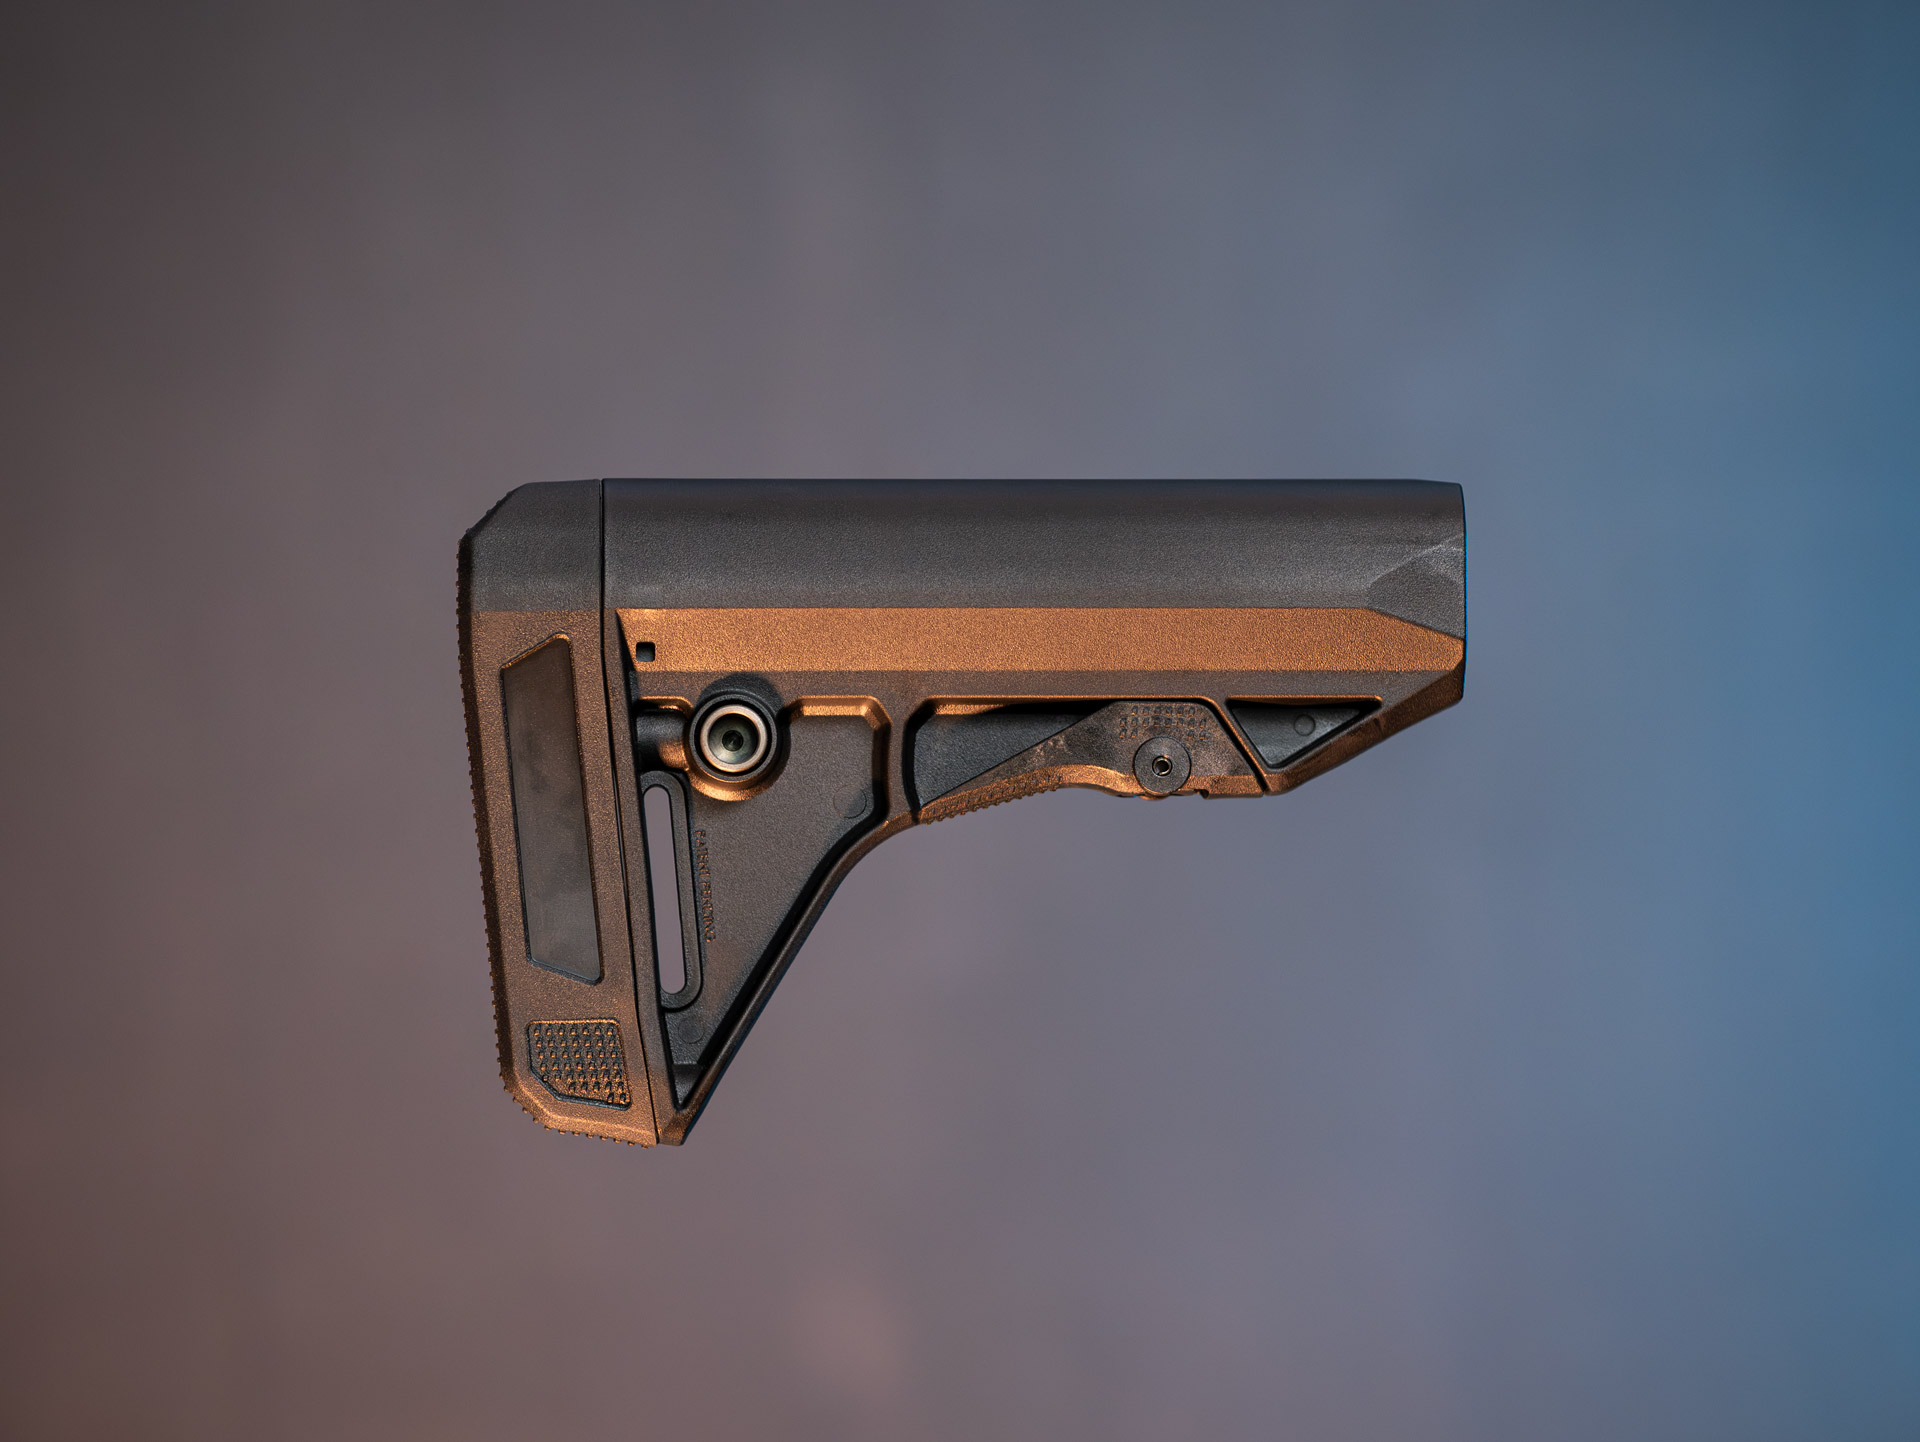
The second point of contact: PTS EPS-C
I have been using the PTS EPS stockon my HK416 A5 for a long time. It is very comfortable and offers massive space for batteries and simply looks high quality!
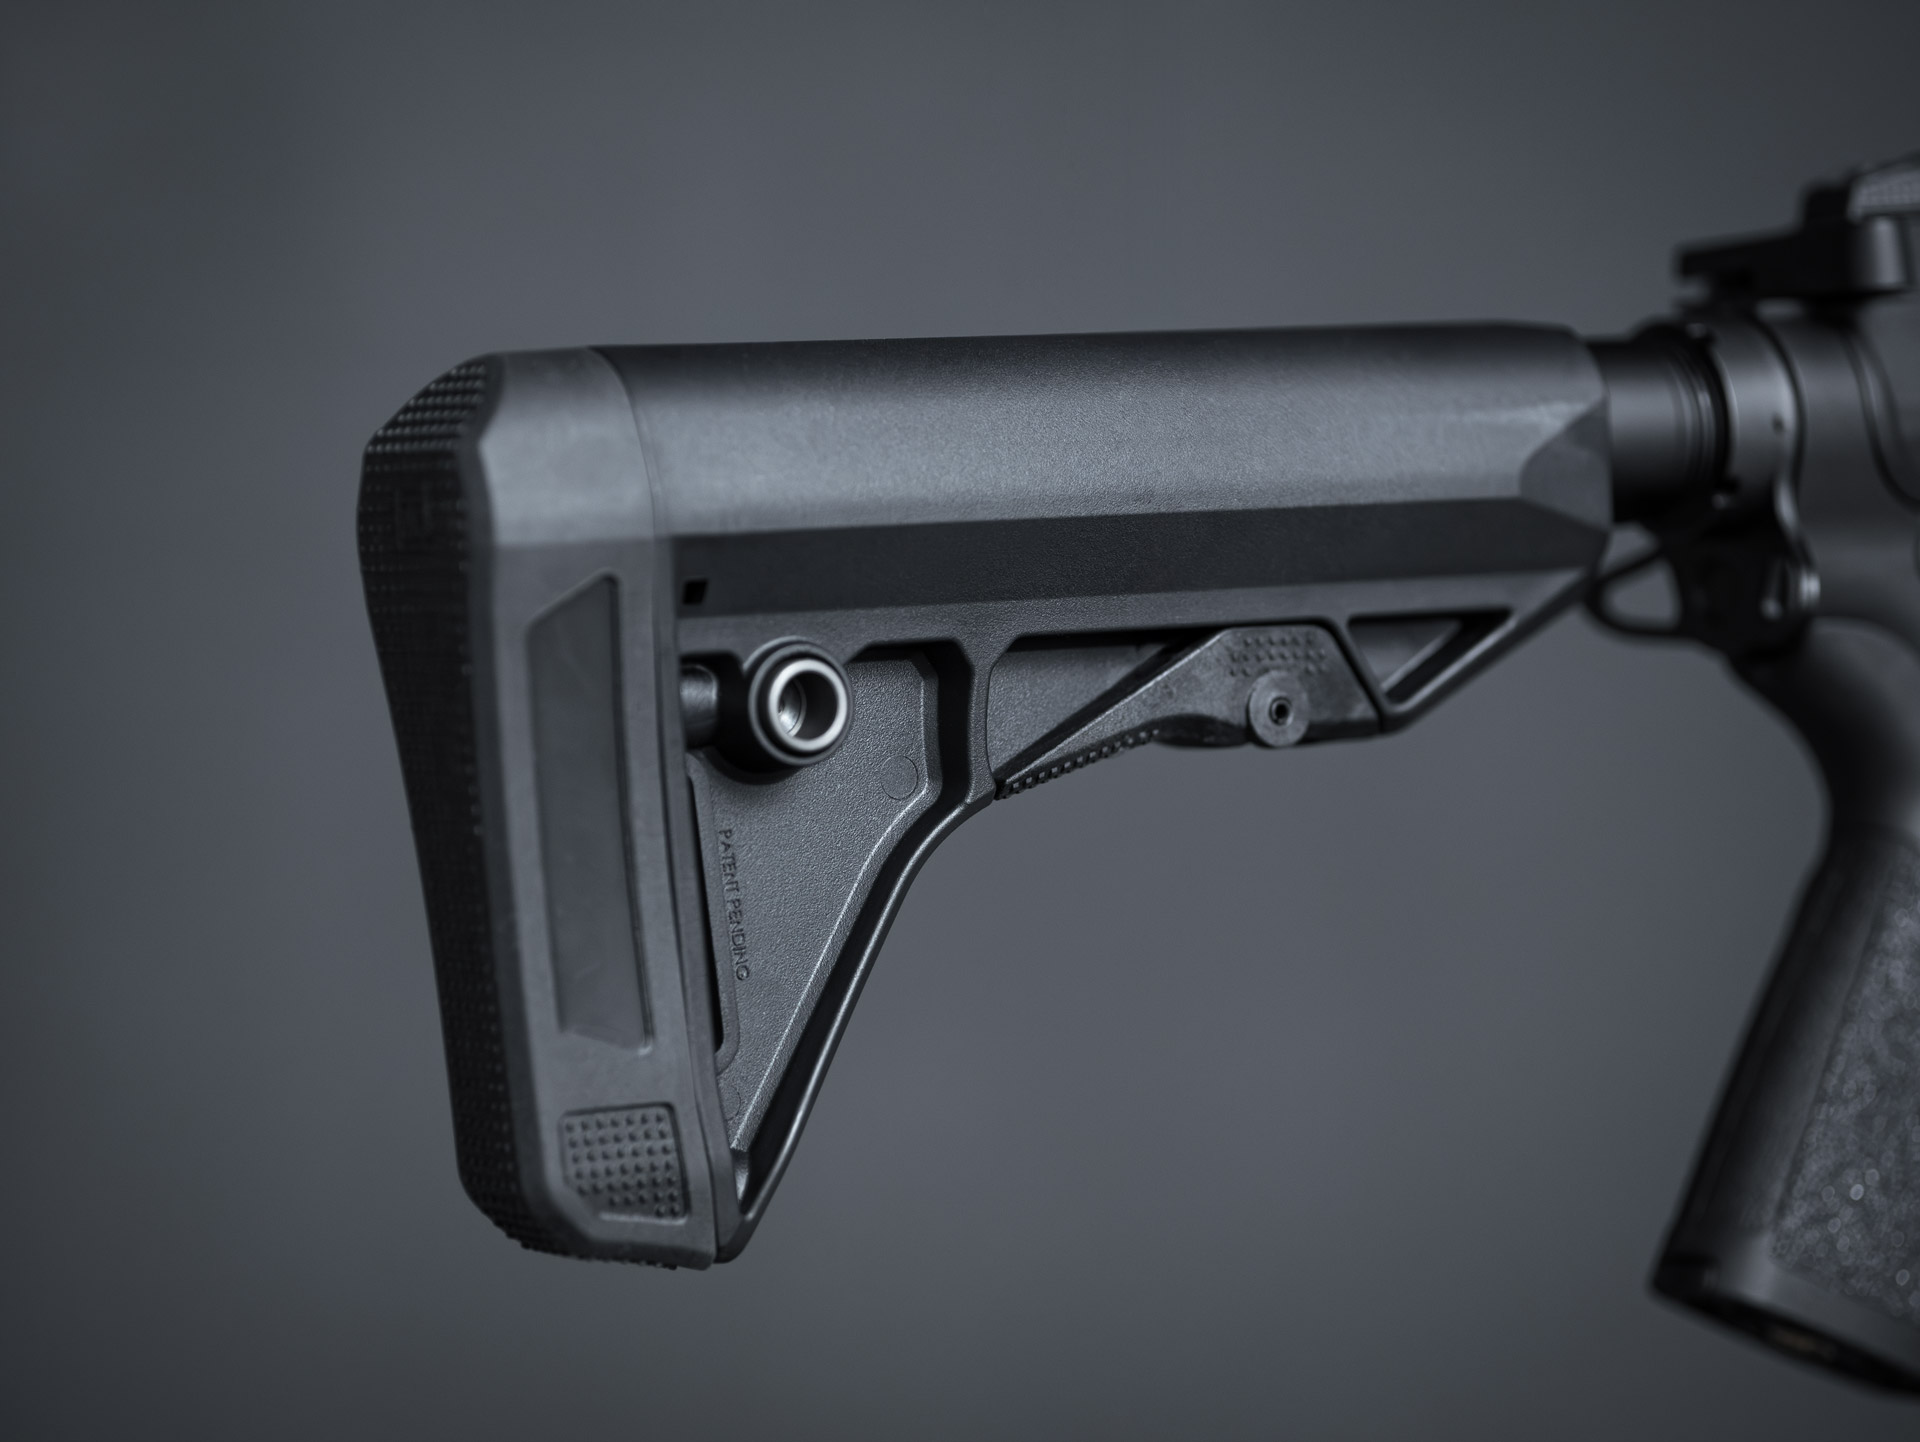
However, this stock is a bit too big for the Arcturus. I tired the PTS EPS (enhanced polymer stock) on the buffer tube of the Arcturus, but immediately realized that it just does not compliment this compact model. I was all the happier that there was a PTS EPS-C stock in the PTS package.
The EPS-C is significantly smaller than the EPS and is more or less a hybrid between a crane stick and a minimalist stick. The only “disadvantage” is that the battery space is limited to the buffer tube. In my Arcturus, however, a single stick 1,500 mAh 11.1 V LiPo fits easily into the buffer tube, so that I have more than enough battery capacity for a day, especially in conjunction with the efficient 19K Mamba motor in the Arcturus.
So at about 0.3 to 0.4 mAh per cycle, you can easily get over 3500 shots without having to change the battery. Since I only shoot when I see an opponent, that should be enough for even 3 or 4 days. #dontsprayandpray
Also included in the PTS package there was an extended butt pad for the EPS-C, so I can easily change the battery without having to pull the stock off the tube.
The plastic base of the extension is screwed to the stock with two screws instead of the butt plate and the “rubber cap” is pushed over the edges of this base. The cap is quite soft and thus provides perfect grip when shouldering the gun.
Mounted on the gun, the PTS EPS-C stock then looks like this:
Since this gun will also be my main training weapon for the future, which I will use without my DYE i5 mask at home, I have created a FoamPad for this stock, so that the contactpoint to me cheeks is optimized. With mask on, the FoamPad will probably only last a games without wearing out, but it’s definitely worth the better feel!
So that we have now optimized the two crucial points on contact, the grip and the stock, let’s move on to things that aren’t essential, but make handling much more comfortable and efficient!
You can run without it, but is less fun: PTS M-Lok Foregrip
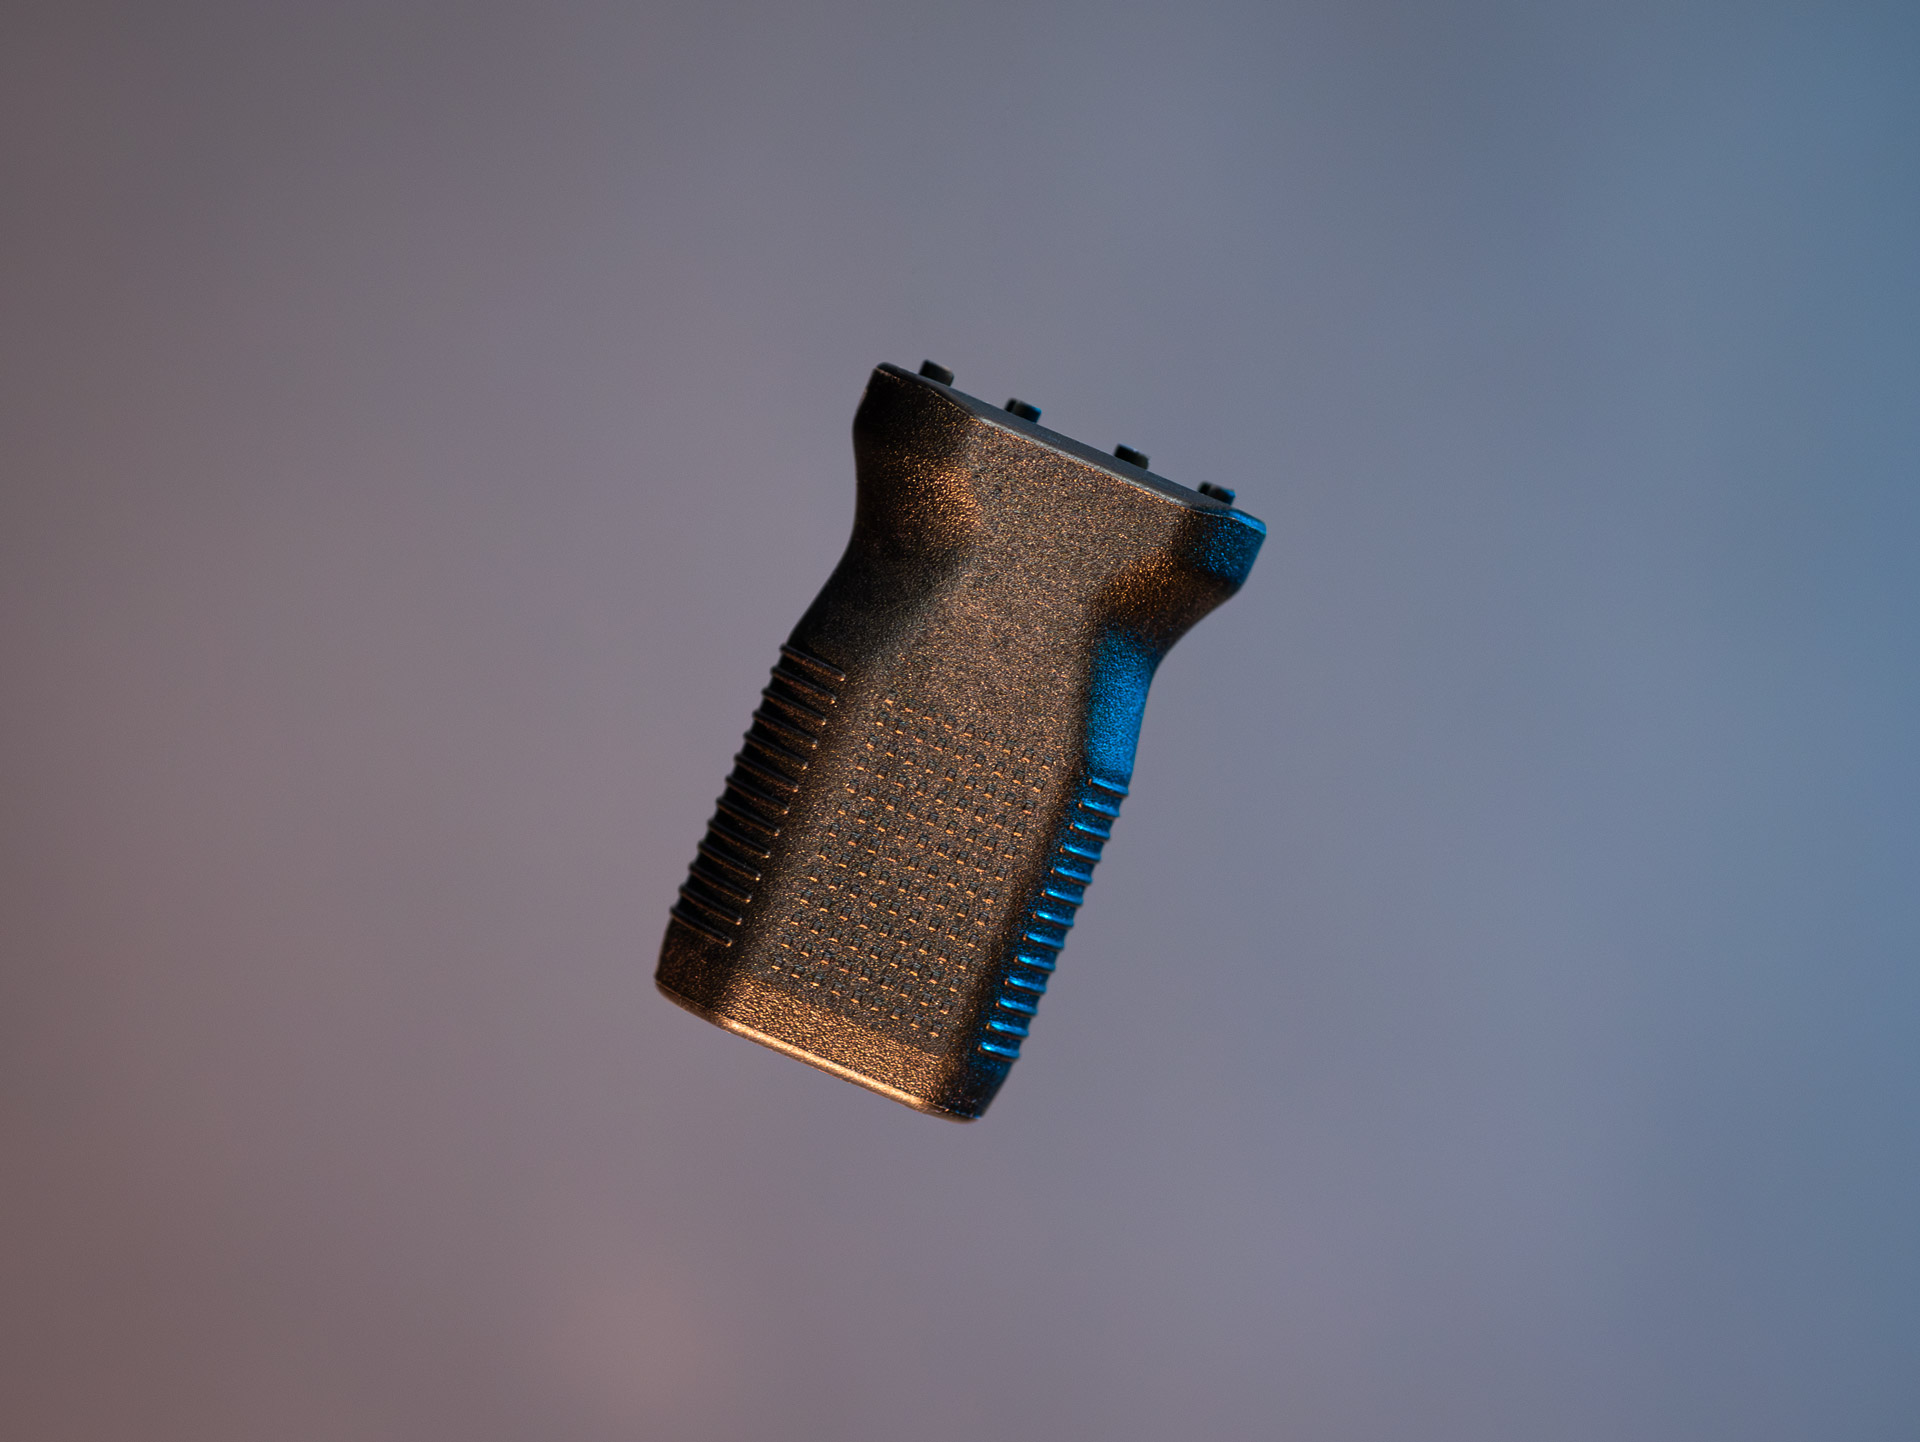
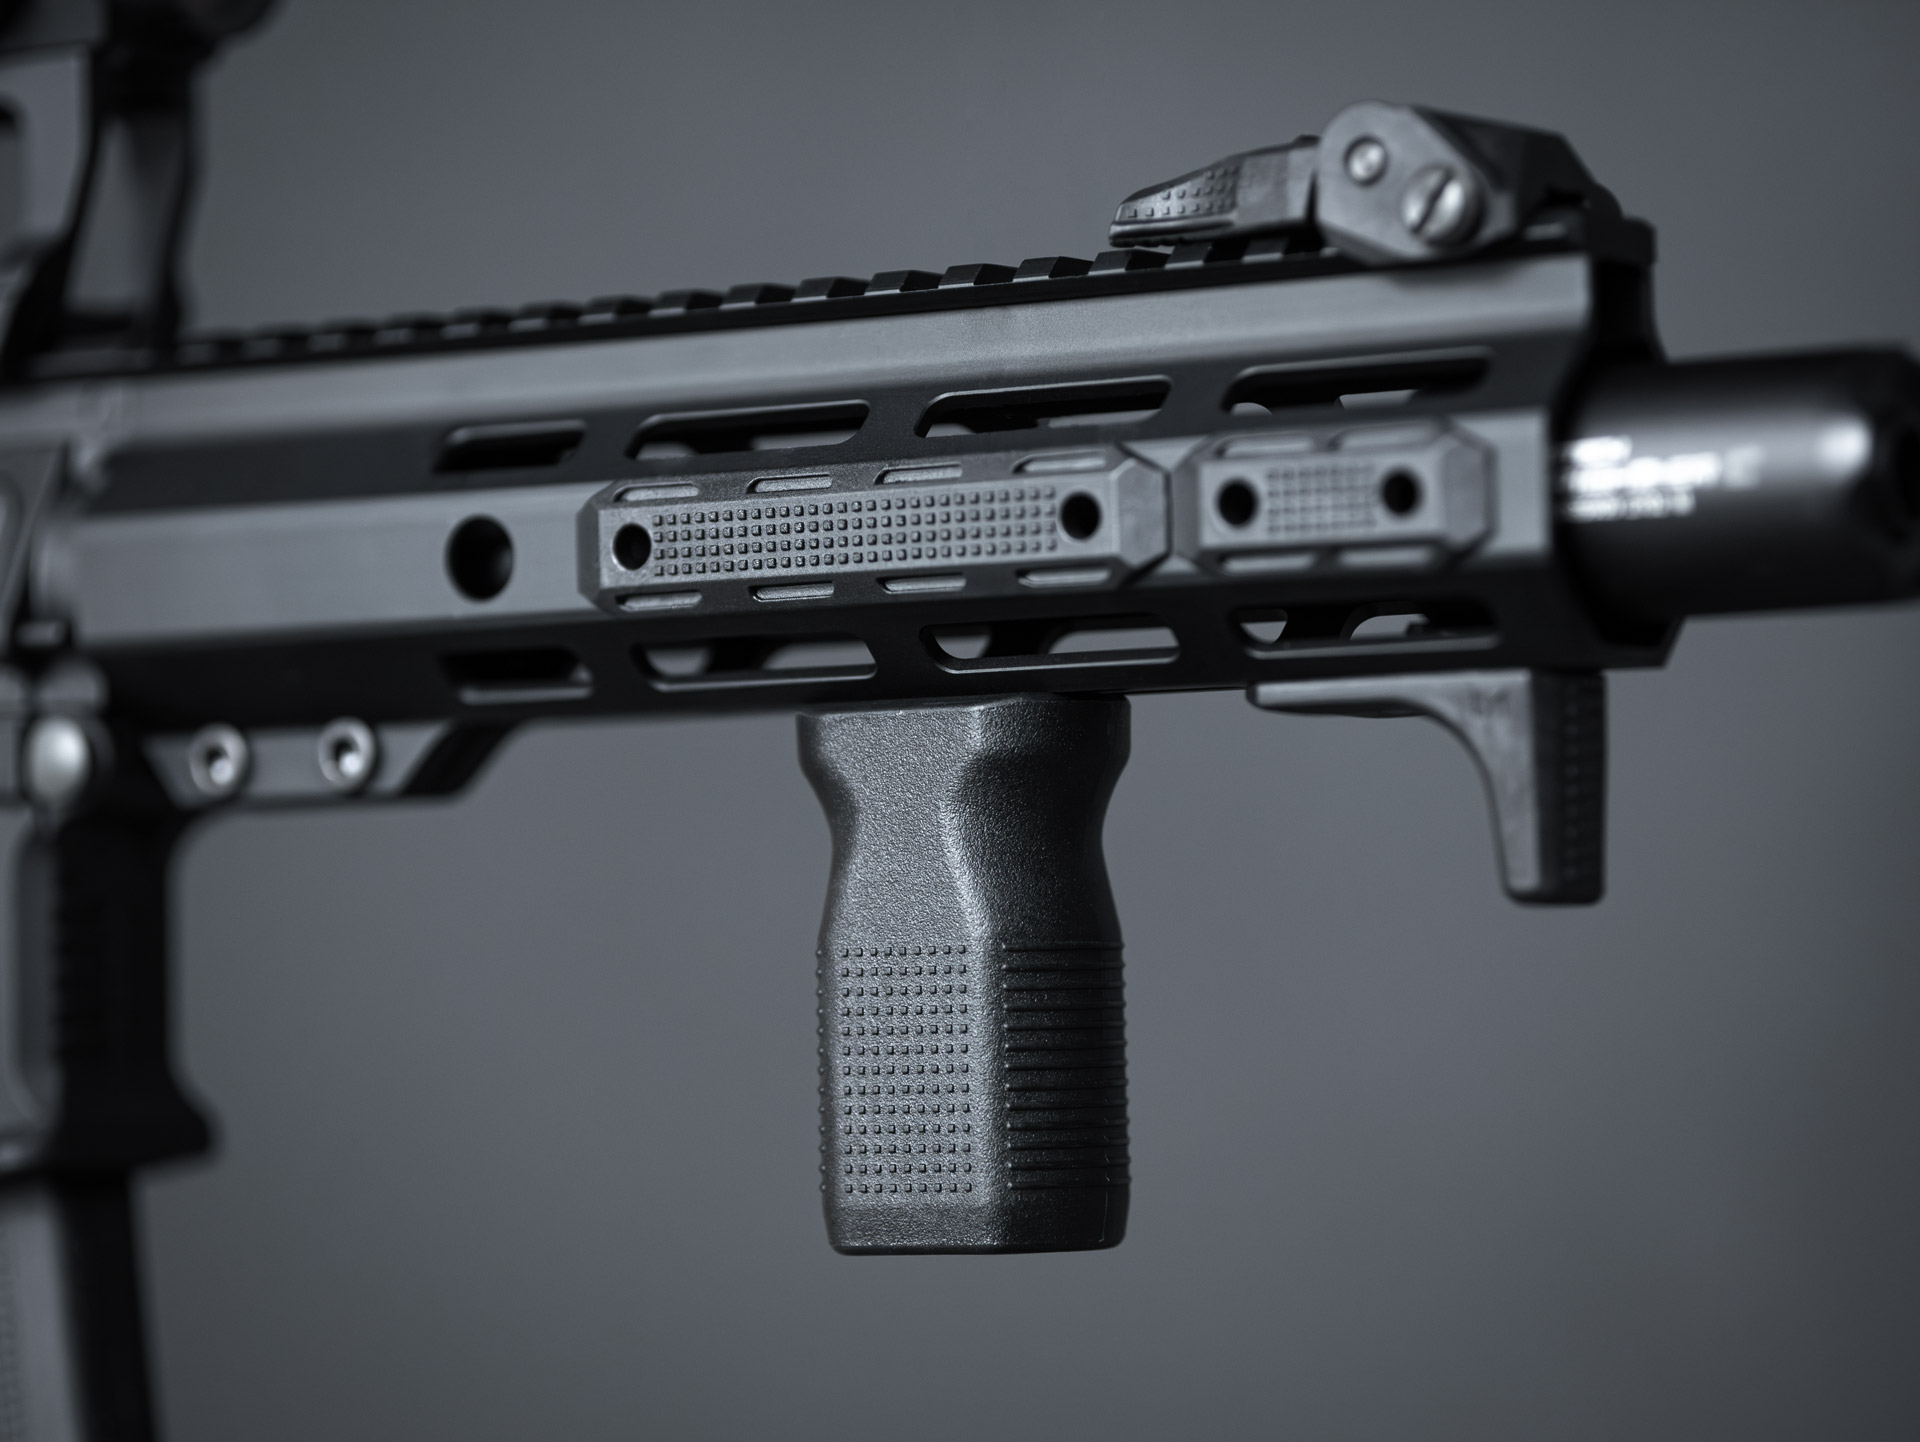
This little attachment can be found on any of my guns: The PTS EPF-M Foregrip.
This foregrip is mounted on the handguard where your support hand would be positioned when using a pistol. The grip allows you to wield the weapon in a more stable manner by pulling it towards your shoulder. Your hand is in exact same place every time, so your motion is always identical. Once you’ve tried it, you don’t want to work without it!
In conjunction with the Rail Cover Set and the Hand Stop (description follows below), the handguard on my rifle now looks like this:
The handle is nice and compact and also very grippy due to the surface texture.
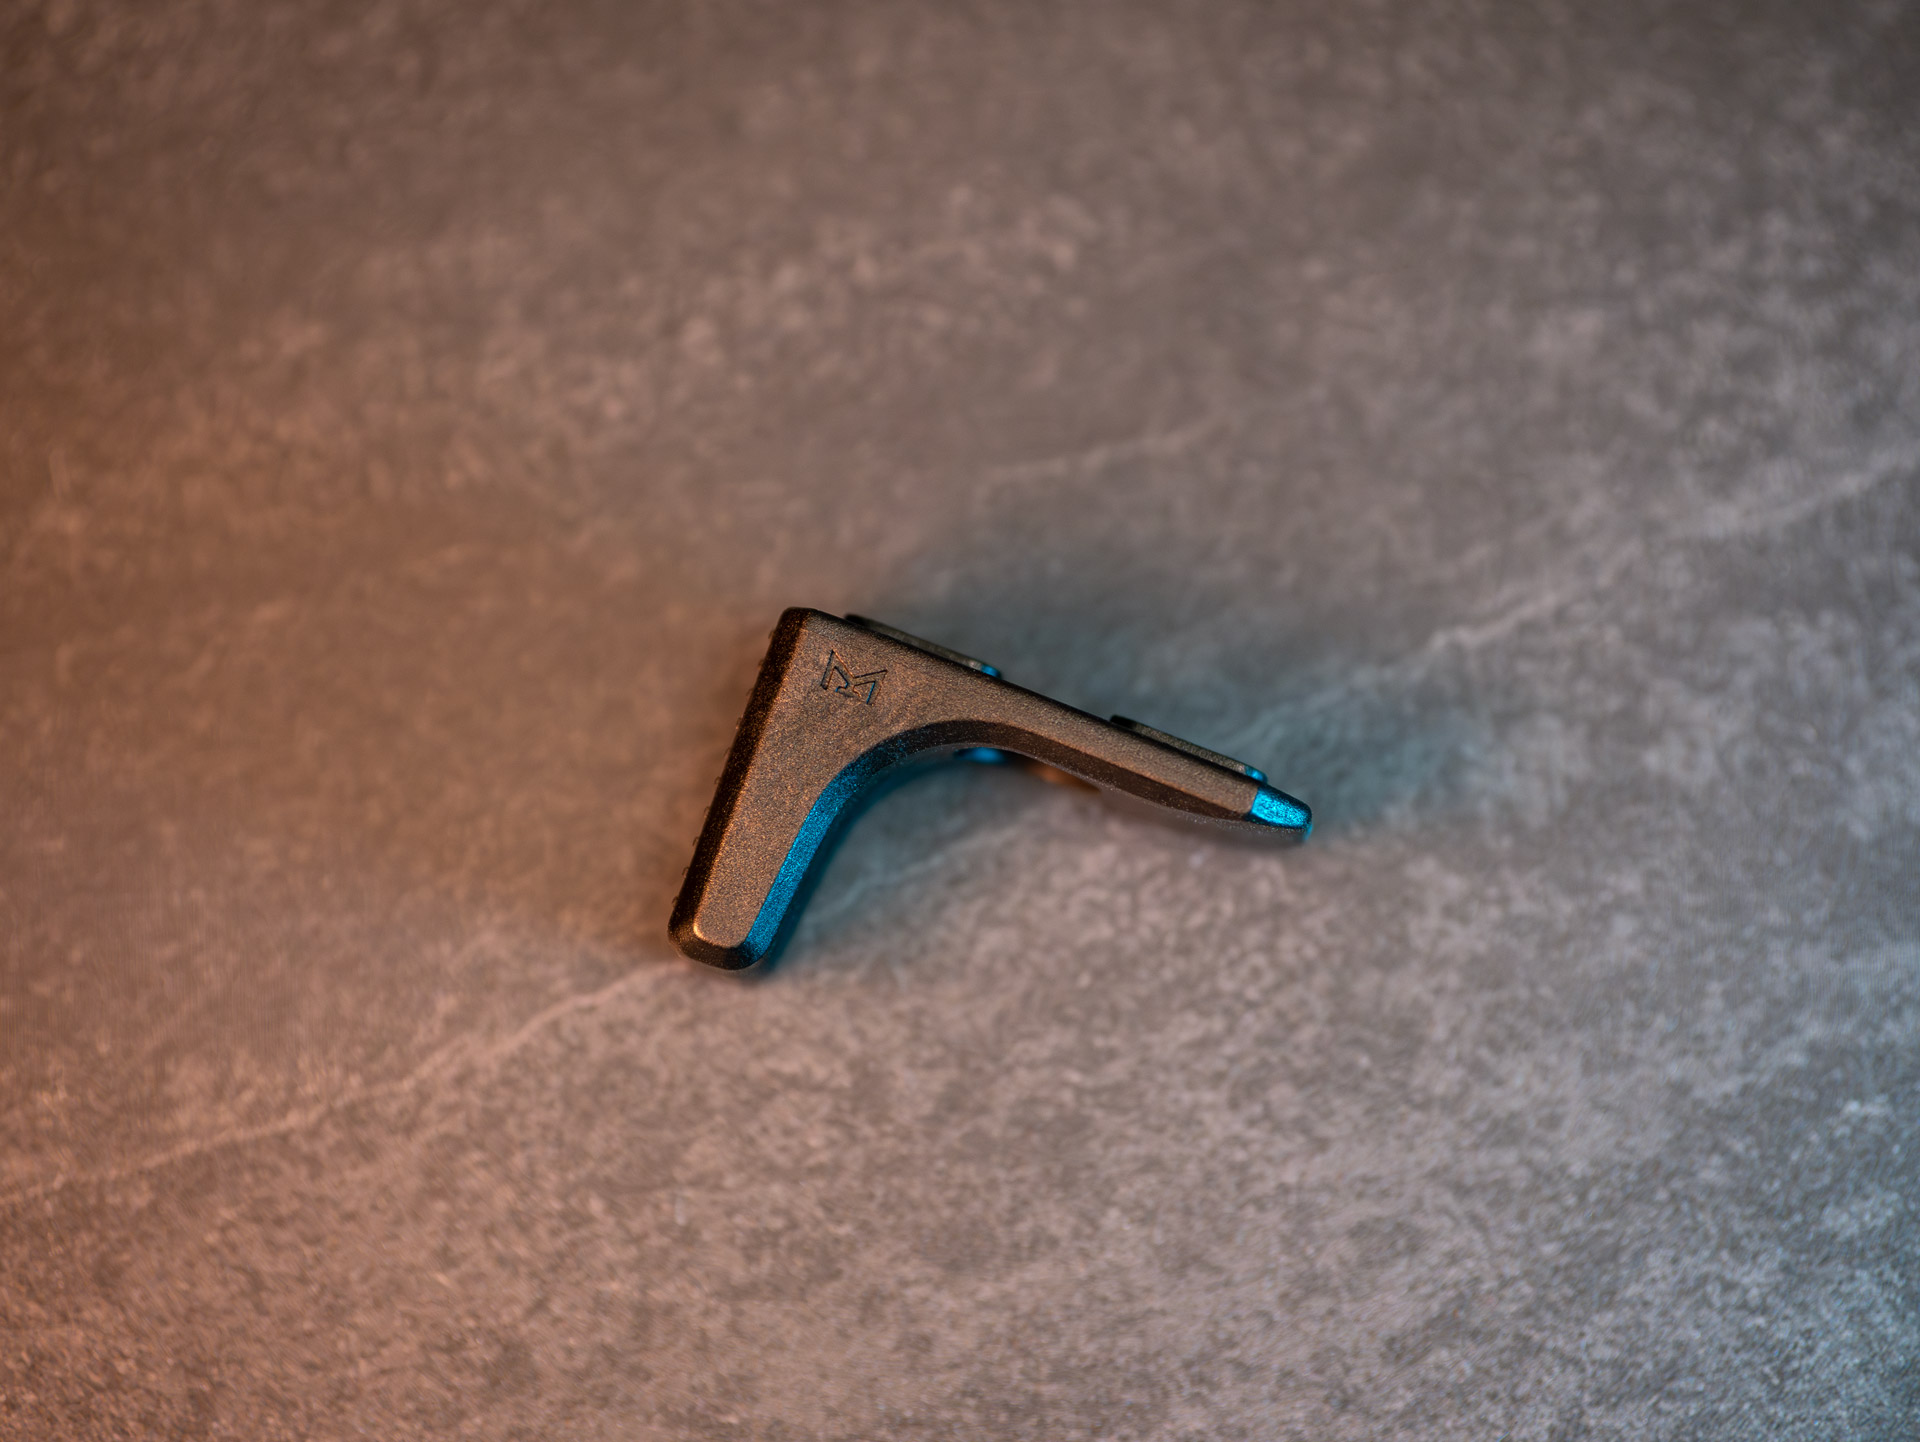
Nice to have: PTS Enhanced Polymer Hand Stop M-LOK
I have made it my mission to pull security for friendly groups while playing airsoft. This is one of the mistakes I see most often on game days. Too many teams always walk across the fields with their eyes forward, without anyone seeming to worry about what happening behind them.
At this point, a little teaser: I will soon produce a video in which I address exactly such weak points, so that you can further optimize your game. It’s usually the little things that can prevent your entire team from being taken out from behind.
In this position as “security” I often use a C-Clamp grip, where I wrap my thumb around the handguard pointing down and rest my palm against some cover. This allows me to stay in that covered position longer without my arms getting tired.
You can tell I’m an absolute efficiency fanatic! The PTS Hand Stop helps me have another point of contact with cover without rubbing my handguard on a wall or door frame.
The PTS Hand Stop only weighs a few grams and is attached with only one screw on the handguard. In this respect, a practical and easy upgrade!
Insertion: Weight of attachments
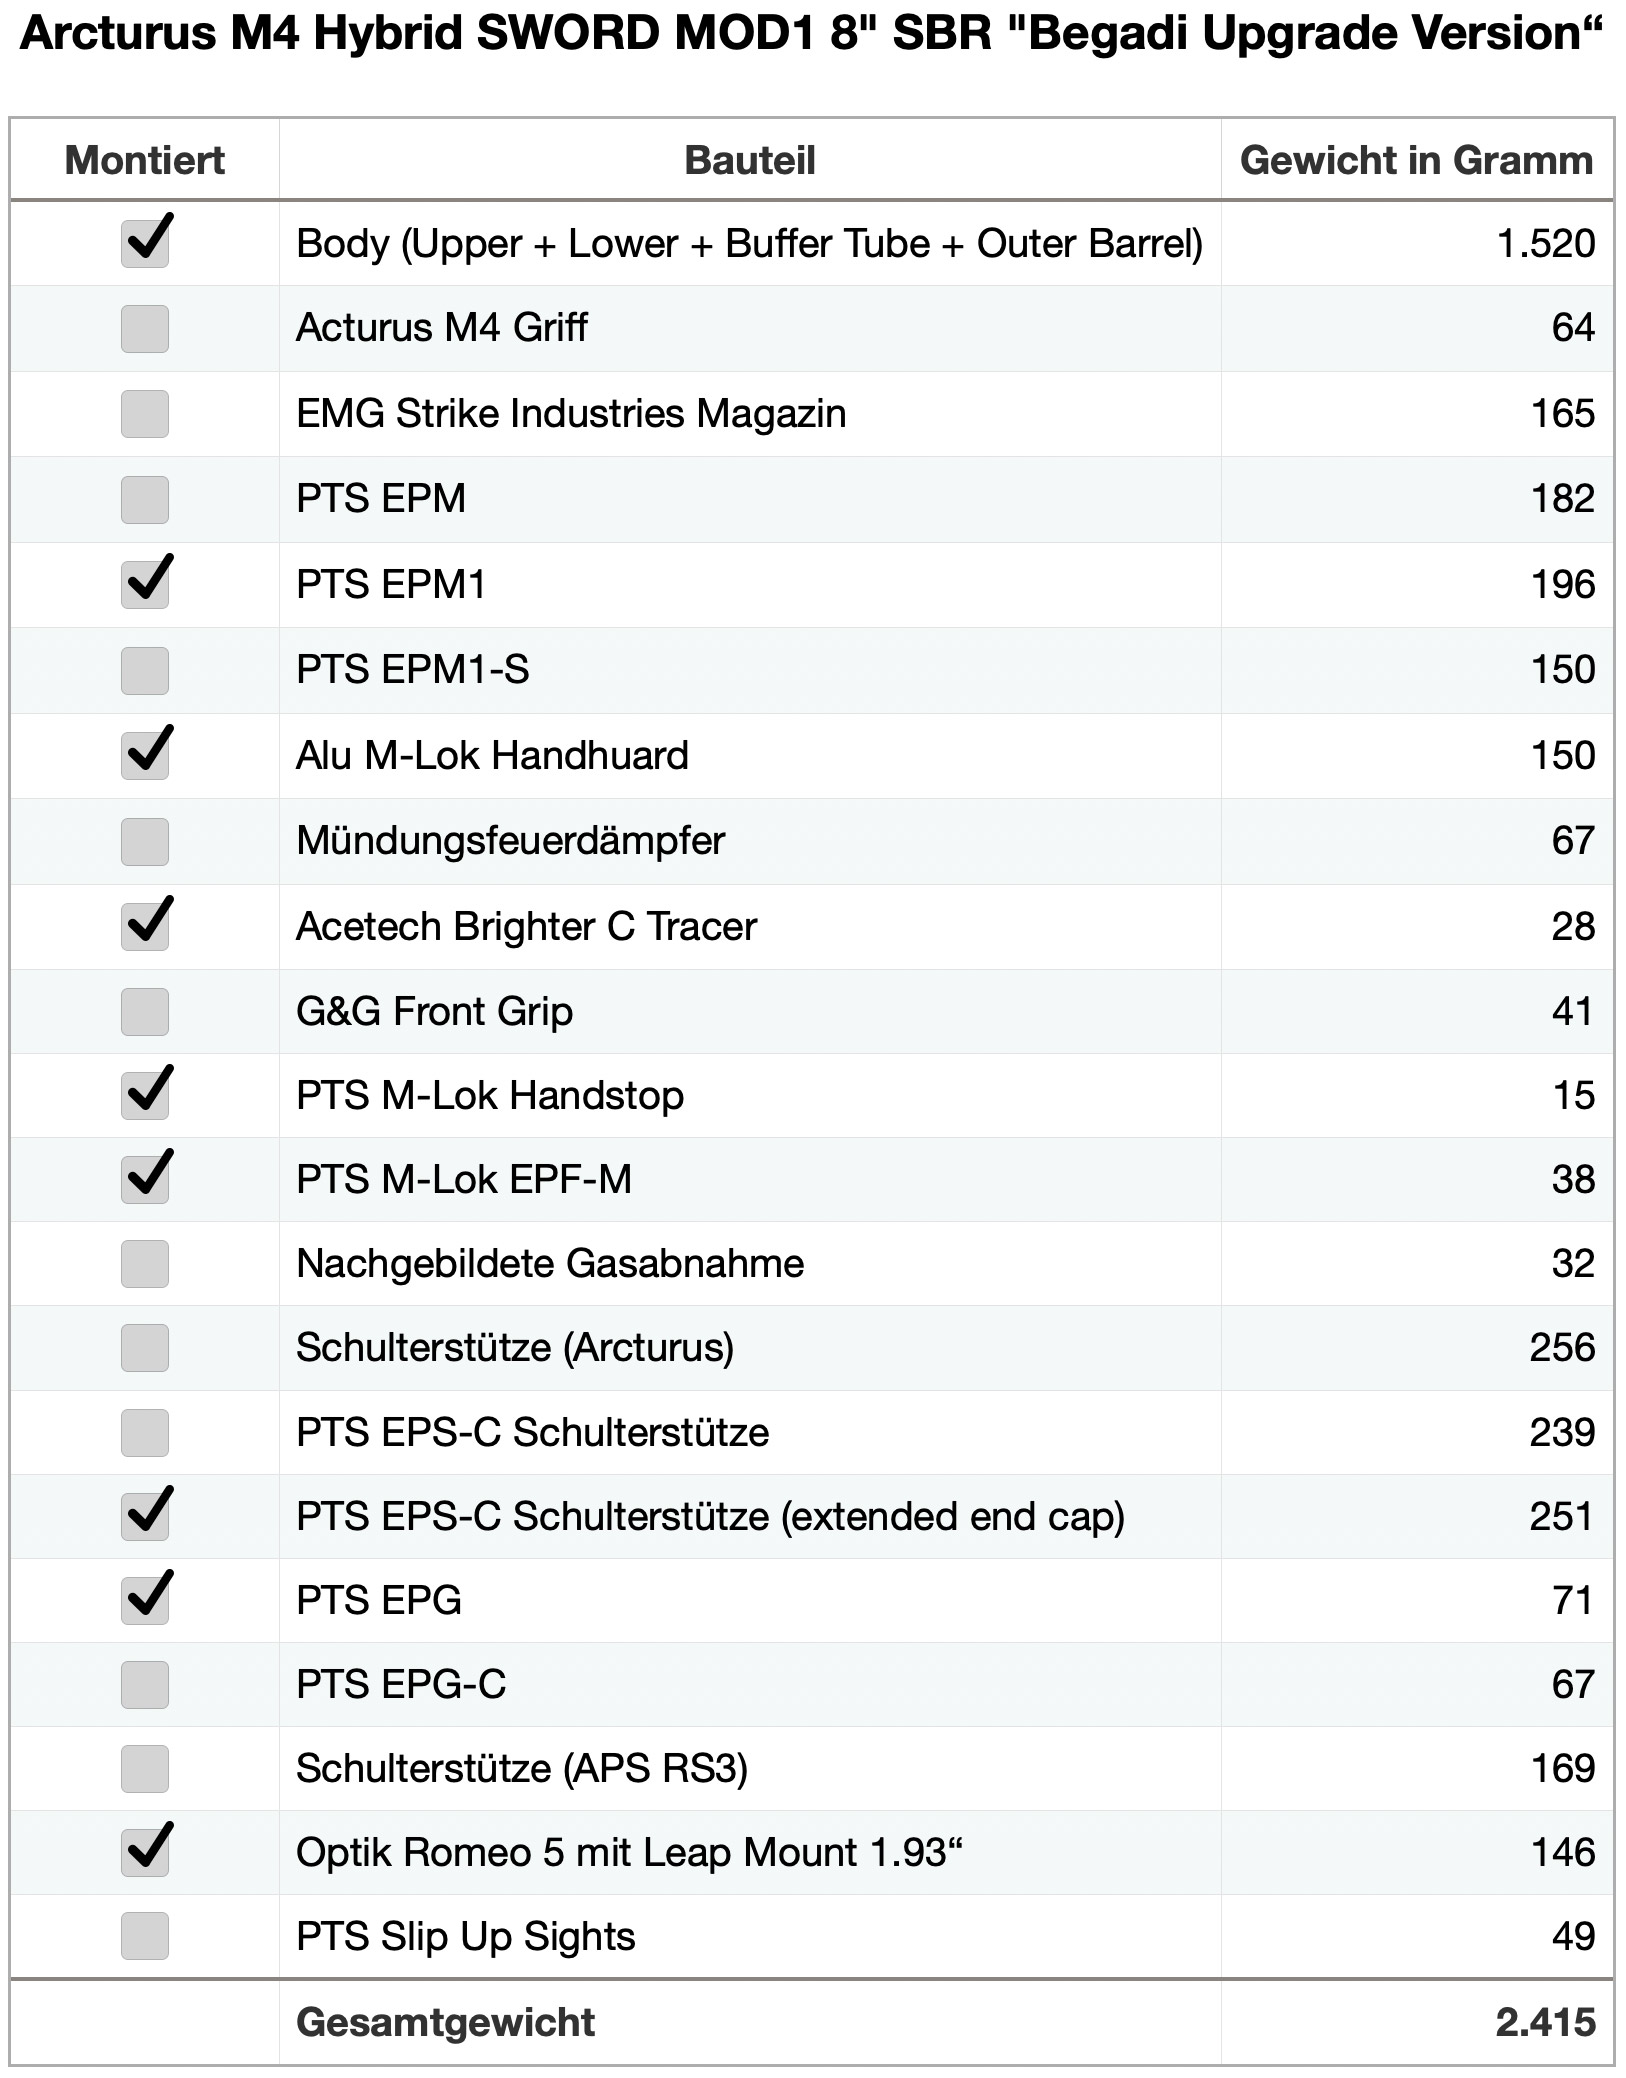
As I did in the first post on the Arcturus Sword, I weighed all the attachments to get an idea of what the gun would weigh in the end. I know I may be a bit too detailed for some, but I just wanted to build a very light primary.
Here are all the weight details for this project:
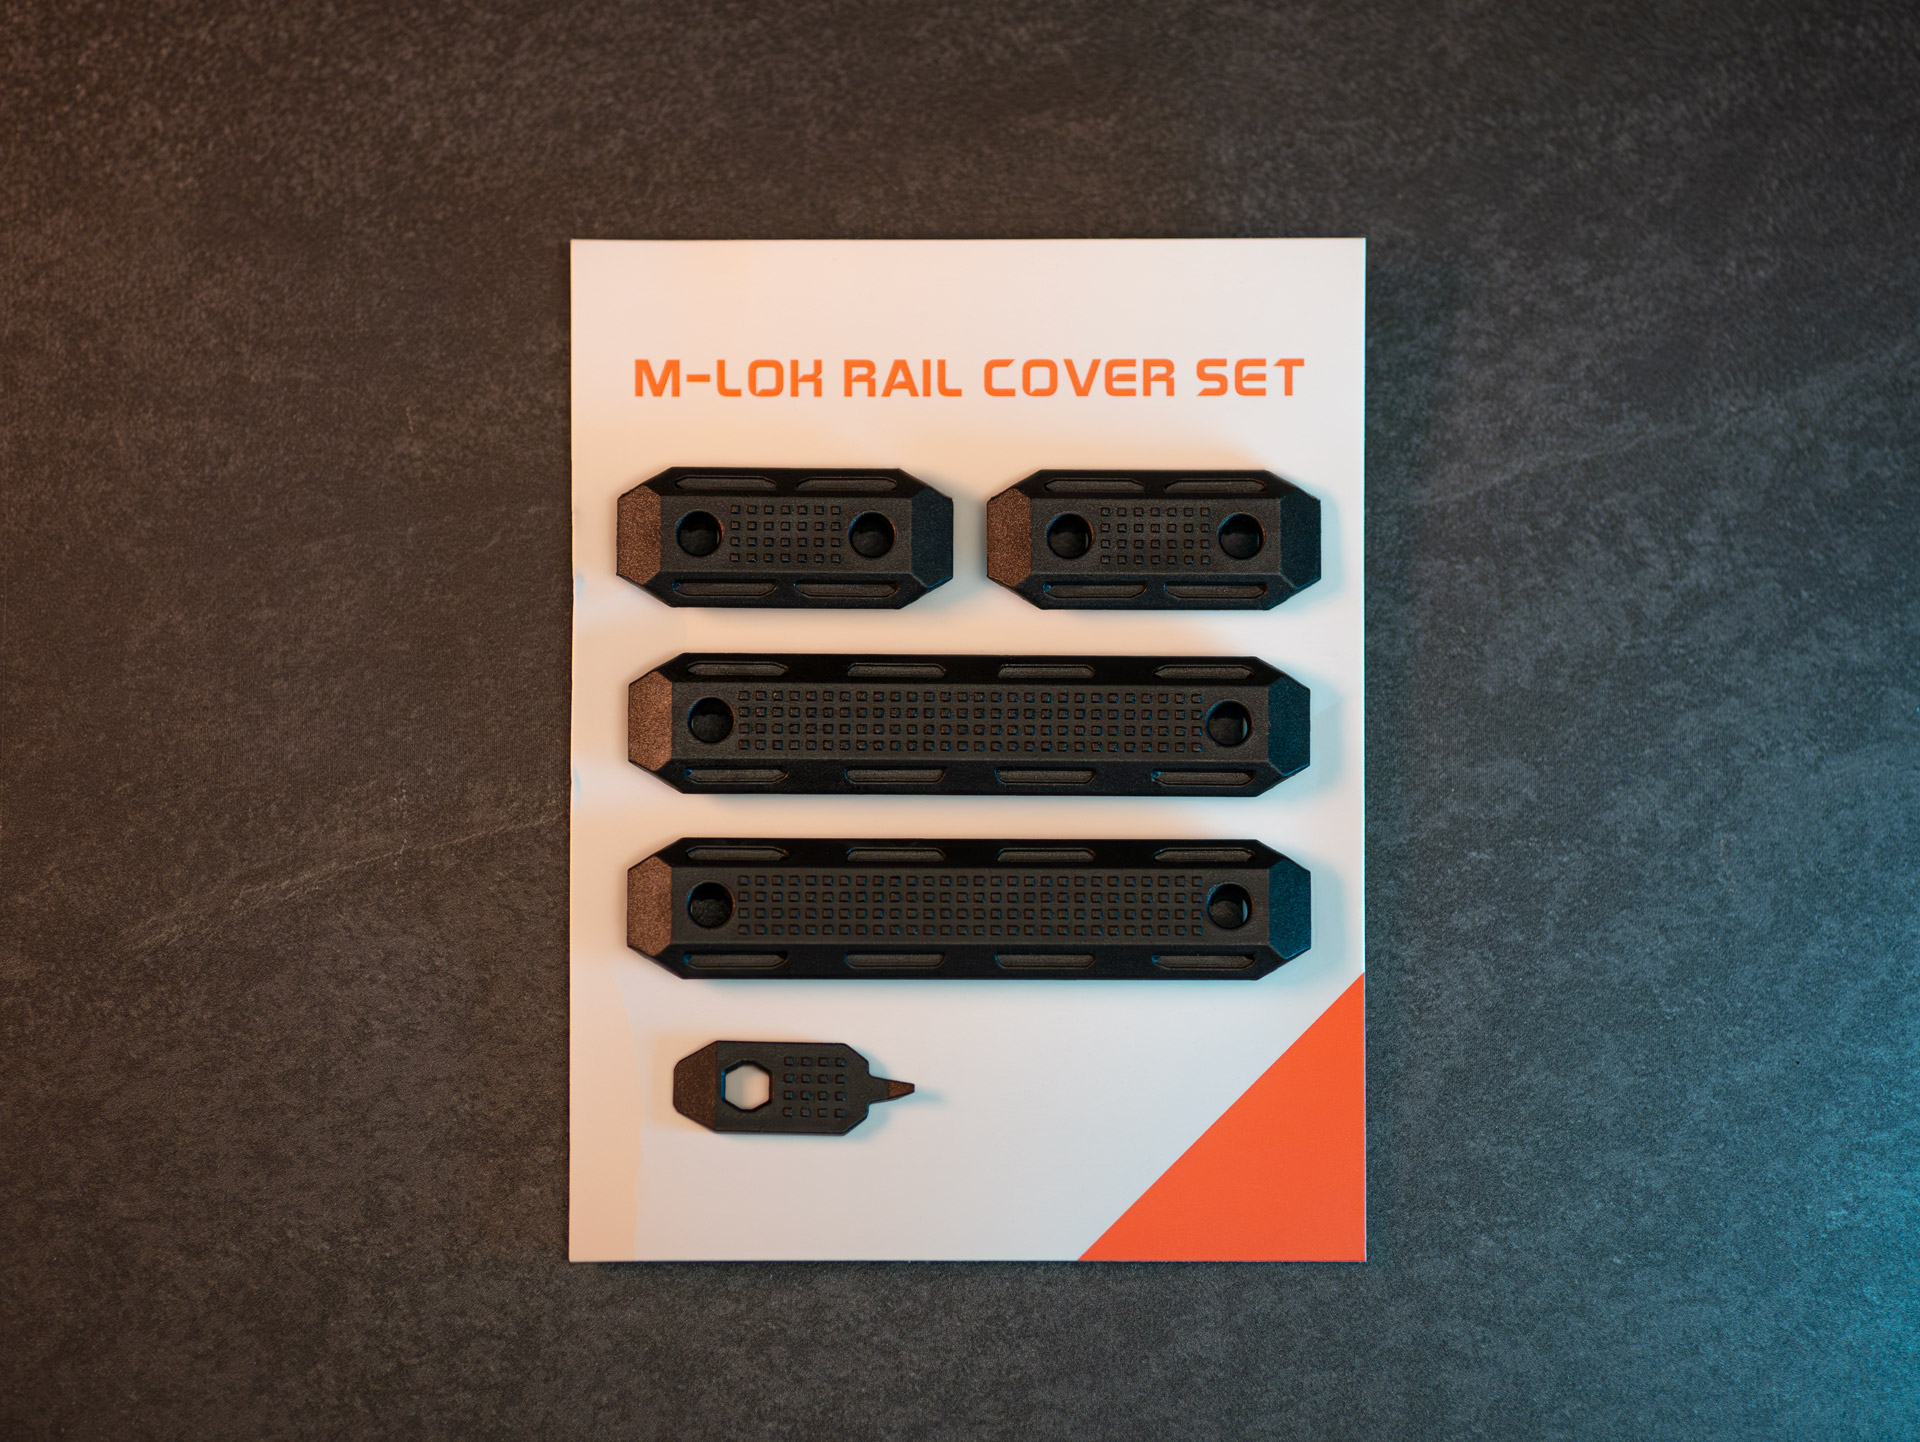
More comfort: PTS M-Lok Rail Cover Set
If your handguard feel a bit too small, I recommend the PTS M-Lok Rail Cover Set. This attachment is first pressed into the M-Lok positions and then fixed there with two grub screws. In contrast to rail covers that are only plugged in, this is a much better solution that can only be removed by loosening the screws and is thus reliably secured.
With the cover set, the handguard has the perfect dimensions and also looks way more clean:
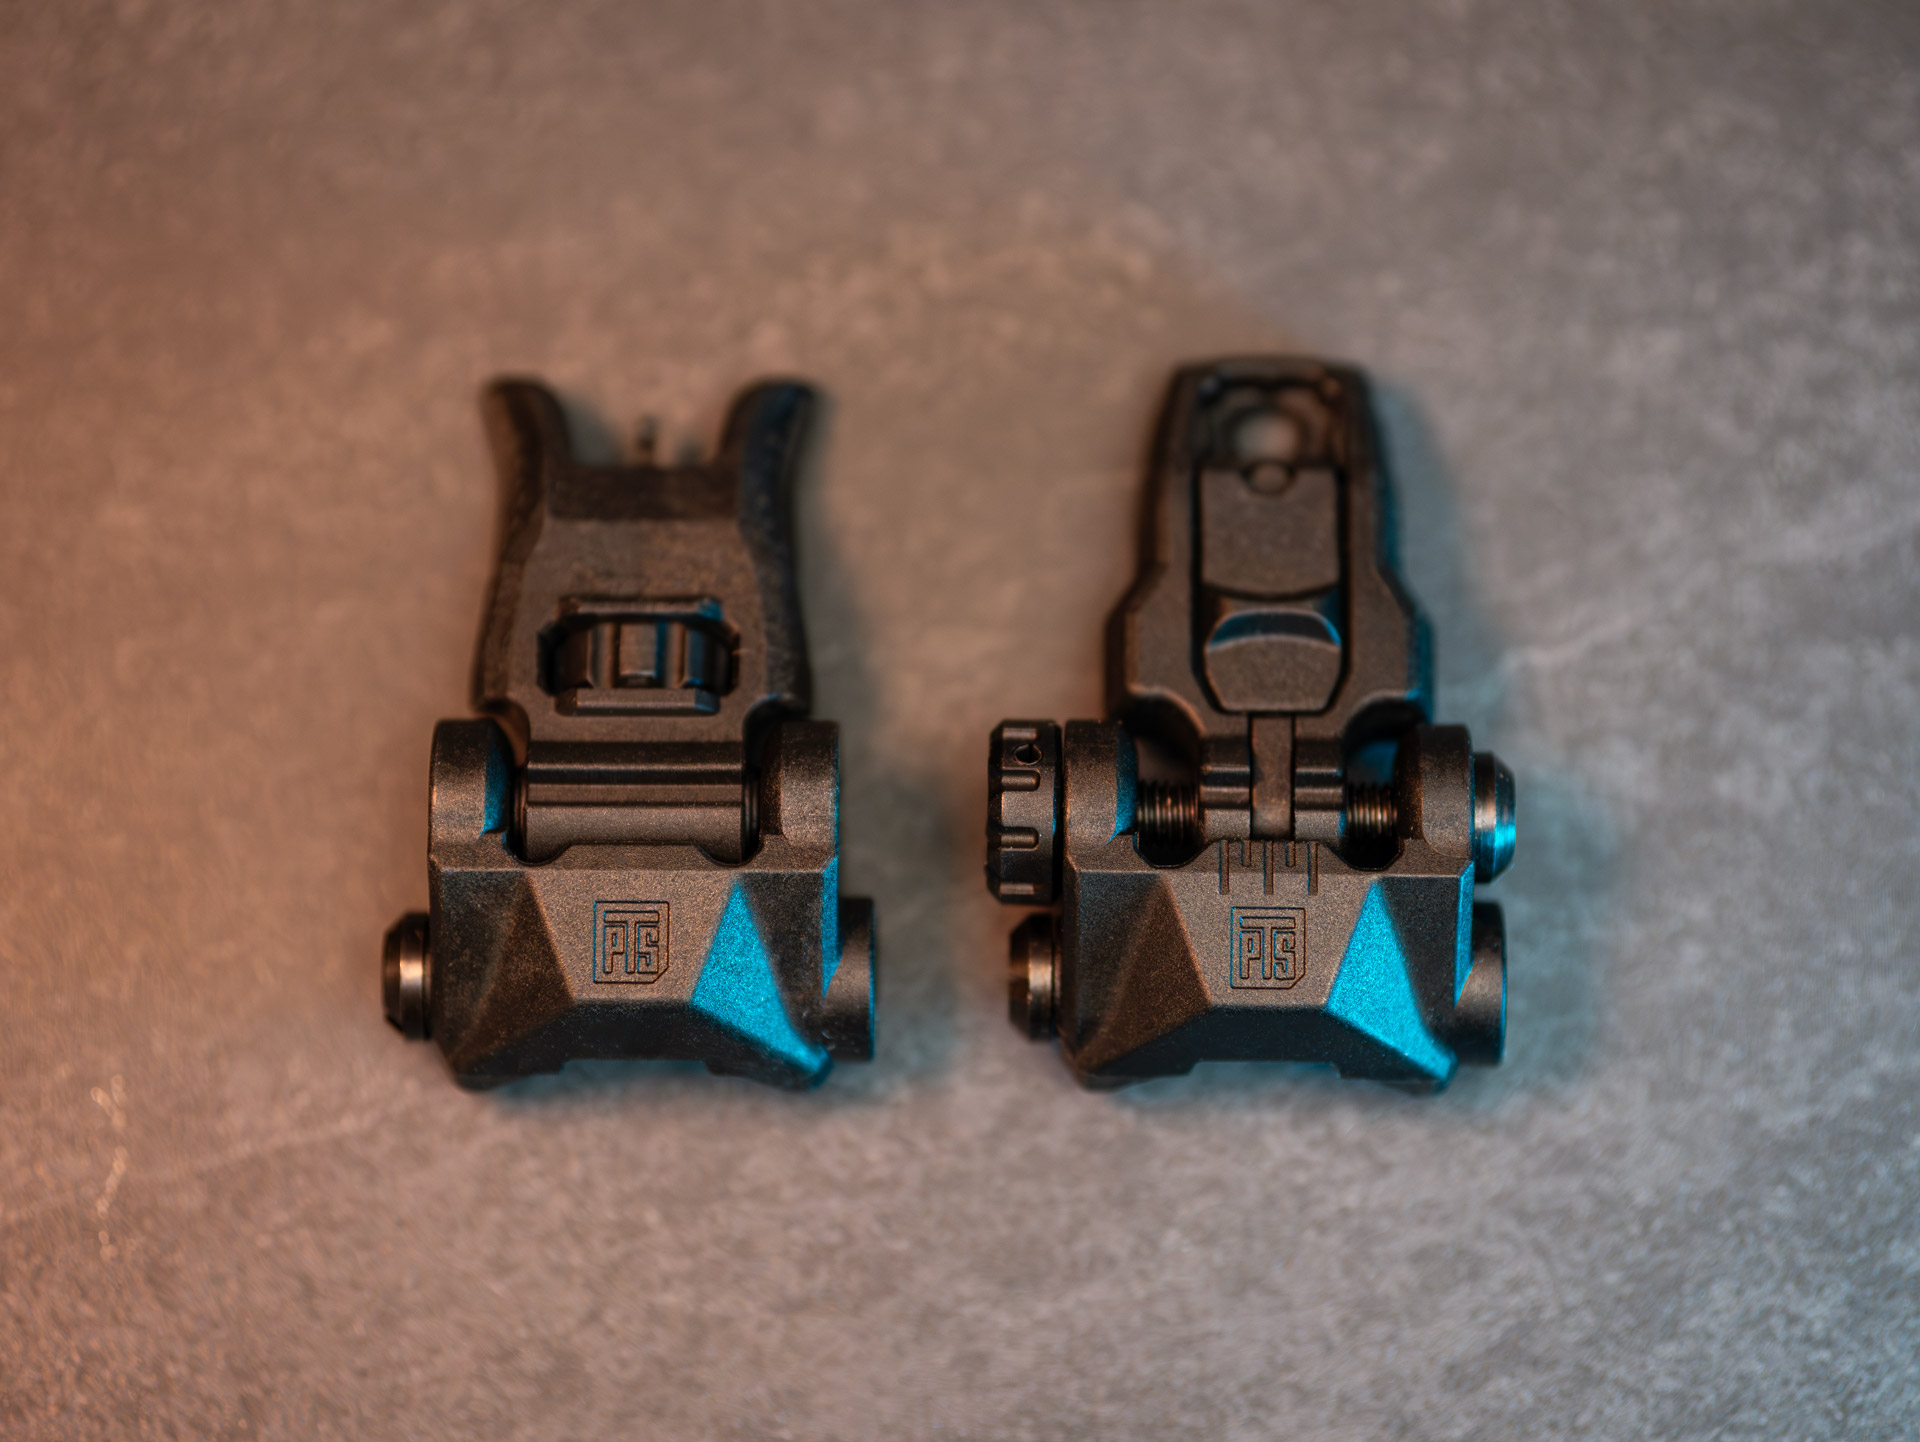
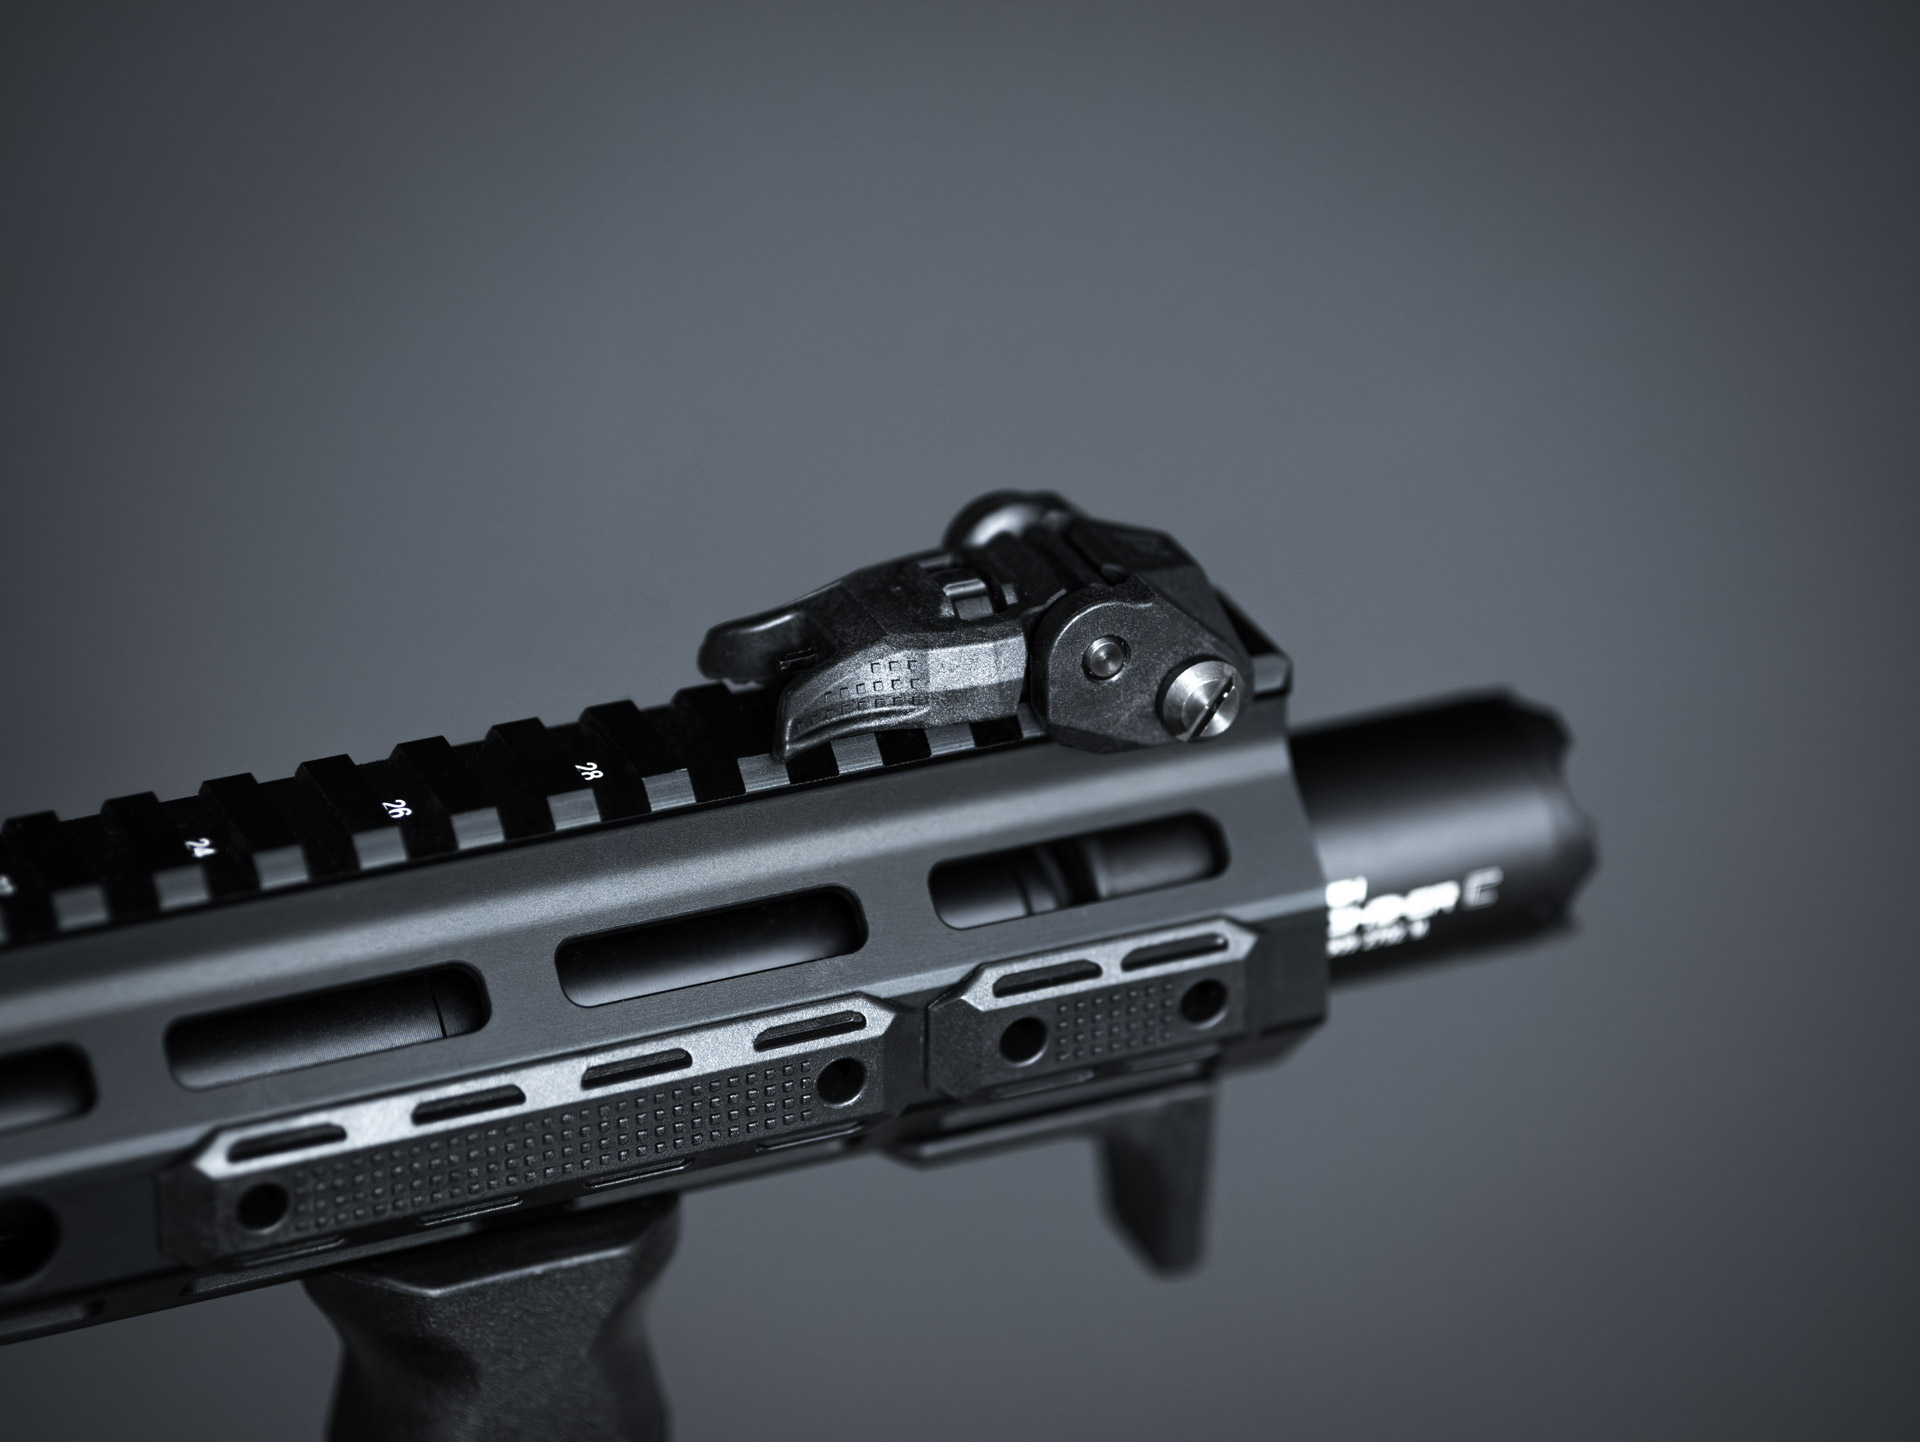
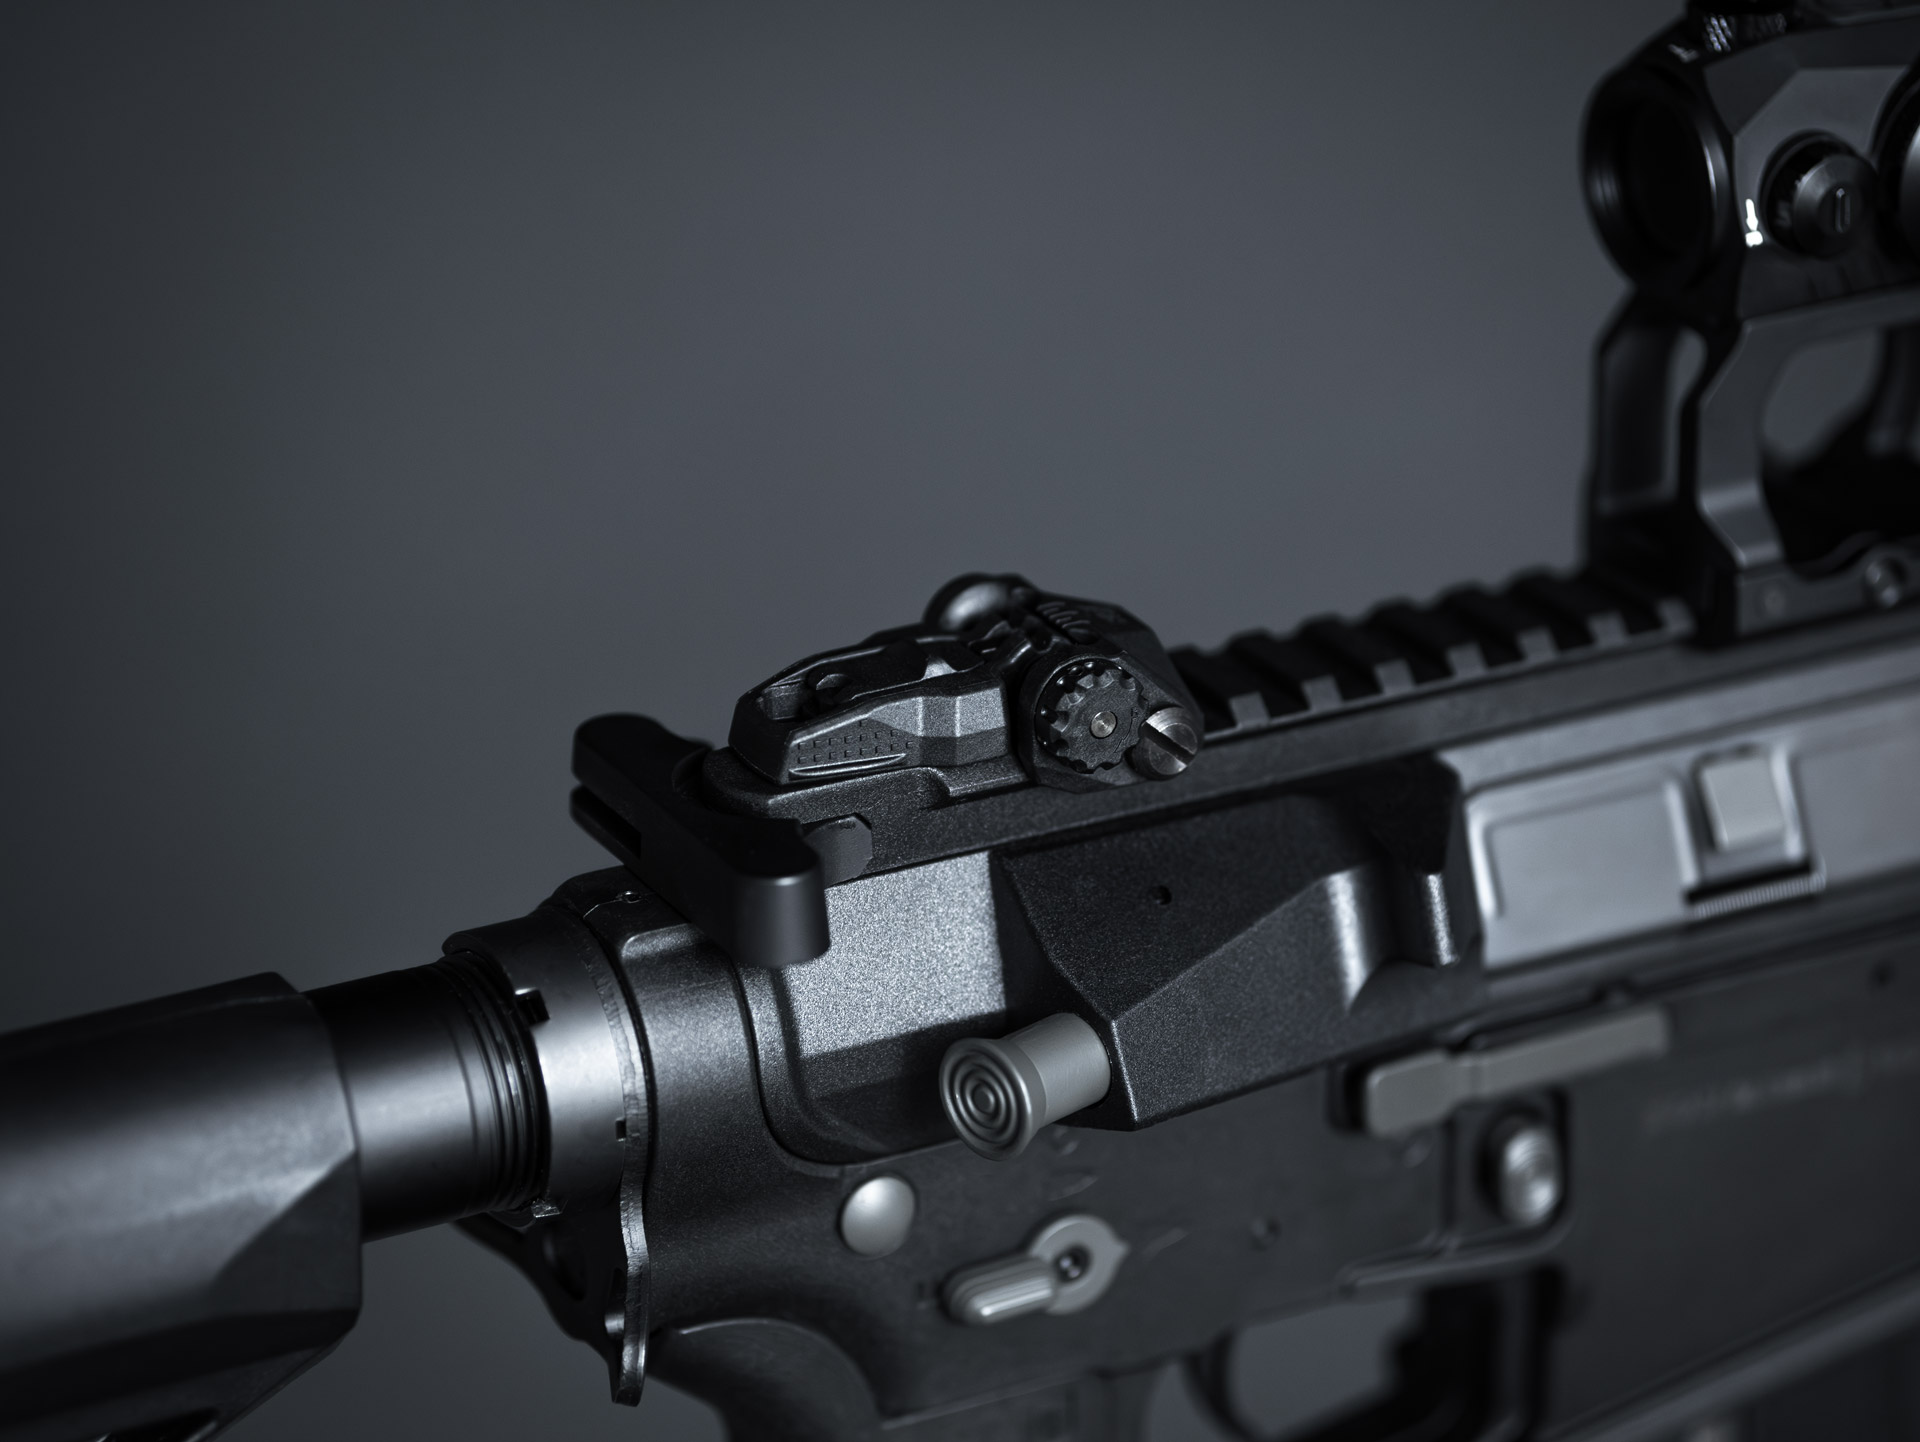
For more realism: PTS Backup Iron Sights
As you can see from the picture, PTS also sent me their backup Iron Sights. For me these will see less use, because I have mounted my optics on a 1.93″ riser mount to get a reasonable sight-picture with my i5 mask more easily, but just for all who want to build up their weapon as realistic as possible, the PTS Backup Iron Sights are the perfect choice!
I don´t intend to use them on the field due to the riser mount that makes my red dot sit a good 1/2″ above the Iron Sights and the fact that my gun should be as light as possible.
However, the Backup Sights definitely look and feel far more modern and durable compared to sights that come standard with most airsoft guns!
Especially the mechanism for setting this iron sights up is really “snappy” and that gives you the feeling of having mounted something solid and high quality!
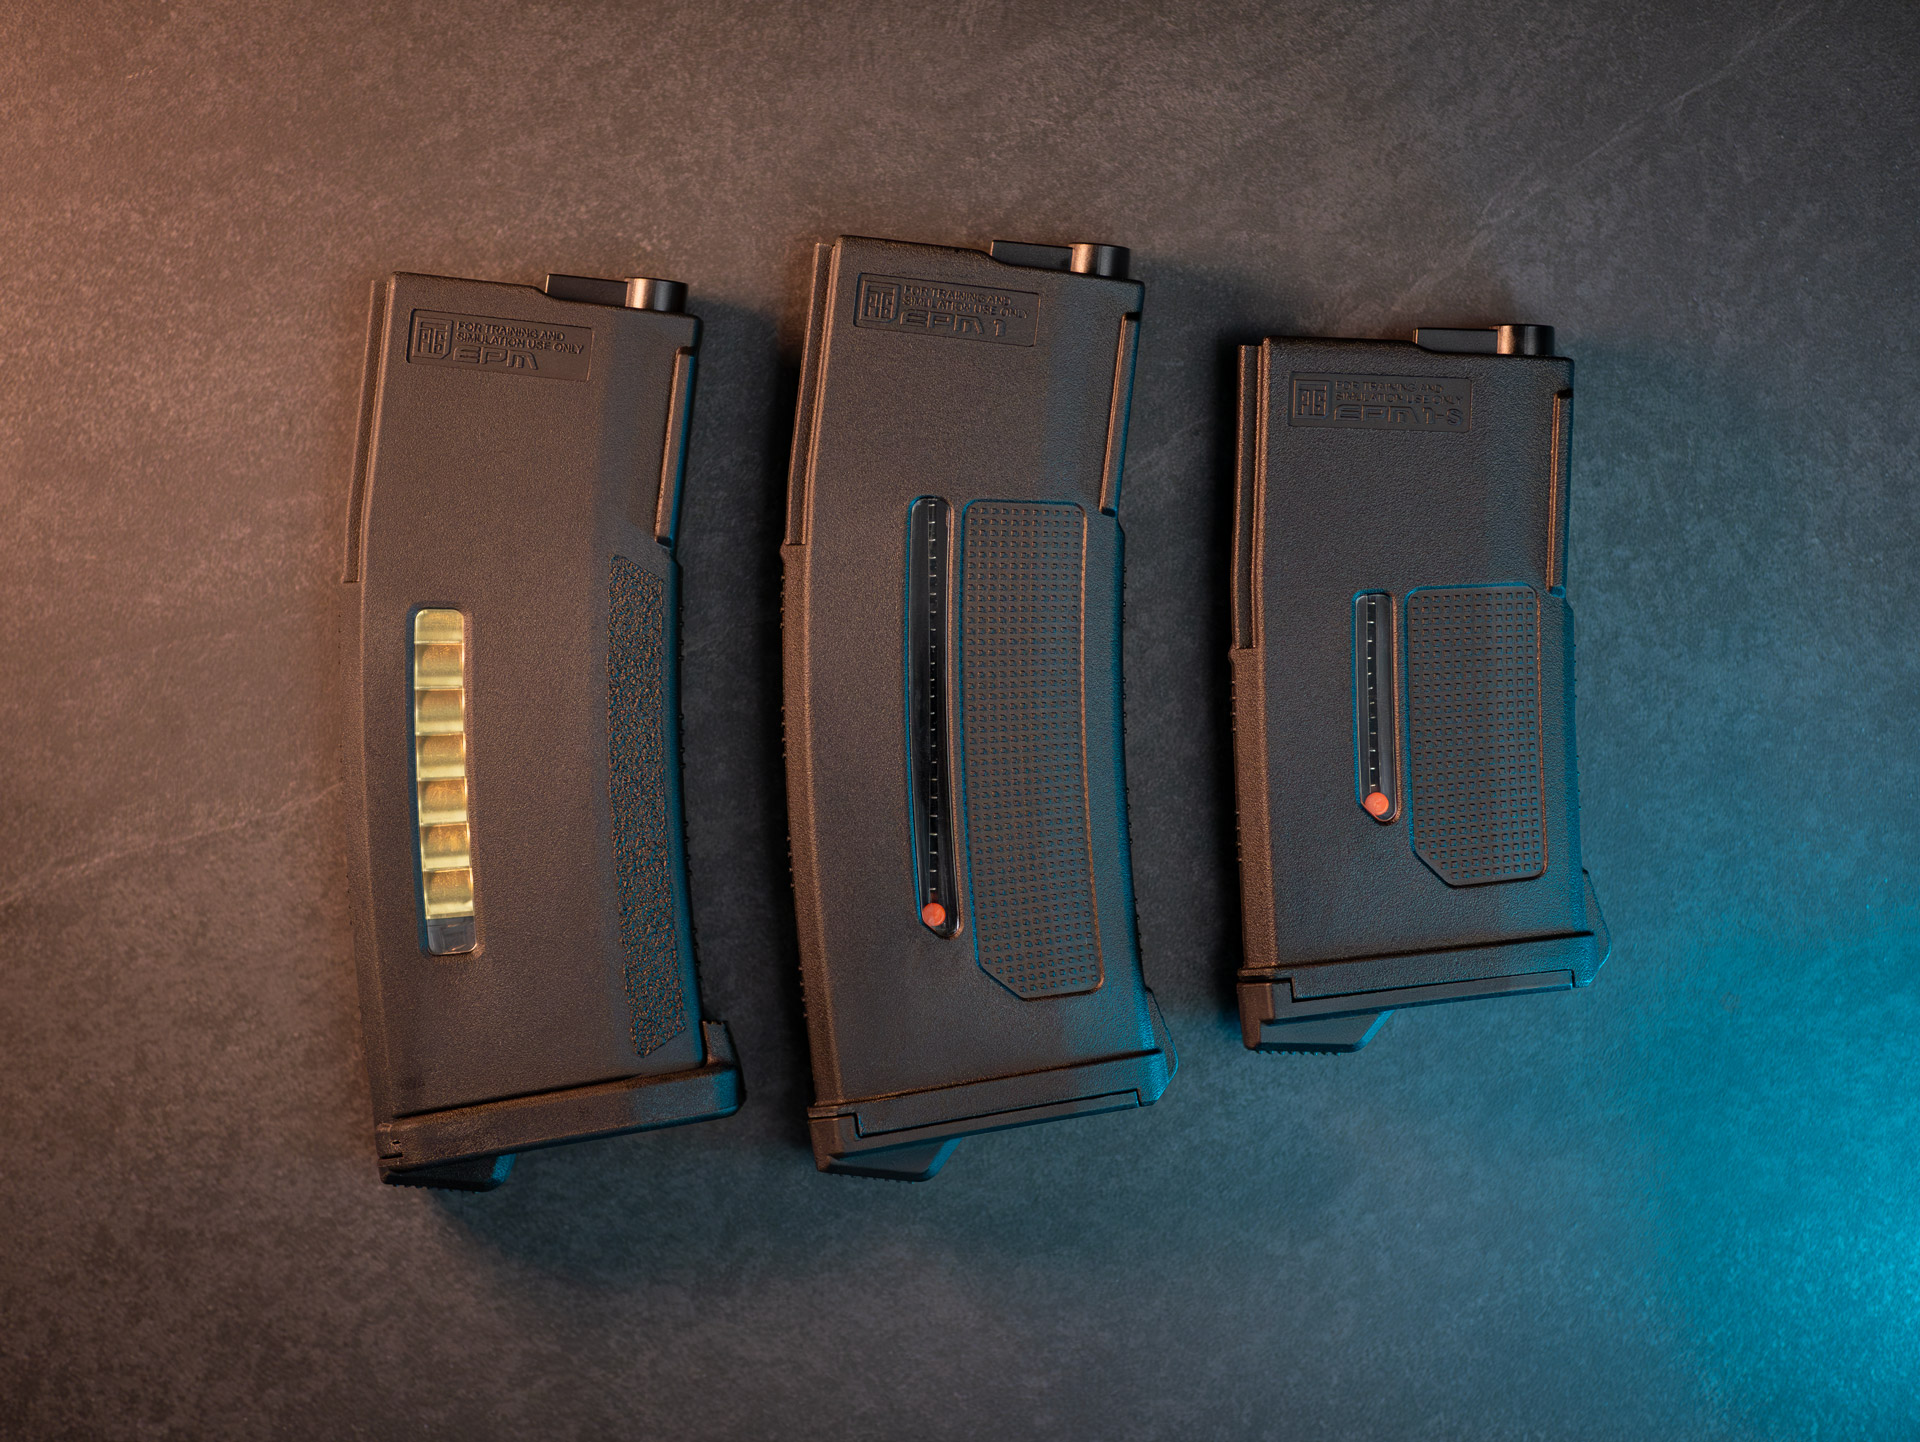
The magazines that deserve their own article: PTS EPM, EPM 1 and EPM 1-S
I will go into this topic in more detail in a separate article, so as not to go beyond the scope of this article. As you have already seen in the previous pictures, I used the EPM 1 for this build. From my point of view it is currently the most modern magazine. Both because of the high capacity of 210BBs and the BB indicator. It provides you the indication on when to reload so that you don´t join a battle without the right amount of BBs left in your mag.
PTS currently offers three M4 magazines:
The classic PTS EPM with the replicated cartridges directly went into my Begadi NOVA, as it fits the build perfectly, the PTS EMP 1 will do its duty in the Arturus and the PTS EMP 1-S could fit perfectly in an AR15 as a PDW. Who knows what else will come in the future 😉
I will test the magazines next time I´m playing airsoft on the field. Expect more information about them in a separate article. So far, I haven’t spent enough time playing with them to give you a detailed insight into their performance.
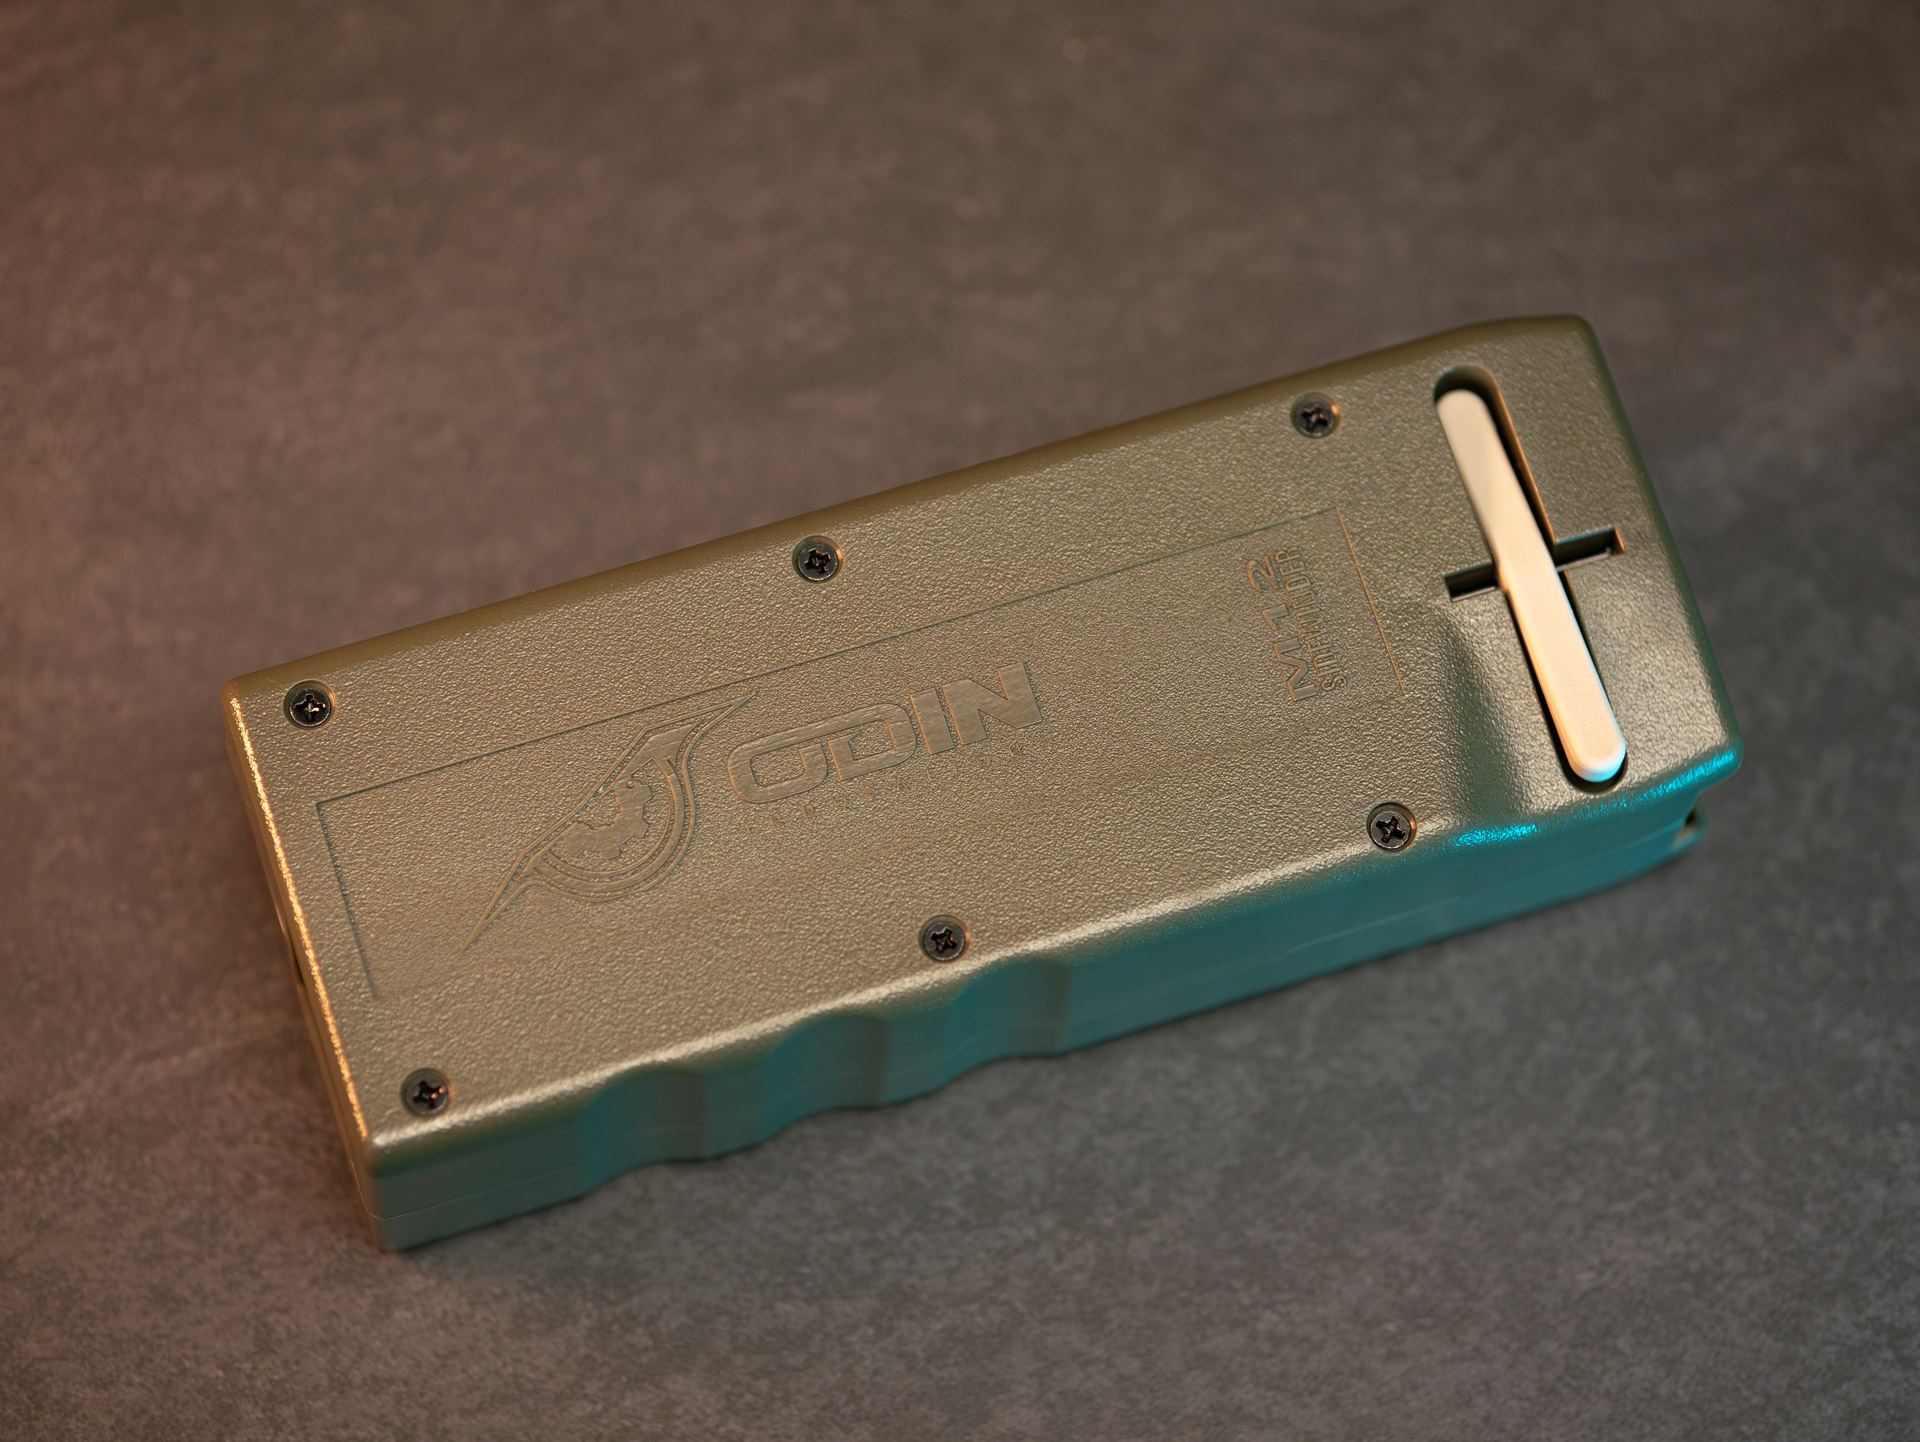
Airsoft-Must-Have #1: The Speedloader
This is actually the most useful item in airsoft (apart from eye preotection and gun of course) than you can buy: The ODIN M12 Sidewinder.
I must admit that I´ve been using a replica speedloader from the man “without refrigerator”. However, I´m already on my second one, because the first speedloader broke after a fews days. In this respect, the savings compared to the original has also destroyed itself immediatly. I´ve been using the second one which with caution. I simply know how quickly one can overstrain the replicated construction.
I will write a detailed comparison of the original and the replica for you. Because you can spot clear differences immidiately, which of course also affect the functionality!
However, I am already looking forward to being able to use a high-quality ODIN Speedloader, where the crank does not constantly loosen or possibly something gives way inside the speedloader. As I said, a test will follow soon 🙂
Conclusion on the PTS parts
In each conclusion I ask myself the question: Would I buy the product again, should it be lost?
When writing this article, I asked myself this question more often when I picked out the respective product links for you and also saw the prices.
Yes, the PTS attachments can be found in the upper price segment. Where you can get a simple stock for around 30€, you pay over 60€ for a PTS EPS-C counterpart.
But, and this is the crucial point: From my point of view, this price is justified. The workmanship and the material are on a very high level and the construction is often clearly superior to third party airsoft attachments.
If I had to choose between a) equipping one gun completely with my favorite PTS parts or b) using two guns with the standard parts, in the end I would rather use one “perfect primary” than two guns where, for example, little things like a uncomfortable grip with finger grooves bother me.
It might feel odd that in this Arcturus, which currently costs 329€, there a now PTS attachments for around 250€. For that kind of money you can get a nice backup or even maybe a second primary.
But I still prefer to play with an airsoft gun that has a grip that feels perfect, a stock that does exactly what I want from it, and high-quality attachments like the foregrip and hand stop and rail cover that make me happy every time I see the project on the wall and take it to the field! Not to mention that you can’t play two guns at the same time anyway.
So if you have the budget and the option to eighter attaching some really nice parts to your first gun or buying a second gun, I would always tend to rather build one weapon completely the way you want it. And that’s what our hobby is all about to a certain extent: designing and building things to your liking!
I almost do not believe that anyone who has read this far plays with a Combat Master without even a single modification 😉 Whether I currently have 4 or 3 weapons hanging on the wall makes no difference to me play-wise. The attachments, however, do, because they help me to spend a game day with more joy and a better feeling.
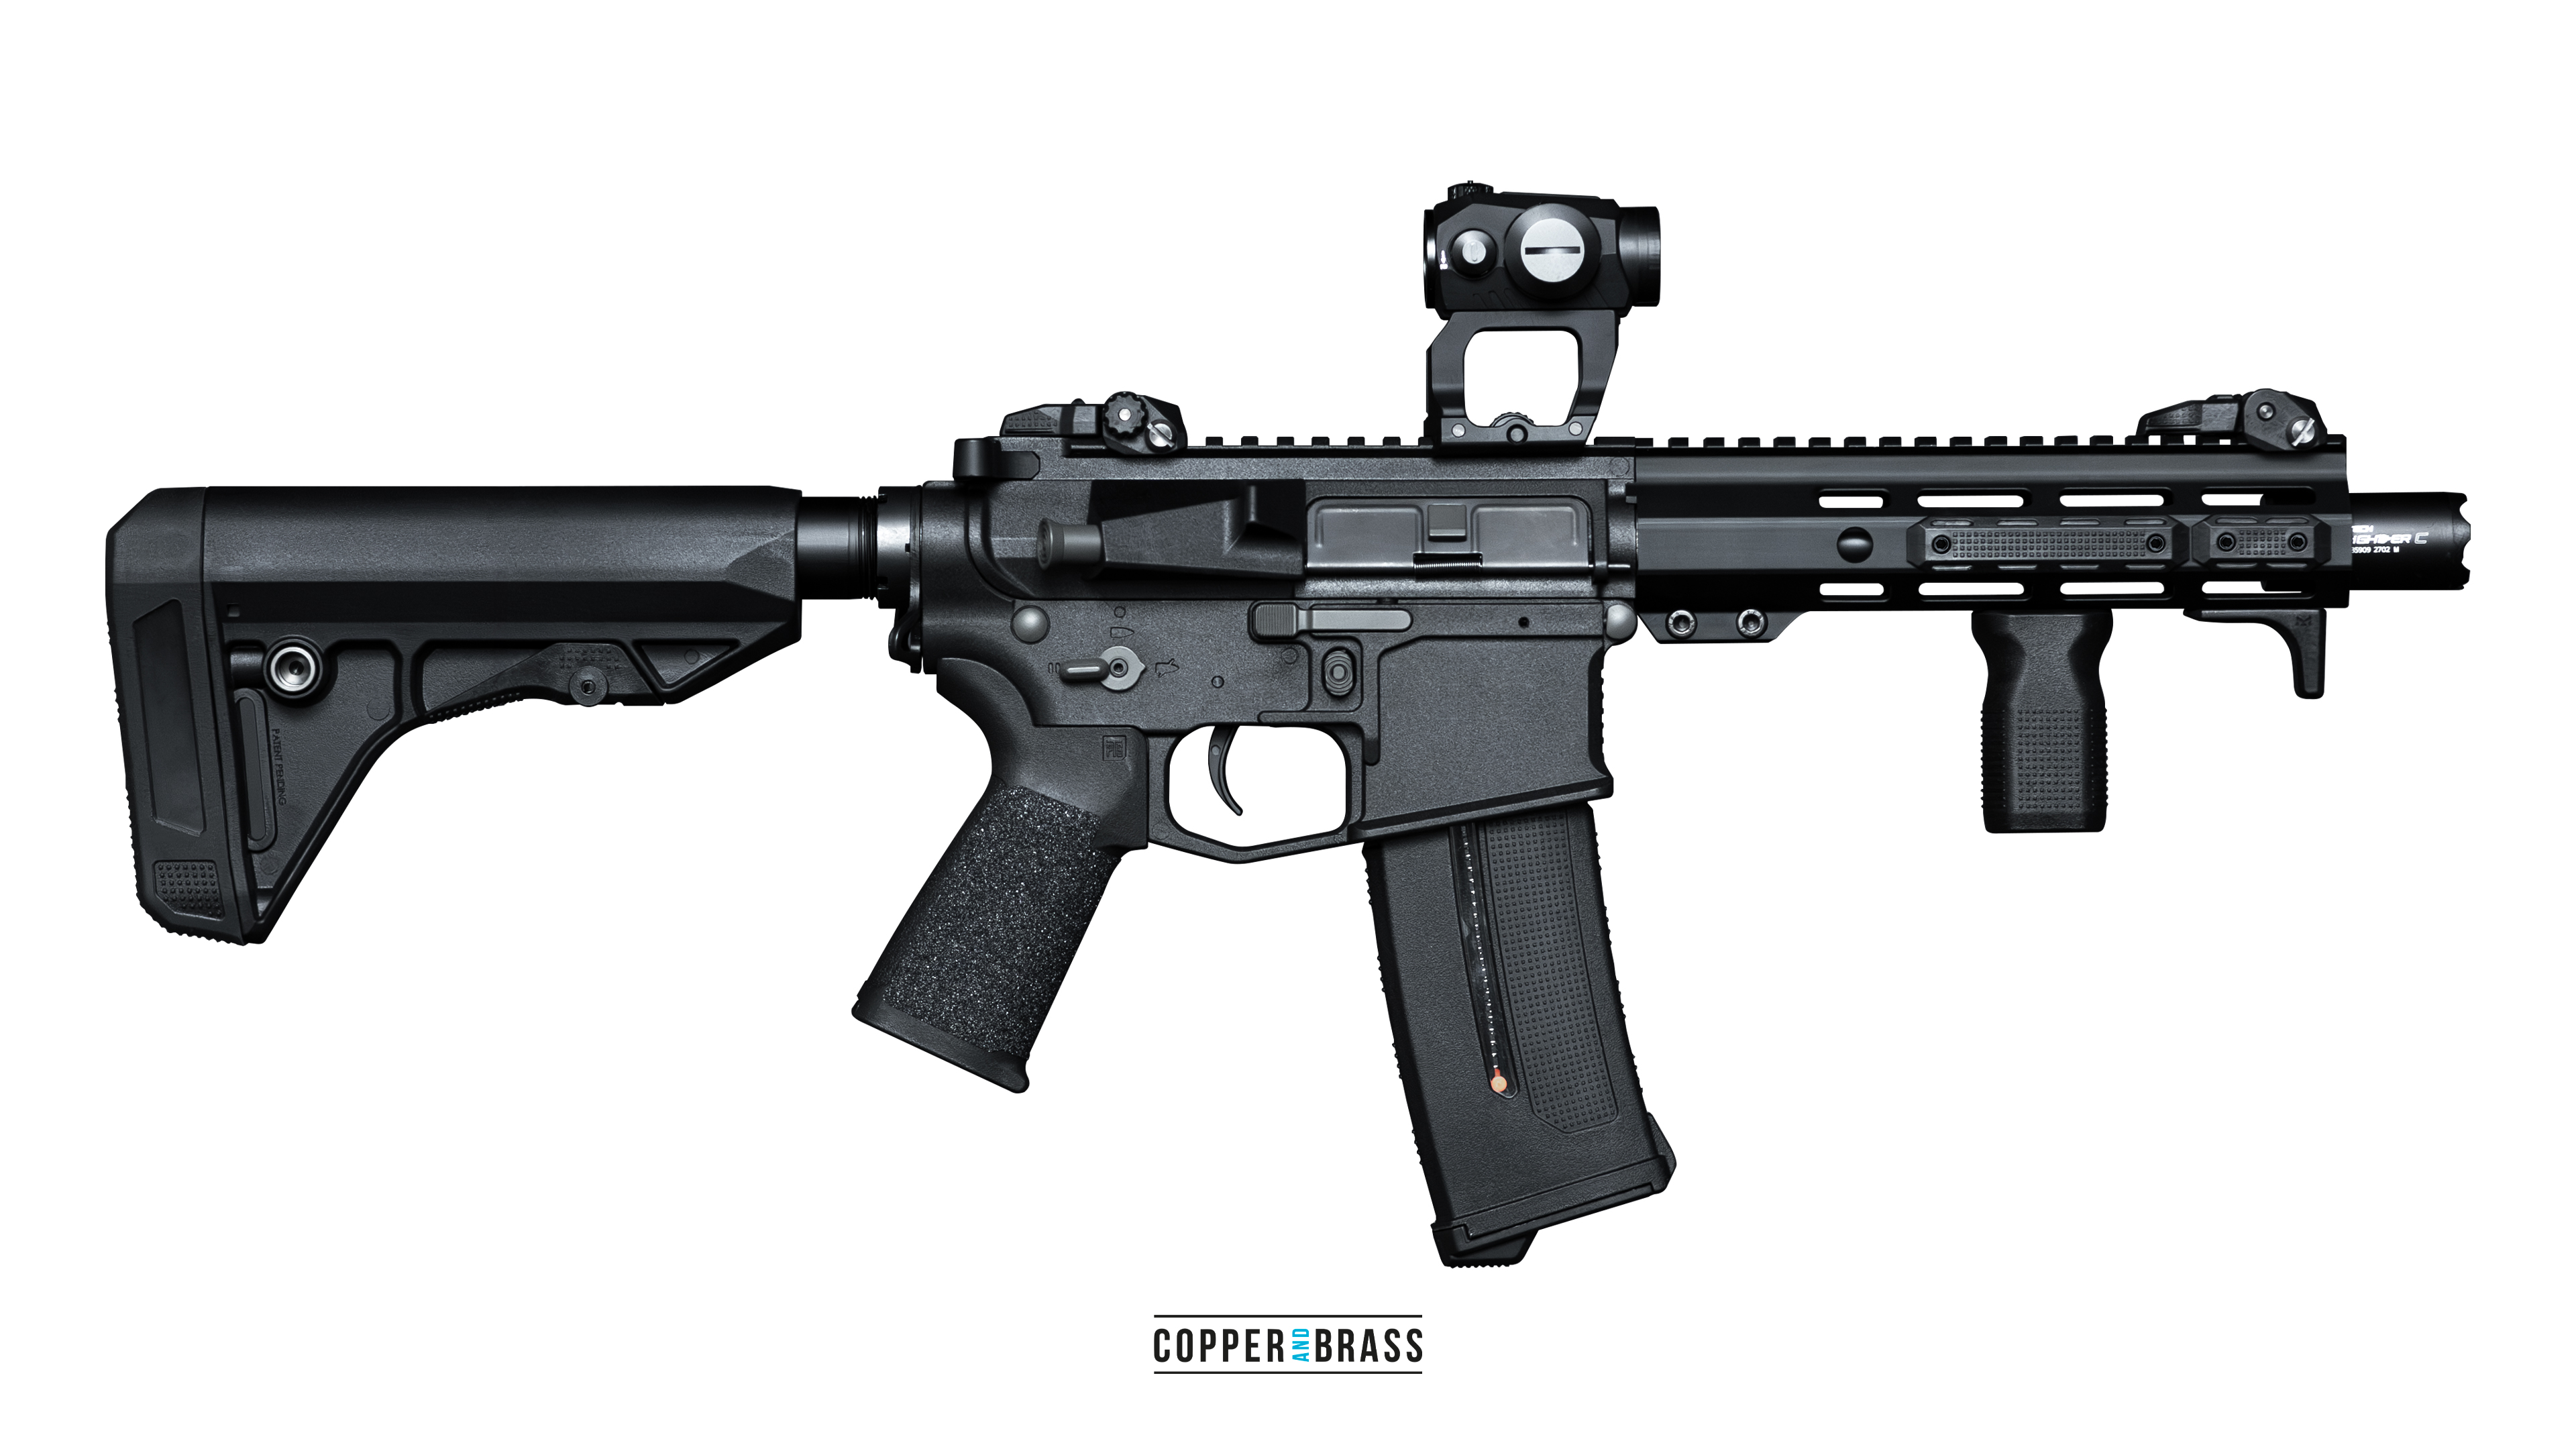
Arcturus 8″ SBR PTS Build Wallpaper
An article without 4K wallpapers would not be appropriate for the topic, so I created a selection of new wallpapers in full quality without any compression for you ! RIP Internet connection on the go 🙂
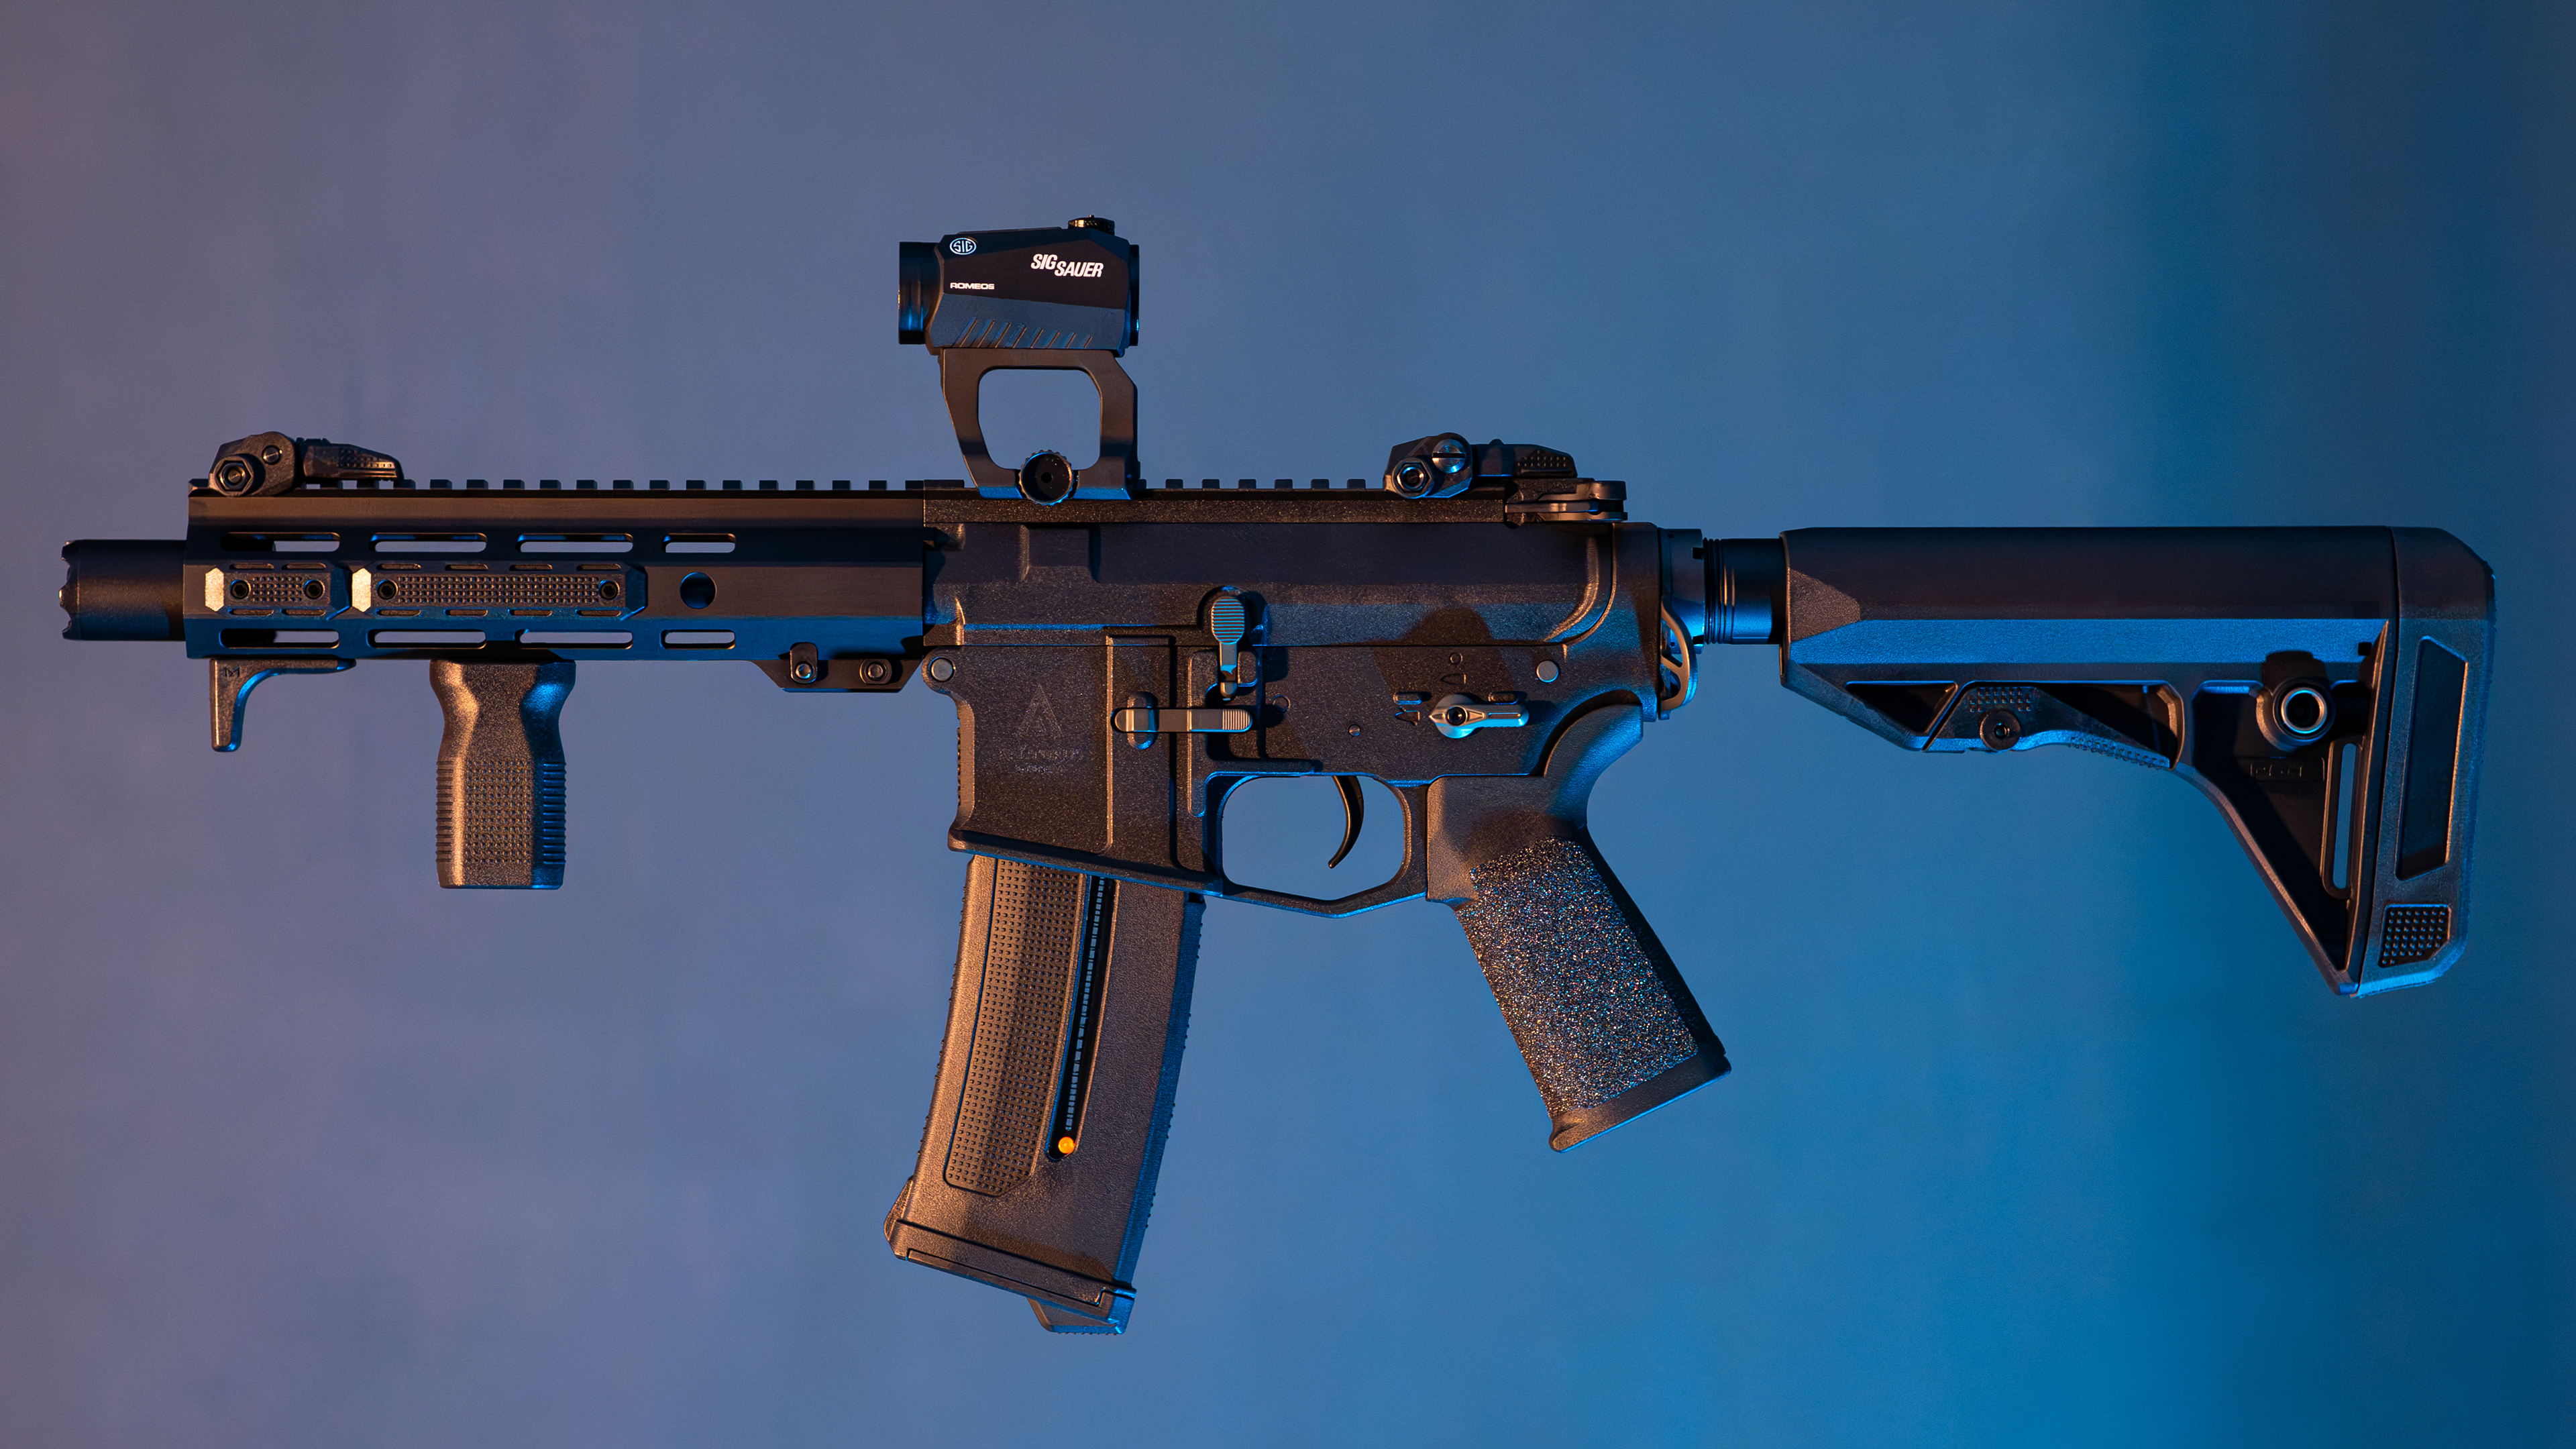
For those who prefer a clean background:
Feel free to follow PTS on Instagram to stay up to date on new products from them! 🙂 At this point, thank you again for the cooperation!
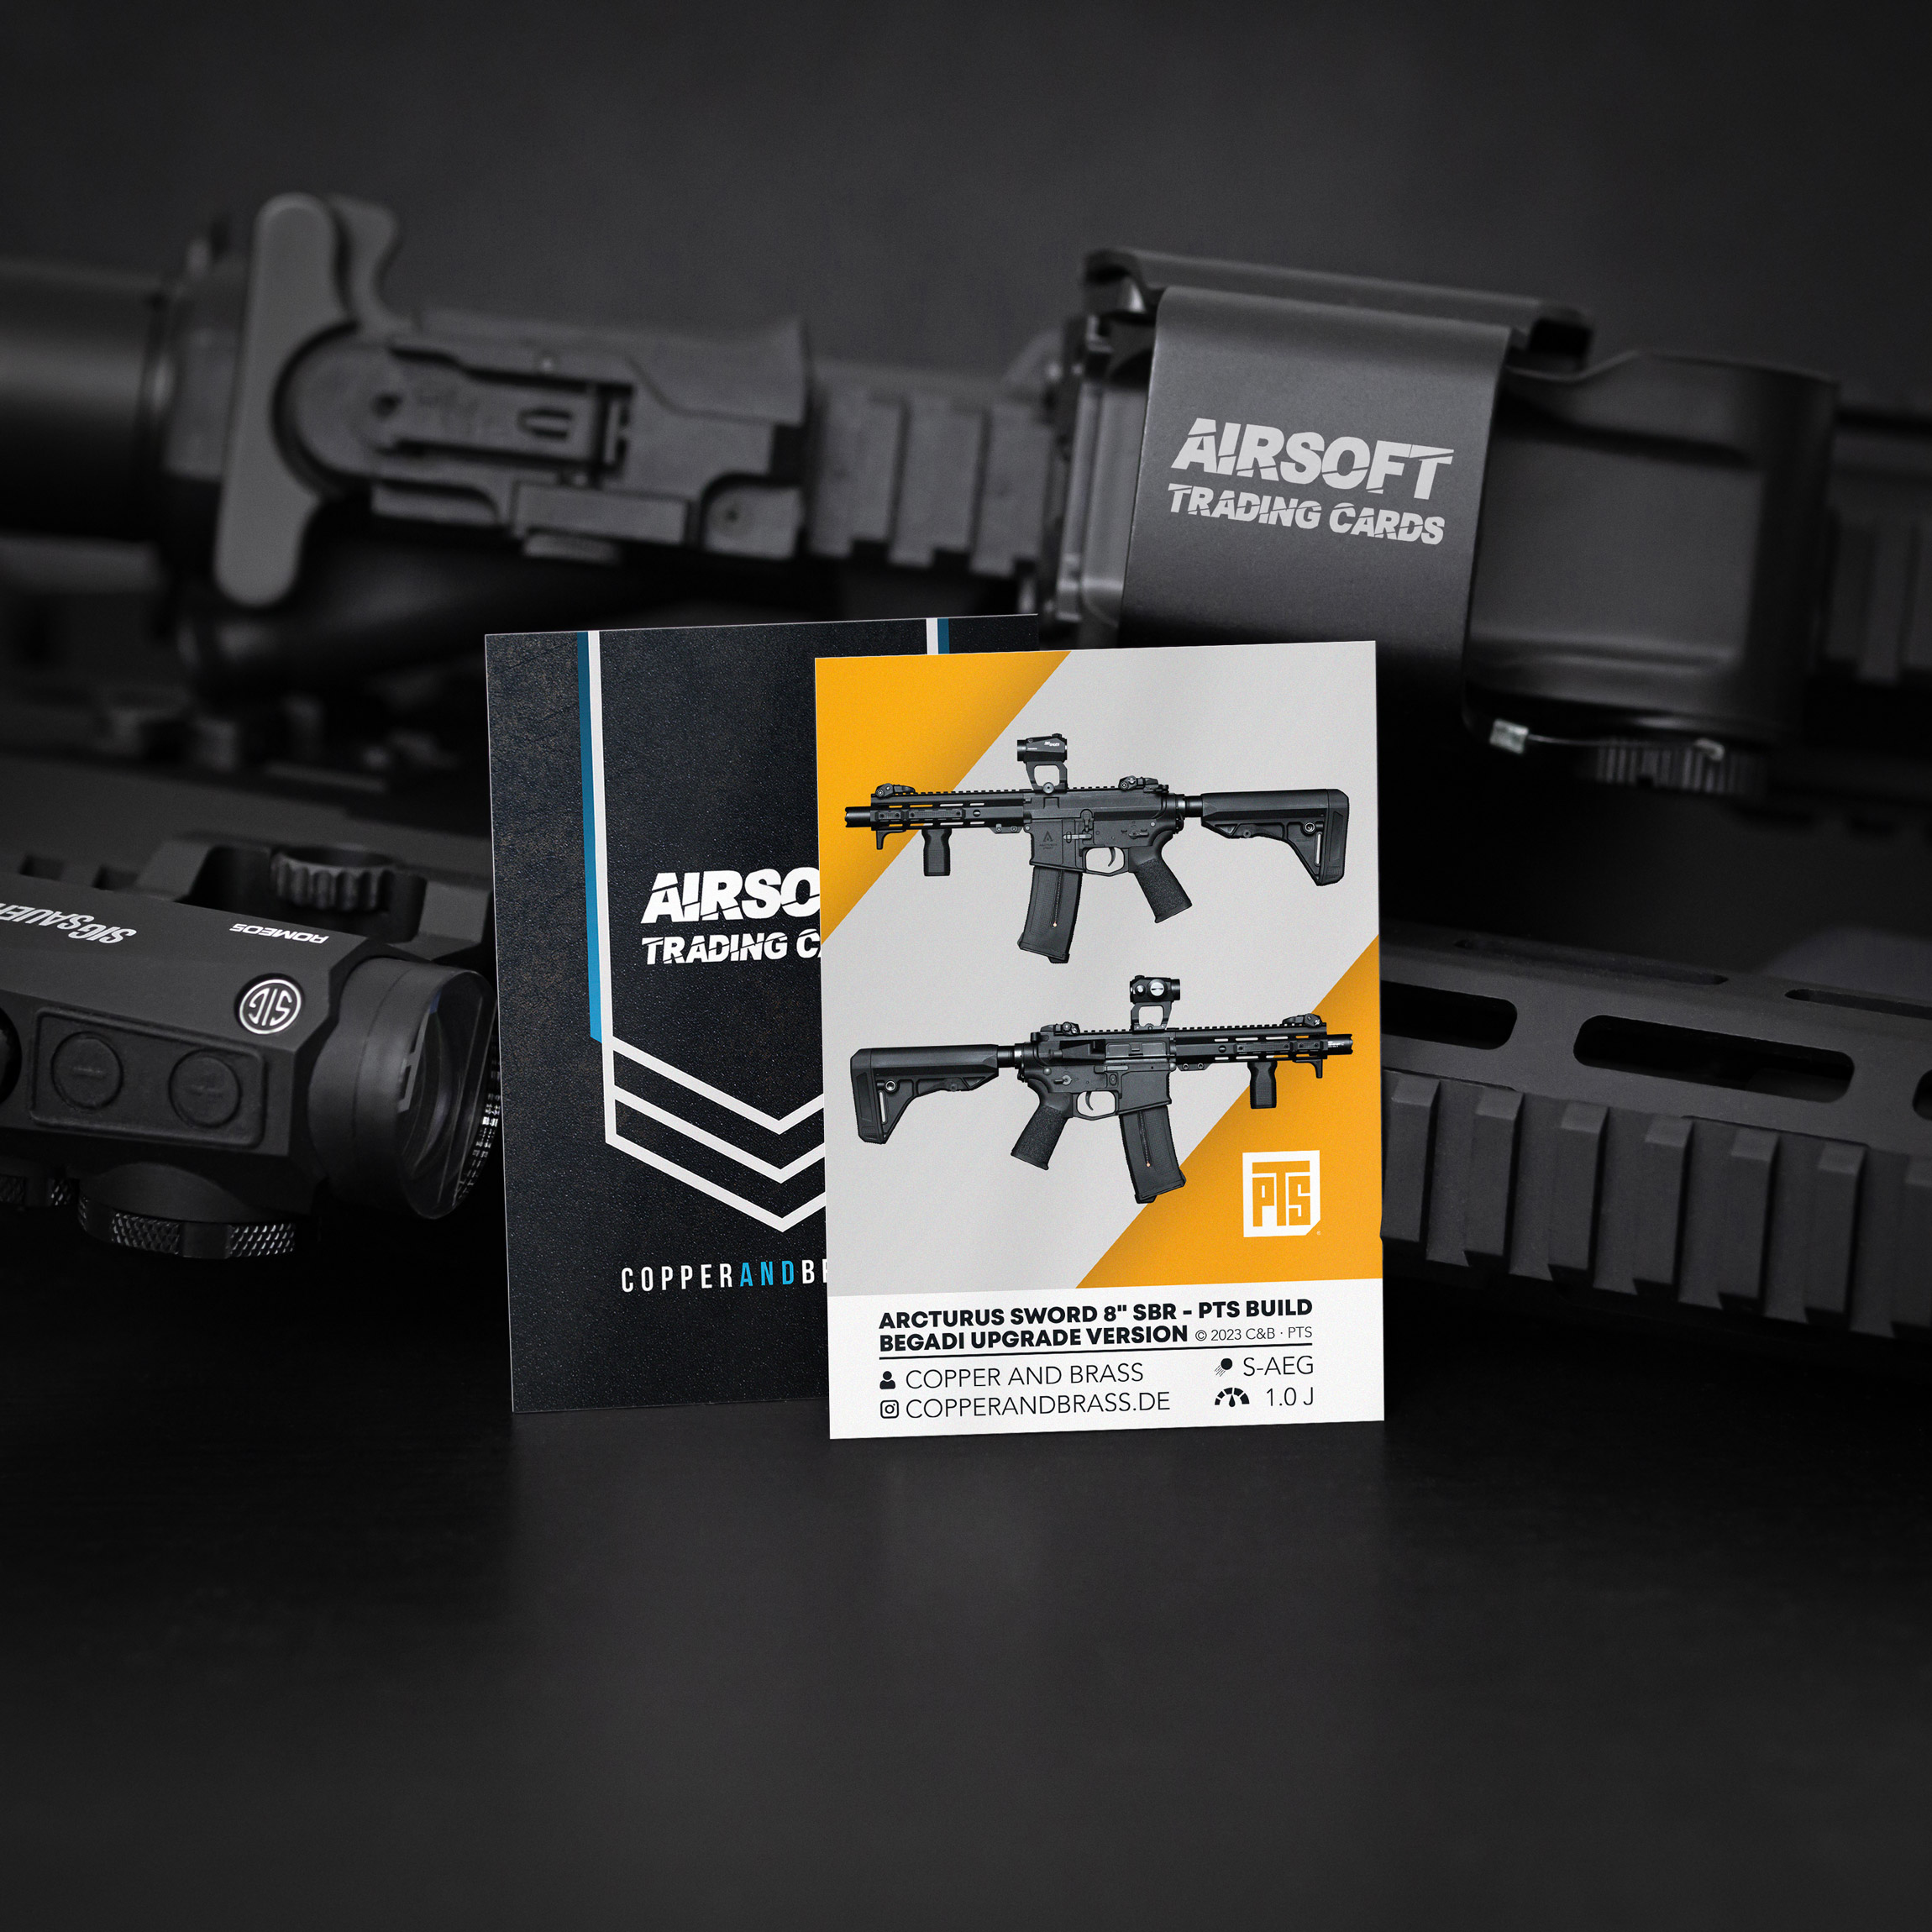
Get this PTS Build as an Airsoft Gun Trading Card
To celebrate the launch of this collaboration, there will be 500 exclusive Airsoft Gun Trading Cards featuring the Arcturus 8″ SBR PTS build!
One of these trading cards will be included free of charge with all orders in the store starting this Friday, August 25th, 2023!

